
Laser Cut Functional Papercraft: A Folded Box
 File formats: dxf, eps, pdf
 Download file type: zip
Summary
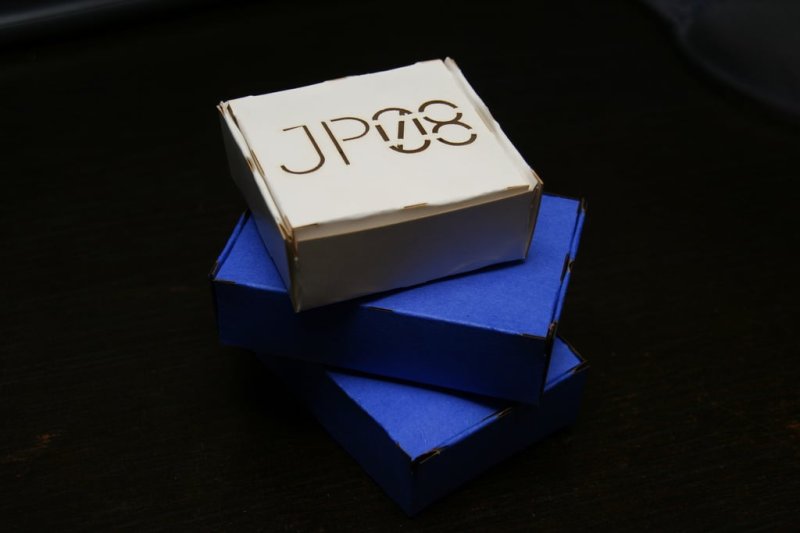
It seems that many of my things I'll be giving as Christmas presents this year are small, less then a few inches in dimensions. That brings up the question, How do I pack it? One could put the thing in a envelope or a small plastic bag, but all of those like a distinct "giftiness", they don't really look like a gift.
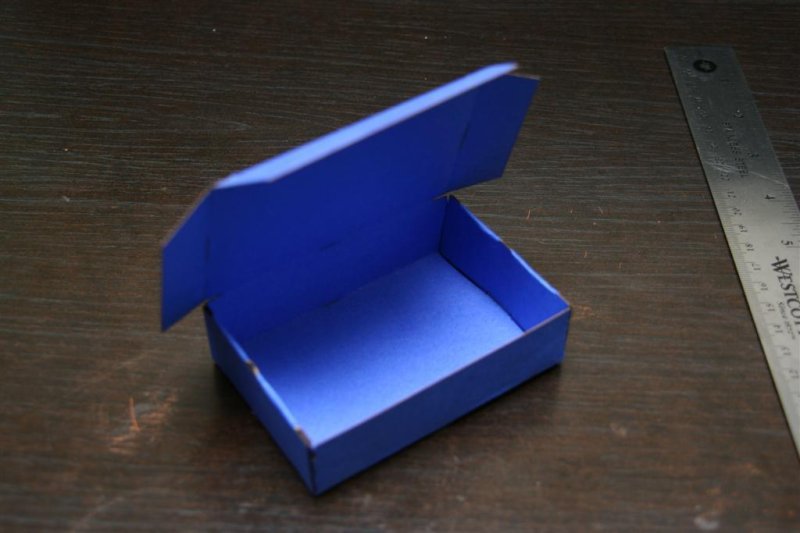
Enter the Folded Box, it's small enough to print and/or cut from a piece of standard size card stock. You can also easily customize it with a logo or name to make it that much cooler.
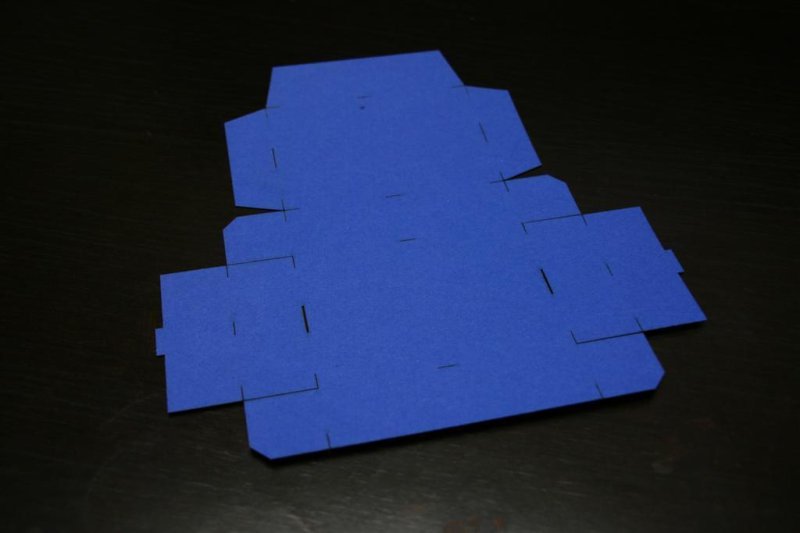
The box is cut from a single sheet of material. Thick paper, card stock and poster board work well. This pattern will not work well with corrugated cardboard since the thickness of it will make the folds difficult to make.
There are two sizes:
The 7x8 pattern produces a final box that is about: 2.5 x 2.5 x 1 inches inside.
The 8x8 pattern produces a final box that is about: 3.5 x 2.5 x 1 inches inside.
Instructions
This box can be cut in two ways, both are easy:
Printed the pattern on card stock, then cut with a scissor
- Cut directly with a laser
If you want to add your own logo or name on the lid of the box, remember to place it upside down on the lid part of the pattern. With the logo upside down, the bottom of it will face the front of the box.
No glue, tape or other bonding is required, the folding of the box locks all the other folds in place.
To assemble:
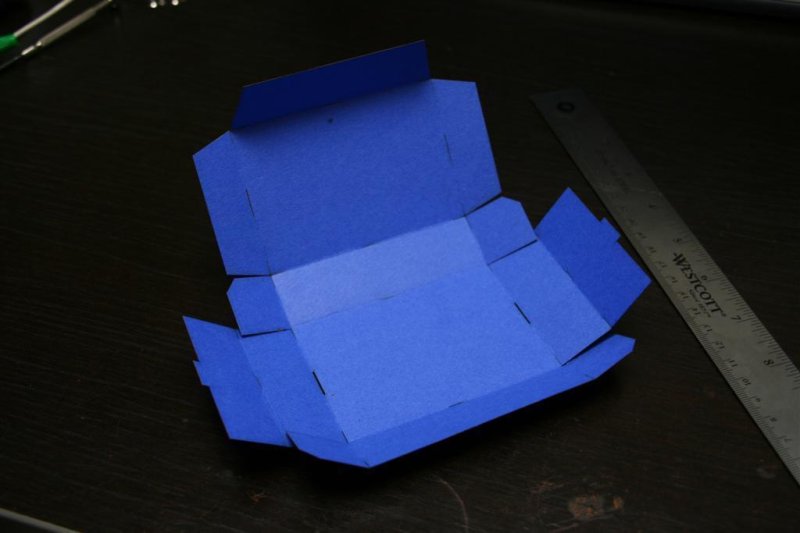
I've found if you crease all the fold marks with a ruler you'll end up with a box that is easier to fold and looks more crisp.
If you've ever assembled shipping boxes you'll already know how to assemble this box. Although if you never have I've labeled the folds in order in the "Box Folding Diagram".
Fold the tabs inwards
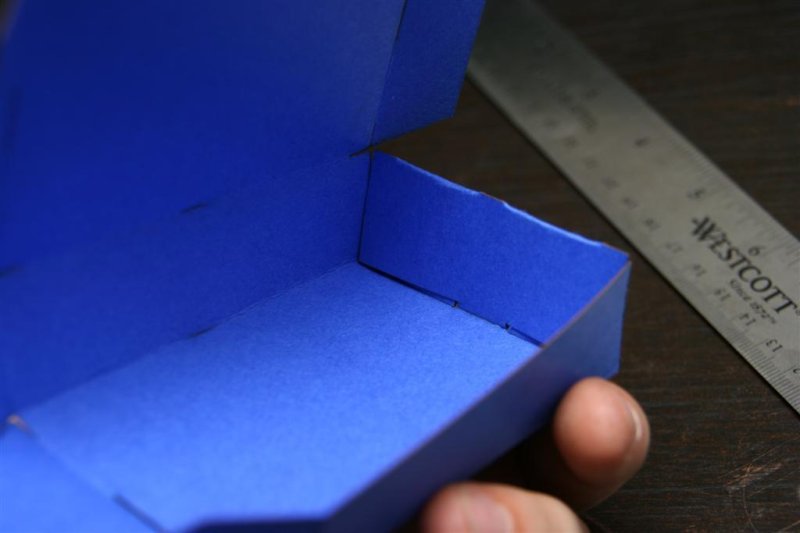
Fold the front and back wall vertical to the bottom of the box
Fold the #3 side walls vertical
Fold the #4 walls around tab #1, and insert the small tab on #4 into the slit in the bottom of the box. This will lock all the walls in place
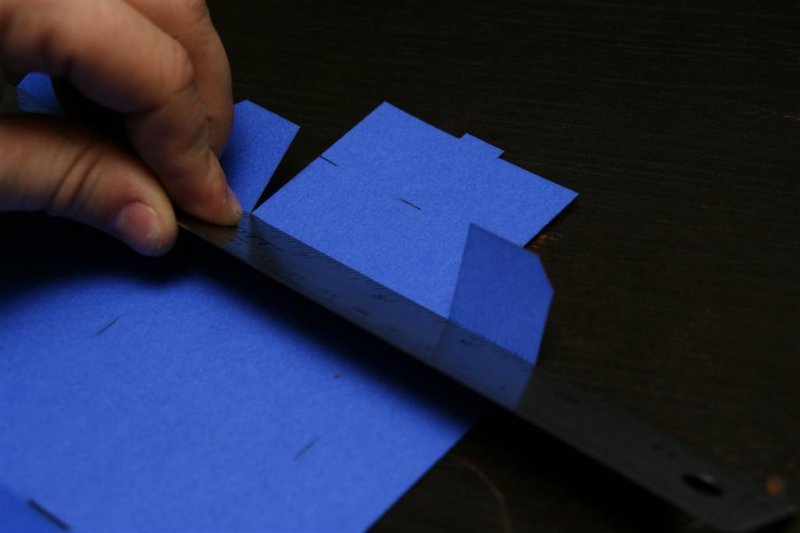
Fold the lid tabs in, having tabs on all edges of the lit will keep the lit flat
- Fold the box lid and the #5 tabs inside the walls of the box.
Files
- 7x8box.dxf
- 7x8box.eps
- 7x8box.pdf
- 8x8box.dxf
- 8x8box.eps
- 8x8box.pdf