Zwift recently announced the "Zwift Ride" Frame.
My wife and I enjoy indoor cycling but we have limited space so we bought one.
There is a forum post regarding the thing with a little more detail: https://forums.zwift.com/t/successful-zwift-ride-on-tacx-neo-t2800/634810
We have a trusty Tacx Neo T2800 and bought the thru axle adapter kit https://www.garmin.com/en-US/p/697123
For whatever reason Zwift decided to put the thread for the axle on the non drive side (WHY?)
Here is how to mount it:
1) Get some copper tape and wrap it around the Tacx adapter part with the thread on until the adapter slides nicely to the non-drive side turbo part and leave the "shim" in there.
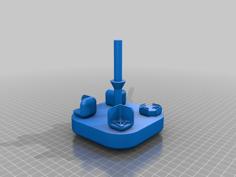
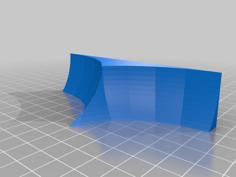
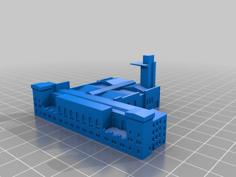
2) Print the adapter and use the coned shape adapter from the original thru axle to build a sandwich
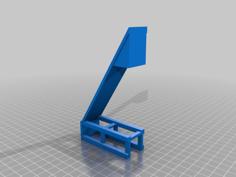
3) Mount the longest foot piece to the front of the trainer
4) Place the frame on the trainer, screw in the "drive side" Tacx adapter from the outside to the frames thread
5) Insert the spanner sandwich from the drive side and clamp it tight.
The printed part should hold up pretty well since it's supported on all sides and the frame itself is not resting on the spanner itself.
The Zwift Cog is straight forward to mount - you may need to use the cassette lock-nut that was installed on your trainer previously as the plastic one included in the delivery doesn't fit.
PRINTING:
I used PLA and it works quite well. If you put down 1000s of watts you may want something more heat resistant.
Layerheight: .28mm
Wall Line Count to 10 (it's a solid piece)
Happy days!
| Zwift-Ride-Tacx-T2800_Adapter_v2.stl | 518.5KB |