What is it?
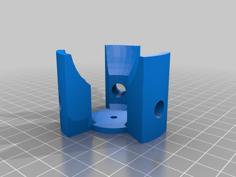
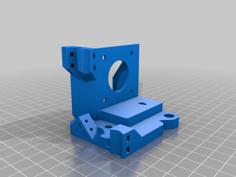
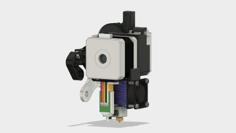
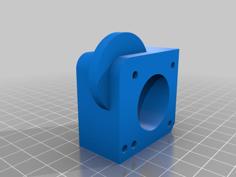
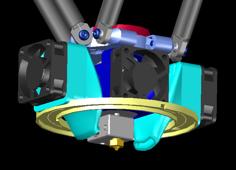
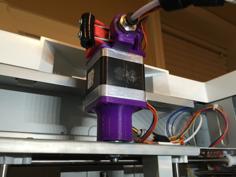
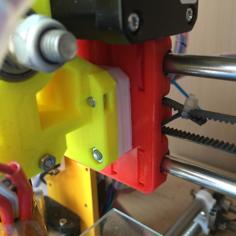
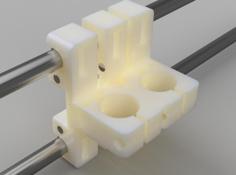
After doing the X Carriage of a CoreXY mechanism printer, i've designed also the Y Carriage, so to complete the XY stage. At the moment al the designs are with magnetic attachment for the extruder block, but as soon as possible i will design also a standard one.
Does it work?
I still have no idea since i've never printed it, gonna try it out as soon as possible and write down a feedback in case it works (hope so). If somebody ever tried a similar method, please let me know.
What do you need for it?
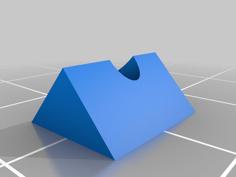
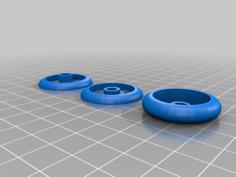
- 15xS-03-01-N Magnets
- 8xLM8U linear bearing
- 4xø8 smooth rod (depends on what size of printing bed you would like to know, if you don't know how to calculate it, just ask)
- 4x608ZZ bearings (you can use also pulleys if you find the right method to mount them on in way to be free to spin)
- GT2 Belt (dunno the exact, 1m should me more the sufficient)
- 8xM3 Bolts and nuts (for GT2 clamps and X Carriage)
- 4xM4 Bolts and nuts (for bearing holes on Y Carriage)
- 1xTop_Side_Carriage.stl (you will find it here: X Carriage)
- 1xBottom_Side_Carriage.stl (you will find it here: X Carriage)
- 1xHotend_Carriage.stl (you will find it here: X Carriage)
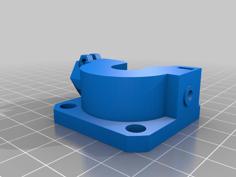
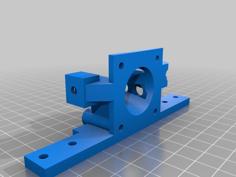
- 2xYCarriage.stl
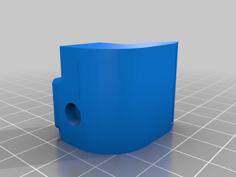
- 4xBelt_Carriage.stl (you will find it here: X Carriage)
Future Updates/Mods:
- Conic holes for easily stick inside the magnets
- Double magnetic carriage for double extruder
- Possibility to carry laser for engraving, pencil and more
- Double precision method implement
- Changing the sense of belts
- Adding an easy to adjust Endstop
- Third stabilizating smooth rod between Y Axis
Changelog:
Feel free to comment, ask, and (whynot?) to try it out leaving a feedback so to optimize project.