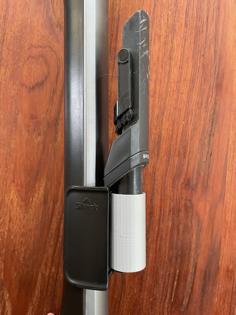
This is a replacement / repair part for the Wyze cordless vacuum. This vacuum was designed with a dust bin canister that has clip release for emptying the collected debris when full or finished cleaning. The clip is poorly designed resulting in being easy to break off and not able to be repaired and Wyze offers no replacement part. This leaves the only option to duct tape the canister bottom to the body to keep it closed and not spill collected dust everywhere. Wyze's support only recommendation is to purchase a new unit for $140. https://forums.wyze.com/t/cordless-vacuum-canister-retaining-clip/259836/2
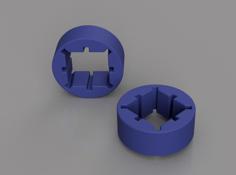
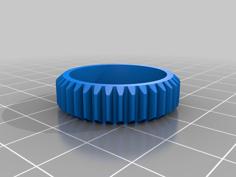
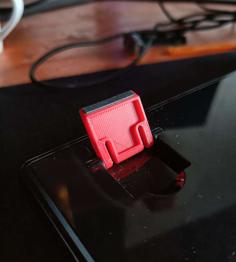
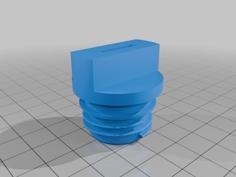
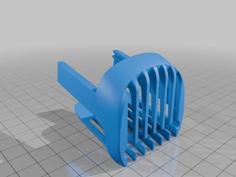
This 3D printable model is a replacement clip that can be glued on to hold the dust canister closed and retains vacuum lever activated dust bin emptying feature and wall mount.
Installation instructions:
- File or cut off remaining grey plastic stubs where original clip attached to bottom hinged lid. Do not remove any of the clear plastic where the clip anchors to hold the canister closed.
- Turn the canister upside down on a flat surface so the hinged bottom with teal center is facing upwards.
- Tape the canister bottom closed with enough tension to ensure canister seal is slightly compressed.
- Perform a dry test fit of the 3D printed part BEFORE GLUING to ensure the clip proper fits over the clear anchor and between the guide rails without needing scaled. The clip should slightly compress the rubber gasket when over the anchor but not apply over pressure at the anchor point.
- Clean the bottom of canister and 3D printed clip with an alcohol wipe where they will be glued together.
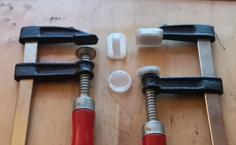
- Prepare a clamp or a strip of duct tape to hold the 3D printed part to the bottom of the canister while the glue sets
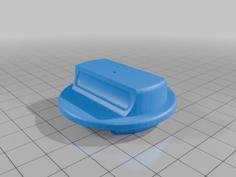
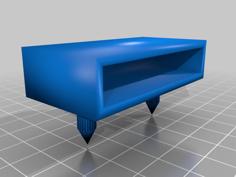
- Apply 2-part epoxy or super glue to the 3D printed part on the inside surface of the solid leg.
- With glue applied, align the cut out leg clip over the clear anchor and the solid flat leg to the grey bottom of the canister.
- Quickly align position of the clip to ensure the clip has engaged the clear anchor and the clip is pushed back flush against the side of the canister.
- Apply clamp or strong tape across the bottom of the clip to the bottom of the canister to hold securely in place until the glue sets and cures.
- After glue cures, preferably after 24 hours, remove clamp or tape and verify proper clip operation.