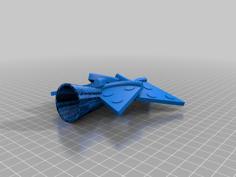
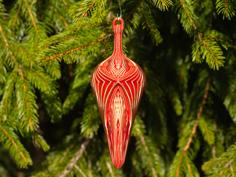
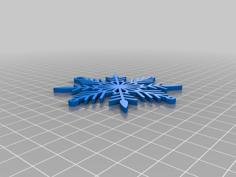
This star consists of 3 different beams, which are printed in different quantities and then have to be glued together.
What do you need?
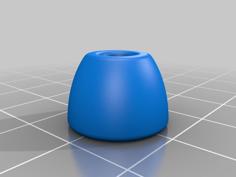
4-cornered beam: 18 times
3-cornered beam: 7 times
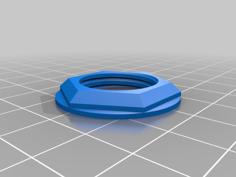
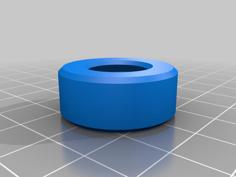
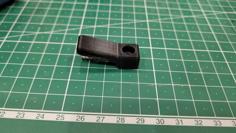
3-cornered beam with jack hole: 1 time
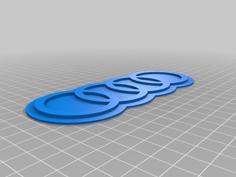
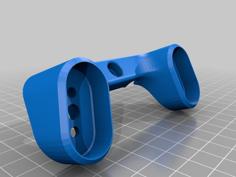
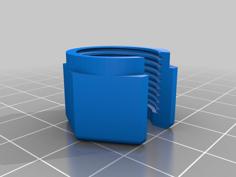
Christmas Star Beam Stencil: Little helper to glue the beams together in the right angle.
3-cornered beam with hole: 1 time (not needed if you print the one with jack hole)
I proceeded as follows when gluing:
Glue 8 of the square beams together to form a circle.
Then glue the two side parts together with 5 square rays each in an x-shape.
You should now have 3 parts that fit together to some extent.
The triangular holes that are still open are closed with the triangular beams after the electronics have been inserted.
The soldering part:
I would say it's up to each individual. The important thing is that all + are soldered together and all -. As the WS2812 are connected in series, an OUT pole must always be soldered to an IN pole of the next LED.
I recommend first building a version with only 6 LEDs. With 18 LEDs it becomes a bit more complicated. And the lighting effect is just fine also with 6 LEDs.
Find a more detailed instruction as pdf in the files
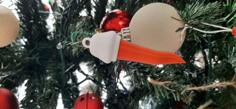
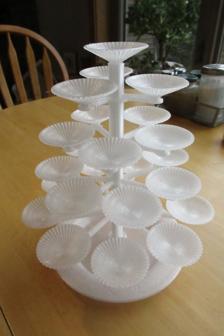
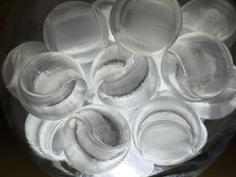
I added some photos from the process building it. That may help.
Don’t judge me by my solder joints. I don't do this for a living.
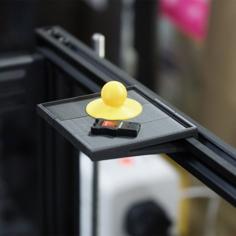
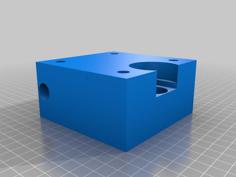
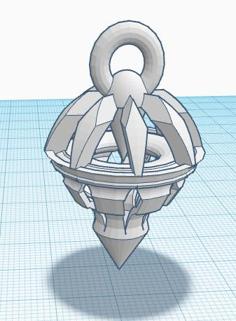
After soldering the LEDs together, they can be glued into the recesses of the square beams. Then feed the data cable for the suspension through the triangular beam with the hole and solder at the appropriate points. The other end of the cable will be connected to the ESP with WLED installed. I printed a case for the ESP, but that's not part of this project :)
Important: After each soldering process, always check that all LEDs are still lit. A cold solder joint is very difficult to find and fix later. Lessons learned.
You can fix the cable for the suspension with a cable tie for strain relief.
Does everything still light up?
Then glue the 3 parts together and finally close the triangular holes with the triangular beams.
process and final star video: https://youtu.be/xuHZSNPCza4
| Christmas_Star_Beam_Stencil.stl | 155.8KB | |
| Christmas_Star_Instructions.pdf | 2.3MB | |
| StarBeamSquare_x18.stl | 1.7MB | |
| StarBeamTriangleWithJackHole_x1.stl | 36.7KB | |
| StarBeamTriangle_x7.stl | 784.0B |