WiFi-Enabled On-Air Sign 3D Printer Model
The file 'WiFi-Enabled On-Air Sign 3D Printer Model' is (stl,f3d) file type, size is 2.8MB.
The file 'WiFi-Enabled On-Air Sign 3D Printer Model' is (stl,f3d) file type, size is 2.8MB.
This is a remix of the "On Air Sign [IoT] for Twitch" by Adafruit.
https://www.thingiverse.com/thing:1506862
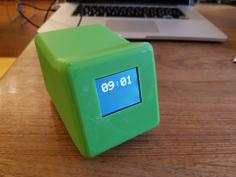
I work from home and wanted a sign that would let my family know if I was in a meeting.
This project uses two buttons/switches to set different colors. For example, one turns the sign Yellow and implies to my family that I'm busy but can be disturbed if necessary.
The other button turns the sign red and implies "I'm in a meeting, be quiet."
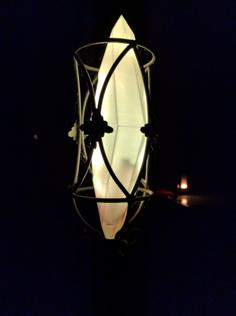
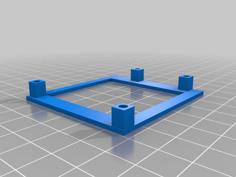
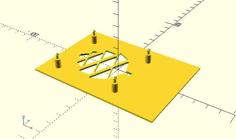
I edited the sign with two things: a lip around the base to prevent light from coming out of the seam, and I added a larger hole for heat-press threaded inserts. You can edit the Sign vXX.f3d file to modify those.
The '_inserts' files also use threaded heat-press inserts.
Materials:
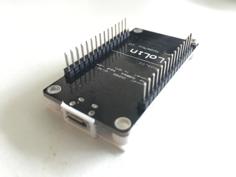
1x Feather Huzzah (esp8266) - https://www.adafruit.com/product/2821
1x WeMos D1 Mini (esp8266) - https://www.aliexpress.com/item/32529101036.html
1x RGB LED - https://www.amazon.com/dp/B077XGF3YR
2x 430 ohm resistors
1x 470 ohn resistor
1x 10k ohm resistor
Adafruit NeoPixel - https://www.adafruit.com/product/3634
Button - https://www.amazon.com/dp/B09833VJWF
Switch - https://www.amazon.com/dp/B09J4BVDMR
Optional:
Threaded inserts - https://www.amazon.com/dp/B0784VYCYY
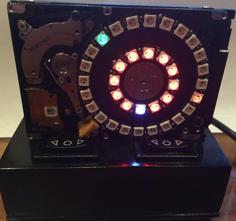
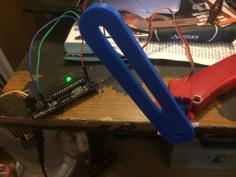
The project uses an Adafruit Huzzah Feather with ESP8266, a WeMos D1 Mini, the 3D-Printed On-Air sign and controller, a NeoPixel strip, an indicator LED (on the controller), and two inputs (button/switch).
CODE:
There are two versions of the code:
The first one was done in the Arduino IDE and can be loaded directly to the sign or controller. This version was originally written to use a huzzah on the controller, so you will need to modify the code to use the appropriate pins if you choose to use the D1 Mini instead. Also, all values such as WiFi and MQTT are hard-coded.
V1 code: https://github.com/morganh83/On-Air
The second version was built in PlatformIO and has some extra features such as a captive portal that starts up if/when it cannot find a pre-configured access point. You can plug in the WiFi and MQTT details from the captive portal instead of hard-coding them.
V2 Code:
Control Box: https://github.com/morganh83/AirBubble-CTRL_v2.4
Sign: https://github.com/morganh83/AirBubble-Sign_v2
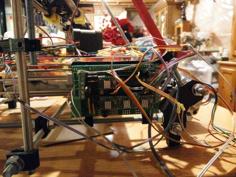
Wiring:
Wiring up the sign is easy enough.
DIN - Pin 12
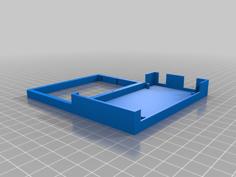
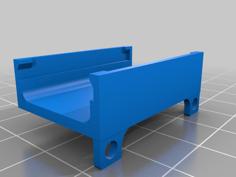
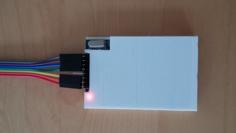
The controller is a little more involved:
RGB LED (Common Cathode):
Red - D3 (470 ohm resistor)
Green - D2 (430 ohm resistor)
Blue - D1 (430 ohm resistor)
Button:
Terminal 1: Attach the 10k ohm resistor to a ground (gnd) wire first. Then combine it to another wire from D0. Attach both wires to the first terminal.
Terminal 2: 5v
Switch:
D7 to one side, GND to the other.
| Botton-Sign_v3.stl | 117.7KB | |
| diffuser.stl | 684.0B | |
| face.stl | 49.0KB | |
| On-Air_v2.f3d | 730.9KB | |
| On-Air_v2_plate_inserts.stl | 35.4KB | |
| On-Air_v2_v3_inserts.stl | 294.1KB | |
| OnAir_ButtonBottom.stl | 56.1KB | |
| OnAir_NewBody.stl | 538.9KB | |
| Sign_v14.f3d | 1.9MB | |
| Sign_v2_top.stl | 133.3KB |