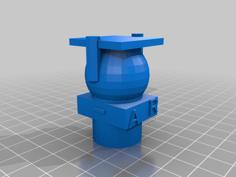
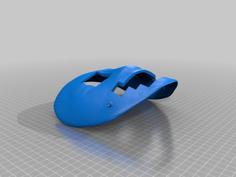
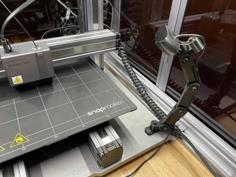
This is an adjustable webcam mount for a Creative Live! Cam Sync HD which can be rotated and height adjusted. I'm using it for my octoprint installation to supervise the prints.
Print each of the stls in the given orientation. I've used PETG for all of them except the spacing tool, for that I used PLA.
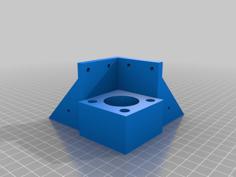
I printed Axles, AxleConnectors, EccentricLock and the CamHolder with a brim to make sure it sticks well to the print bed. This requires some after print clean up to remove rests of the brim.
Then insert the AxleConnectors into both ends of one axle. The connectors are more wide than height. Therefore they will might have to be rotated to be inserted more easy. I added a drop of glue on the connectors to make sure they stick together.
Using soap and water clean the movement of the screw nuts on the mount plates. Remove any dirt and make sure the nuts can be freely screwed onto the plate.
The eccentric lock is mounted with a M3x16 (DIN 7984) screw and a self locking M3 nut (DIN 985).
Now fix the bottom mount plate (that is the wider one) on the bottom of the lack case with wider side to the feet. I used the double sided tape to fix the position. Do the same with the top mount plate. Use the spacing tool for finding the right distance from the front.
Hold the connected axles vertical and add from bottom to top:
1) Axle end with the cone on top (note there is another one without the cone - that is for the upper end!)
2) screw nut with the thread pointing down
3) web cam holder
4) screw nut with the thread pointing up
5) Axle end which doesn't have a cone.
Insert the lower end of this assembly in the mount plate and shift the upper end into the upper mount plate. Now close the upper end by screwing the nut onto the upper mount plate. This makes sure the axle doesn't go out any more.
Now or later you can adjust the camera position by loosing the lock on the camera holder and move the holder up or down to the desired position - then lock the eccentric lock.
While the lower nut is loose you can rotate the axle freely, to make that position fixed close the nut. Don't use to much force here.
Now you can still turn the axle. Move the cam holder to the preferred height and lock it with the eccentric lock. Turn the construction to the desired angle and screw the bottom nut onto the mount plate to fix that position.
Using the openscad source file you can modify the model as you need it.
I've printed test models during the development of the model in PLA which showed that the tolerances for the nuts and the eccentric lock need to be increased for them to work when printing in PETG. The current values are for PETG, but should work for PLA as well.
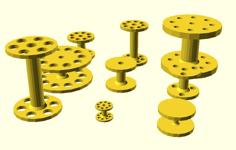
| AxleConnectors.stl | 1.3KB | |
| AxleEnds.stl | 205.9KB | |
| Axles.stl | 6.5KB | |
| CamHolder.stl | 76.3KB | |
| EccentricLock.stl | 34.7KB | |
| MountPlates.stl | 1.0MB | |
| Nuts.stl | 2.2MB | |
| SpacingTool.stl | 1.1KB | |
| WebcamHalter.scad | 8.7KB |