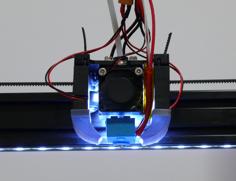
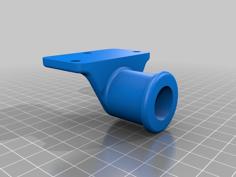
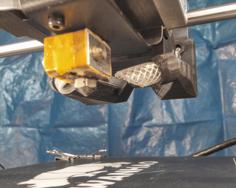
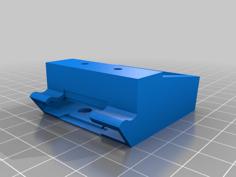
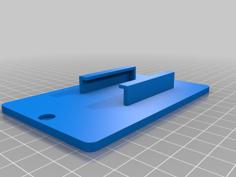
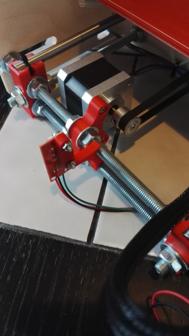
I took my Ender 6 BIQU H2 mount (https://www.thingiverse.com/thing:4893522/) and modified it to work with an Ender 3v1 / Pro and v2. You'll find that the BL Touch / CRTouch mounts and the fans are the exact same models.
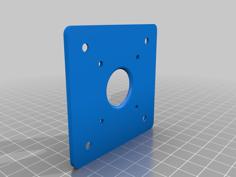
Due to the H2 cable lengths, you'll want to route the wiring so it goes through the top of the control board cover. I've included cable mangement that attaches to the x-axis motor cover and allows reusing the existing screws. I also included a new control board cover with a larger opening for the wires as well as a covered fan inlet.
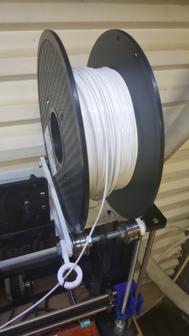
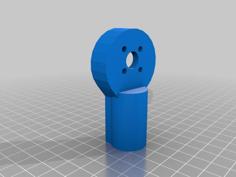
I took InToSSH's direct drive spool holders and modified it so that you install the socket cap screw from above and secure it underneath with a nut.
As with my Ender 6 mount, I've also included a 5015 fan duct. I took Schwab_Manufacturing_Solutions's design and added insane78's channels as well as modified the slots for the fan tabs. I also removed the BX logo and adjusted the edges of the outlet to make it more ASA filament friendly.
More Ender 3 models at https://www.thingiverse.com/vampyrex13/collections/my-ender-3-models.
Optional Upgrades
The Claw Fang Duct: https://www.thingiverse.com/thing:5202213.
Updates
• 2022.06.26: Ender 3 v2 mount added.
• 2022.06.20: BLTouch & CR Touch Volcano hotend versions added.
Klipper Firmware Notes
My config below gives you a maximum bed size of 230x210 with ~5mm border on the left edge and front edge of the bed
[stepper_x]
position_endstop: -5
position_min: -5 # moves x 0 position ~5mm from left edge.
position_max: 230
[stepper_y]
position_endstop: -25
position_min: -25 # moves y 0 position ~5mm from front edge.
position_max: 210
[safe_z_home]
home_xy_position: 149.2,105 # ( position_endstop / 2 ) - BLTouch offset
[bltouch]
x_offset: -34.2
y_offset: 0
z_offset: 0 # temporarily reset to 0 to prevent smashing nozzle into bed.
[bed_mesh]
mesh_min: 0, 0
mesh_max: 195.8,210 # position_max - BLTouch offset
[extruder]
rotation_distance: 3.4334 # the equivalent of 932 e-steps in Marlin.
Slicer Notes
• Bed Size: 230, 210.
Versions
• There are two versions of each probe mount; the regular ones and the Volcano hotened compatible ones which move the probes 8.5mm down.
• There are two different fan ducts; the regular one and a 5015 one. If you still have the factory Ender 6 parts fan, use the regular duct. If you've upgraded to a 5015 blower fan, use the two 5015 parts instead.
Hardware
X-Carriage Mount:
• (4) M3x6mm socket cap screws
BIQU H2:
• (3) M3x8mm socket cap screws (top and bottom)
• (1) M3x10mm socket cap screw (rear)
4010 Factory Fan Duct:
• (2) M3x6mm socket cap screws
5015 Fan Duct:
• (2) M3x6mm socket cap screws
• (2) M3x20mm socket cap screws
• (4) M3 nuts
BLTouch / CR Touch Mount:
• (2) M3x16mm socket cap screws
BLTouch / CR Touch:
• (2) M3x8mm socket cap screws
• (2) M3 nuts
Control Board Cover Fan:
• (4) M3x25mm socket cap screws
• (4) M3 nuts
Spool Holder:
• (2) M5x20mm socket cap screws
• (2) M5 nuts
Spool Holder Adapter:
• (2) M5x12mm socket cap screws
• (2) M5 t-nuts
Printing Notes
• Print the mount at 40% infill with 5 vertical and horizontal layers in PETG minimum. ASA or ABS is recommend.
• The fan duct should be printed in ASA or ABS since they sit close to the heat block. The other parts can be printed in PETG.
• Print the fan ducts at 0.2 height and use adaptive layers for the best success.
Installation Notes
• The BIQU H2 mounts on the top, bottom, and rear. Install all 4 screws loosely, starting with the top, then tighten them all.
• Replace the two screws holding the hotend fan in place with (2) M3x16mm socket cap screws to attach the BLTouch / CR Touch mount.
• Re-use the stock bolts for the x-axis cable mount.
• Secure the wires to the mounts with zip ties.
Parts
Below is my list of parts I used (affiliate links).
• BIQU H2 v2.0: https://www.amazon.com/dp/B09JWCBKLH/ref=cm_sw_r_as_gl_apa_glt_fabc_T2RD7HYG3VREQKPA30SA?_encoding=UTF8&psc=1&linkCode=ml1&tag=vampyrex13-20
• 5015 Fan (24V - Creality boards): https://www.amazon.com/dp/B0755BY9RH/ref=cm_sw_r_as_gl_apa_glt_fabc_T2RD7HYG3VREQKPA30SA?_encoding=UTF8&psc=1&linkCode=ml1&tag=vampyrex13-20
Buy Me a Coffee?
Do you like my work? You can buy me a coffee at https://ko-fi.com/vampyrex13.

