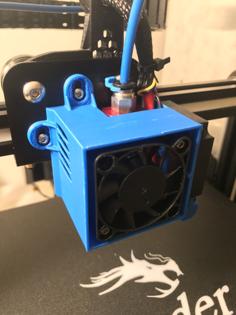
Universal Hemera Fan Duct For V6 And Volcano (Update 2.2) 3D Printer Model
The file 'Universal Hemera Fan Duct For V6 And Volcano (Update 2.2) 3D Printer Model' is (stl) file type, size is 282.8KB.
The file 'Universal Hemera Fan Duct For V6 And Volcano (Update 2.2) 3D Printer Model' is (stl) file type, size is 282.8KB.
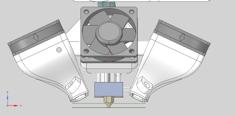
I tested a bit around different smaller design changes and validated them ROUGHLY with CFD (I am not an Engineer or somebody who knows CFD very well). Picture of the rough CFD Simulation attached.
I made small changes like increasing the hole size of the arms/fangs as well as make them higher on the outside but not on the inside to hopefully keep clearance for V6 cables.
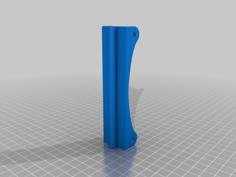
The air is now less restricted and flows more downwards. V2 Airflow was going nearly straight from both sides and thus going upwards when meeting in the middle.
This version needs to be Mounted a bit higher than V2 because of that.
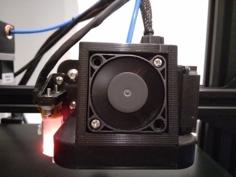
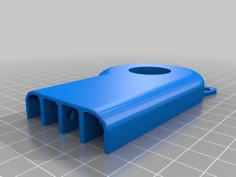
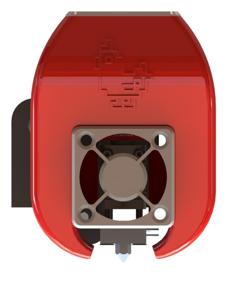
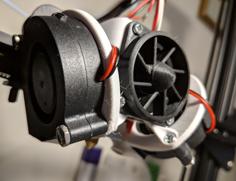
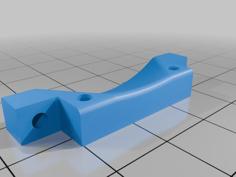
I redesigned the Arms completely. Now the air travels much more to the outside to come back to the nozzle in the straight way. The old design pushed the air out at 45° degree angle and was much higher which made problems with the wiring of V6 Heaterblocks. The "highClearance" version didn't seem to fully mitigate that and had other drawbacks.
Now with the new and flatter Arm design this should be fixed. Also now the air truly comes out at nearly 90° angle from both sides and meeting directly in the middle on the Nozzle for maximum part cooling Efficiency. It now should be even better at overhangs and bridging than the V1 version which already was extremely good at cooling the hot filament.
The Downside is that its now wider than Hemera so on some Printers it MIGHT need some Endpoint offsets. So pleases check carefully before starting your first print!
On Ender 5 Plus even with Volcano this Cooler however doesn't collide with anything.
If you have an Volcano, the V1 still works fine but V2 should have slightly better performance.
If you are using the normal V6 Hotend you might wan't to choose the _highClearance version, Its fangs are 8mm more apart leaving more place for cables. Also its 4mm shorter to compensate the new center of Airflow (air comes out pretty much 45°). Also you want to mount it some Millimeters higher.
So after I made my own Universal Fan Duct for Titan Aero in Onshape I made an completely new one for Hemera in Fusion360 with all the things I have learned from the old design and it flaws.
This FanDuct with its Mount is very adjustable in the height and is compatible with V6 and Volcano!
And one very important "feature" is that it is completely compatible no matter what Hemera-Mount you use as long as the Hemera is orientated for the stepper motor on the right side. But if you have an Ender 5 (Plus) or other Creality printers, you might want to check out my rail sliding mount for the Hemera. :)
What you need:
Printing:
Installation:
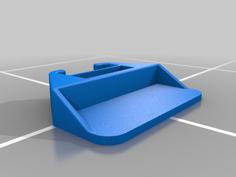
| Hamera_FanDuct_highClearance_v1.stl | 118.7KB | |
| Hamera_FanDuct_Mount_v1.stl | 133.1KB | |
| Hamera_FanDuct_v1.stl | 119.1KB | |
| Hamera_FanDuct_v2-2.stl | 419.0KB | |
| Hamera_FanDuct_v2.stl | 162.1KB |