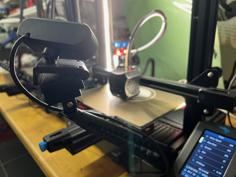
This is a remix of RaffoSan's Universal Camera Arm, Felwat's Swivel Adapter, and Felwat's Logitech C920 Adapter with some custom mount options added for the Snapmaker 2.
The universal camera arm models are great but suffer from having an extreme number of disorganized files and no instructions or clues which anyone should use or how. As many comments note, it is very difficult to even begin. This remix contains only a subset of those files but it is fully compatible with all of the camera adapters in the original project if you happen to have a different webcam.
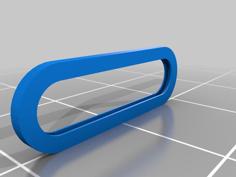
That said, I do not recommend using any of the arms from the original project. For whatever reason the creator made them 22 mm wide and thus they do not fit 20 mm bolts. The arms in this version have been slimmed down to 20 mm wide so you don't have to use larger bolts and have ends hanging off of it and snagging on things. The clearances inside the joints remain the same, so you can still attach other parts from other projects if you wish.
All of the models are designed to print "as is" without any change in orientation or supports. For best results make sure your printer is calibrated and printing with good dimensional accuracy. The nuts are all tightly press fit and should be (gently) hammered into place.
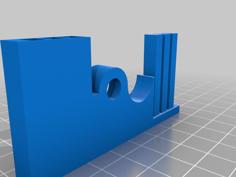
Snapmaker Mount
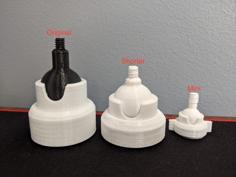
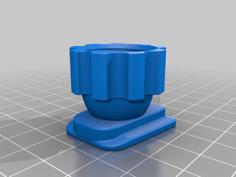
There are two mount models included for the Snapmaker 2 which can be mounted in one of three ways:
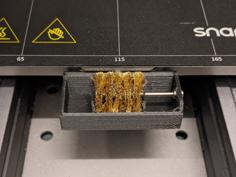
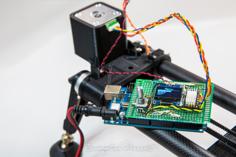
(1) If you moved the touchscreen elsewhere (eg. because you have the enclosure), use the Snapmaker swivel mount on the baseplate in the spot where the touchscreen holder would normally be mounted. This will require two M4x10 bolts and two M4 nuts. You also need to embed a third M4 nut on the underside of the mount before affixing it to the baseplate so it can be used with swivel adapter A with one M4x20 bolt and M4 washer.
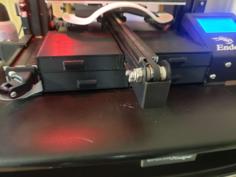
(2) If you have the enclosure, use the Snapmaker arm mount anywhere you like on the extruded aluminum frame. This will require two M4x10 bolts, two M4 washers, and two M4 drop in t-slot nuts. (Buy them on Amazon or you can try printing your own.) Connect an arm piece using one M4x20 bolt, M4 washer, and M4 nut.
(3) Use the Snapmaker arm mount on the end of any of the linear rails. This will require two M4x10 bolts and two M4 washers. Connect an arm piece using one M4x20 bolt, M4 washer, and M4 nut.
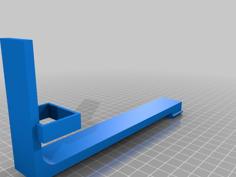
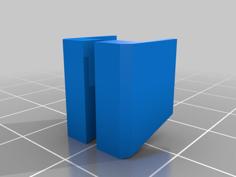
Arms and Other Parts
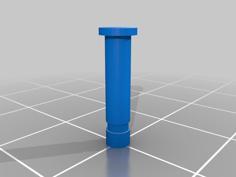
In addition to choice of mount, you can use any number and combination of arm pieces and swivel adapters to build your camera arm. Each joint uses one M4x20 bolt, M4 washer, and M4 nut.
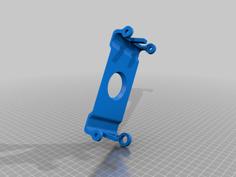
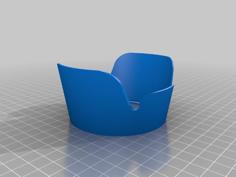
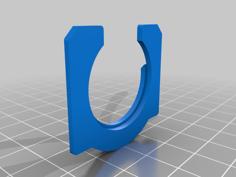
Camera Adapter
For the Logitech C920, you will need to partially disassemble the camera to remove its original stand and replace it with this adapter. See this video for a teardown tutorial, stopping at the removal of the stand.
You can also use any of the other camera adapters made for Raffo's camera arm.
Updates Planned
- Add a fourth option for mounting on the edge of one of the linear rails
- Modify the C920 adapter to use the original metal blades from the camera stand
- Possibly include more slimmed down arm choices from the original project