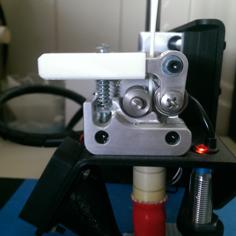
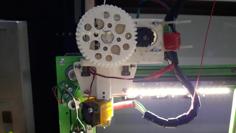
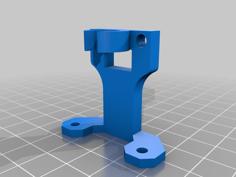
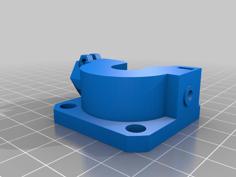
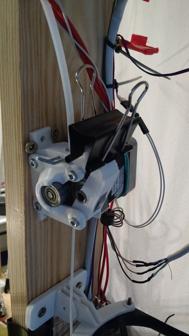
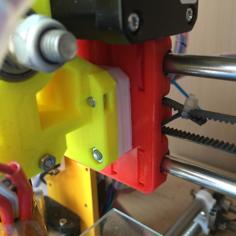
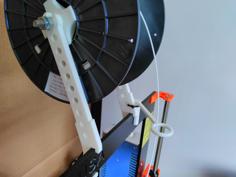
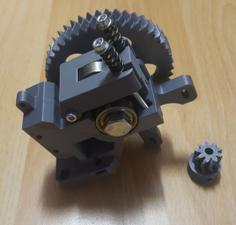
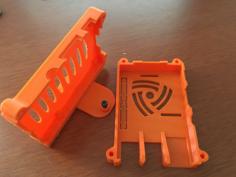
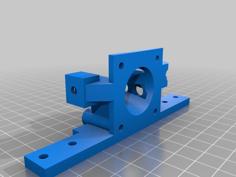
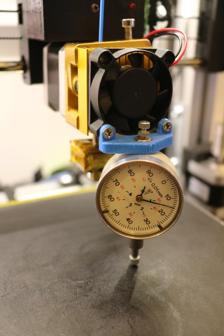
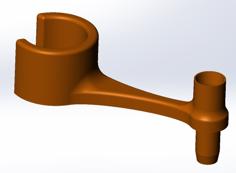
I remixed the great extruder design by coricoco (thing #755164) and applied some design improvement from Marck80's remix (thing #932386).
This design has numerous advantages.
- The solid and unified design requires minimal assembly.
- No Bowden.
- Minimal footprint, so it does not cannibalize printing volume.
- The center of weight is on the X axis.
- Capable of Flexible filaments.
- This design is backward compatible. You might able to use various accessories from the previous designs (#755164 and #932386).
This extruder is for Mk8 drive gear (effective diameter 7mm) and an E3Dv6 nozzle.
Also, it equips BLTouch auto leveling sensor mount ( https://www.indiegogo.com/projects/bltouch-auto-leveling-sensor-for-3d-printers ).
Required additional parts and gears
- PTFE tube (o.d 4mm / i.d 2mm)
- M3*7mm countersunk bolts (x4)
- M3*5mm bolts (x2)
- M3*20mm bolt (x2)
- M3*25mm bolt (x1)
- M3*50mm bolts (x2)
- M4*40mm bolts (x4)
- M3 & M4 Nyloc nuts
- Washers
- Springs x2 (about 15mm)
- 3mm&4mm drills
- M3 Tap
- 623 or 624 bearing 1ea
- Mk8 drive gear
- E3Dv6 hotend (or lite ver.)
- NEMA17 & 31mm stepper motor.
- (Optional) BLTouch sensor
Printing Instruction
I recommend using high infill rate (above 40%) and 3 perimeters. I used ABS but PLA probably works fine. Reorient parts if required.
- Print [Extruder_mk8]. It's designed to be printed without raft and supports, however, choose decent bed adhesion option if needed.
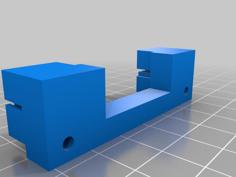
- Print [Extruder_fixer]. If you want to use BLTouch sensor, print the _BLTouch ver. Otherwise, print the _normal version.
- Print [Extruder_tensioner] for your bearing size.
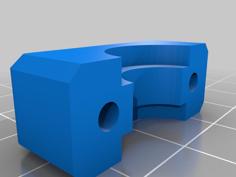
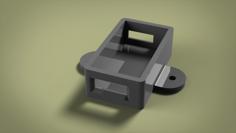
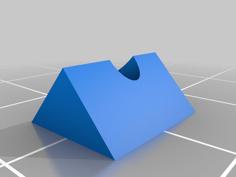
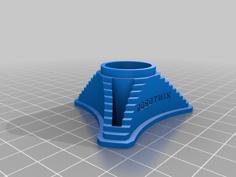
- Print [Spacer] and [TubeClamp].
Assembly Instruction
For better vibration resistance. use Nyloc nuts for every possible place.
- Remove the pre-designed supports.
- Clean the holes using drills.
- Tap two M3 threads at the center of the extruder.
- Test mount an E3D nozzle. Cut the PTFE tube to be placed just below the drive gear.
- Mount a stepper motor using M3*7mm countersunk bolts
- Mount a bearing to the [Extruder_tensioner]. For 623 bearing, use M3x20mm bolt. For 624 bearing, use M4x25mm bolt. If you're using 624 bearing, place the bolt head toward the stepper.
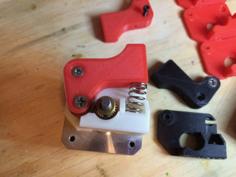
- Mount the [Extruder_tensioner] assembly to the extruder body. Use M3*25mm bolt and add some washers for clearance. Tightening the bolt is tricky here. Use a long-nose plier to fix a nut. Make sure the tensioner is moving freely.
- Mount the Mk8 drive gear to the stepper.
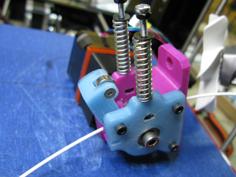
- Using two M3*50mm bolts, springs, and nut, push the bearing against the drive gear. Refer the picture.
- Place four M4 Nyloc nuts to the extruder body. Apply a drop of super glue to avoid falloff during assembly.
- Using [Extruder_fixer] and two M3x20mm bolts, mount the E3Dv6 hotend.
- If your hotend has PTFE tube clamp, just go to next step. Otherwise, clamp the PTFE tube using TubeClamp part & two M3*5mm bolts.
- (Optional) Mount the BLTouch sensor. The X-offset between the nozzle and sensor probe is 23mm. Y-offset is zero. Z-offset is required to be calibrated for your parts.
- Mount the extruder assembly to the carriage using four M4*40mm bolts. Sandwich [Spacer] between them.
- If you have some rubbery material, place it between the stepper motor and carriage. This will greatly reduce the vibration during print.

