The Ultimate Propeller Launcher W/ 64x Gearbox 3D Printer Model
The file 'The Ultimate Propeller Launcher W/ 64x Gearbox 3D Printer Model' is (stl,scad) file type, size is 1.4MB.
The file 'The Ultimate Propeller Launcher W/ 64x Gearbox 3D Printer Model' is (stl,scad) file type, size is 1.4MB.
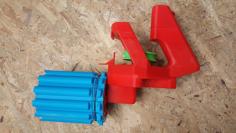
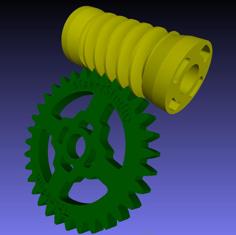
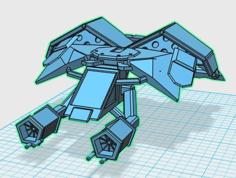
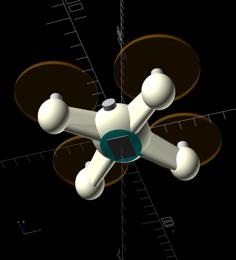
This is a high-power flying propeller disk launcher, that uses a compound/stacked planetary gearbox with a ratio of 1:64! (x4 each layer)
Video of it in action:
https://www.youtube.com/watch?v=CrNs5tIDfMc
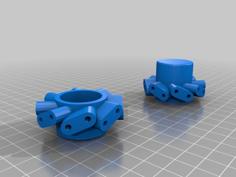
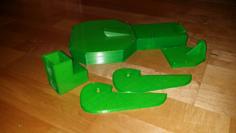
The gearbox layers print-in-place, and are designed to easily assemble with just 5 parts:
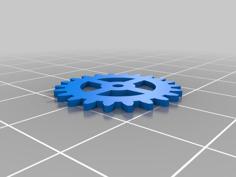
Obviously print as many propellers as you need! The Gear Cover and Disk Remover are optional.
IMPORTANT, print 2 of the file “Gearbox_layer1and2”, so you'll have a total of 3 gear stages stacked. Otherwise it won't be as powerful.
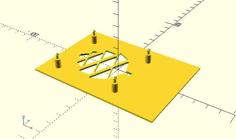
Each gear layer is already assembled to Print-In-Place. So make sure your bed is leveled, and your printer is well calibrated and can handle parts that print close together with tight tolerances.
Print settings that might help: Set Wall Ordering to "Outside to Inside" or "Outside Wall First", Slicing Tolerance to Exclusive, z-hop on retraction might help. Oh and Seam Alignment to Random might help avoid seams between gears too, not sure.
After printing, even with a successful print, the gears might be a little stuck at first, but should be possible to get free, with a little work. When stuck, I use a rag to press on the gears from their sides, in the directions they rotate, and they should free up pretty quick & easy. Sometimes I use the rubber coated handle of my pliers to help nudge them free. I've already printed a bunch of these, and never had one I couldn't get unstuck.
Once freed, the individual gear segments may need to be worked-in a little, to help smooth their movement. So roll them in your hands for 5-10 minutes or until they feel smooth. Adding a little lubrication will also help, if possible.
The frame that holds the gears can also leave a few stray strings from bridging, that might need to be removed with a tweezers or fine tip pliers. Additionally, the connection pegs between segments may likely need a little sanding to get them to fit into their neighbor, just don't make them too loose either.
Once the segments are fully pressed together, I put a few drops of super-glue along the seams around the outside, in a few places, just to help secure things.
Use the OptionalGearCover if you're worried about fingers being pinched in the exposed top.
If you have trouble removing disks from the print bed, the "Disk Remover Tool" should make that much easier. These new disks are a bit more durable than my previous design, and have an improved, slightly twisted blade.
| DiskRemoverTool.stl | 81.3KB | |
| Gearset_layer1and2.stl | 1.5MB | |
| Gearset_layer3HT.stl | 1.7MB | |
| LaunchHandle.stl | 166.0KB | |
| OptionalGearCover.stl | 161.1KB | |
| PropellerAdaptor.stl | 80.4KB | |
| PropellerDisk.scad | 2.3KB | |
| PropellerDisk.stl | 447.8KB |