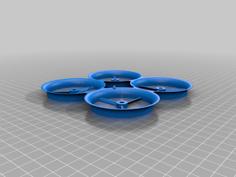
The Calimero HD 3D Printer Model
The file 'The Calimero HD 3D Printer Model' is (stl) file type, size is 4.2MB.
The file 'The Calimero HD 3D Printer Model' is (stl) file type, size is 4.2MB.
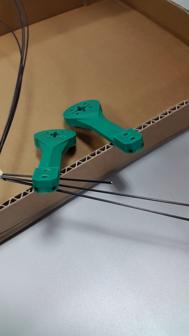
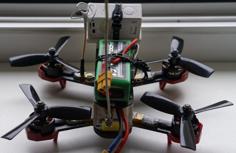
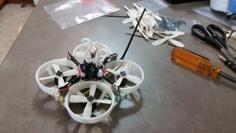
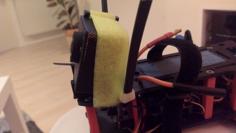
The Calimero HD is a Thoothpick style frame that can fit a Caddx Turtle V2 and give you HD footage in a super tiny package. Of course there is additional weight compared to a regular toothpick style setup (around 12g). To compensate this I use lighter 300mah Turnigy Nano Lipos (16.6g) instead of e.g. Tattu 450mah (29.6g). The AUW stays pretty much the same (76g) and although you lose some flight time the quad still has most of those great flight characteristics of a regular toothpick.
This is still pretty much a work in progress so please let me know what you think and share your builds and ideas!
FC+ESC: Crazybee F4 pro
Update: Please don't get the board with the integrated receiver. It's horribly unreliable and has the worst range I have ever seen. Get the r-xsr if you run FrSky or any other small RX that fits your radio. Btw you can hook up an external receiver even to the Carzybee with the integrated RX. To protect the 5V regulator and have a cleaner power supply I soldered a 1000uf 10V Elko to the XT-30 connector and I had no issues at all after at least 60-70 packs. The GEPRC 12A looks really promising too! It's supposed to be 4S capable and 12A enough by a huge margin! I have ordered one that I will hopefully be testing soon.
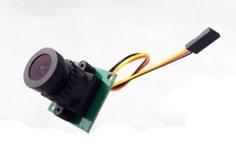
Camera: Caddx Turtle V2
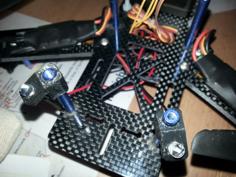
Motors: Amax 1103 7500kV
Budget Motor Option: Racerstar 1103 8000kV
Video Transmitter: TBS unify nano
Batteries: 300mah 2S LiPo
Misc: XT30 connectors
M2 Screws:
-12 M2x7 (The same ones that come with may of the micro props)
Printing:
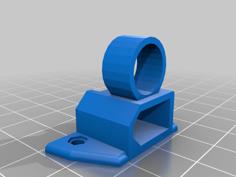
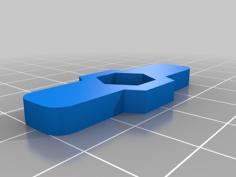
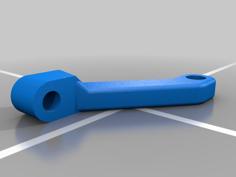
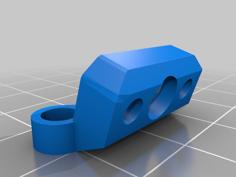
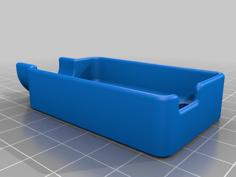
For the frame I used PLA with 4 wall layers and 100% infill. After printing, I cover the print on the build plate and temper it at @85°C for 20 minutes. There are plenty of materials you can use for the frame as log as it is stiff enough. The pod, adapter and the battery plate should be printed out of TPU or at least a flexible material!
Update: I some more materials and among those Sainsmart PETG seems really promising. I had to print it at 100% infill because it is not as stiff as PLA but that material seems to have really really good properties. It is much much less brittle compared to PLA.
Building:
This build is a little bit tricky with all the tiny parts. I stripped another toothpick and transferred the already soldered components (except the camera) on the Calimero. This probably the most convenient way to do it. I recommend to start with putting the camera and the VTX in the pod. Then take the TPU adapter as shown in the pictures and mount the Crazybee board to "close" the pod. After that you can simply stack everything on the 20x20.
Build Guide: https://youtu.be/e1hpbmy4K00
Flight Footage: https://www.youtube.com/watch?v=Qu98jAzBuyo&feature=youtu.be
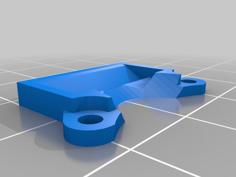
| Calimero_HD_Adapter_V1.0.stl | 161.2KB | |
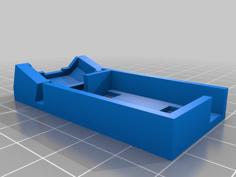
| Calimero_HD_Frame_V_1.1.stl | 416.7KB | |
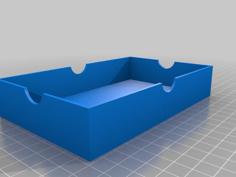
| Calimero_HD_LiPo_Pad_V1.0.stl | 109.5KB | |
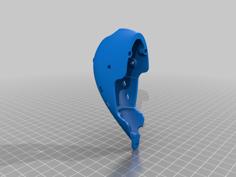
| Calimero_HD_Pod_V1.0.stl | 8.9MB |