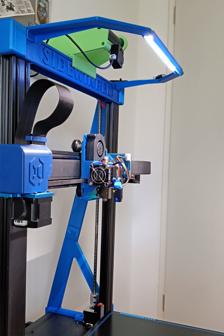
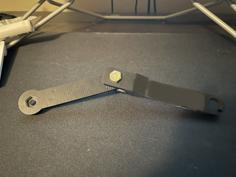
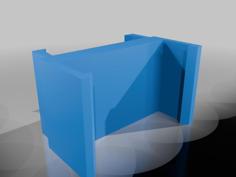
Designed this to hold my charger handle when I don't want to put it away in the garage. Simply push the hand in to lock, put it in again to unlock. Same as a clicky pen. Video here: https://www.youtube.com/shorts/Va9rUwEd3wA
Print parts in the orientation that works best for you, not the orientation my STLs have been output in.
Some hardware is required for this:
2 springs - 0.5x6x50mm - Amazon: https://www.amazon.ca/gp/product/B09PV6BFJZ
1 spring - 0.3x4x25 - Amazon: https://www.amazon.ca/CREEYA-Compression-Assortment-Different-Stainless/dp/B08KD5Q2P7
1 M5 nut
2 M3x12 button head bolts
4 drywall screws (for mounting)
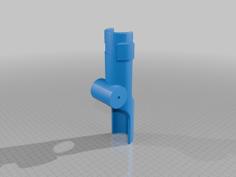
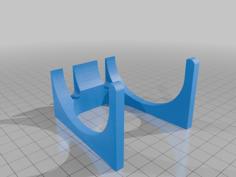
Ensure the Lock Pin slides freely into the Socket, and is returned by the small spring. This is what locks the charging handle in place.
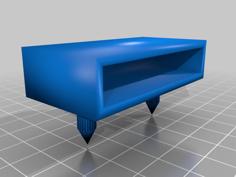
Make sure the Socket slides freely in the Housing, and is returned by the larger 2 springs.
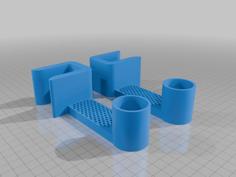
Make sure the Bottom Plug slides snugly into the housing, but does not jam or bind.
Check that the M3 bolts slide cleanly through the Button Plug, and thread into the Housing.
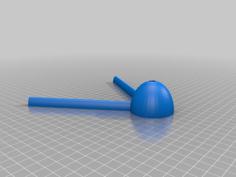
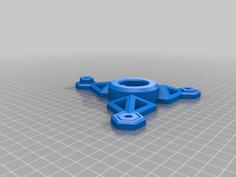
Press The M5 nut into the T Lock (heat helps). It is used to weight the T Lock.
In order to assemble:
You may want to get a feel for the assembly by skipping step 1 and assembly it on a bench first. Note that the T Lock operates on gravity, so the device will only operate upright. Additional, the Buttom Plug is required to constrain the T Lock, so it will not operate correctly without it. This is why you want the plug to fit snuggly, but not so tightly that it can't be easily removed.
| Bottom_Plug.STL | 200.1KB | |
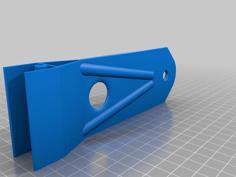
| Housing.STL | 4.6MB | |
| Lock_Pin.STL | 1.5MB | |
| Socket.STL | 4.6MB | |
| Socket_-_Breakaway_Supports.STL | 4.6MB | |
| T_Lock.STL | 85.4KB |