Edit. Added my ztool for leveling.
I've had my TAZ5 for about 2 weeks and these are the gadgets I have made to help get it working properly. I'm NOOB to 3D printing but a old hand at g-code with CNC routers, mills and plasma cutting so things are coming along pretty well.
Got my TAZ5 off Amazon for $1850, been waiting for the time to build one up or even add a extruder to my Router which is pretty fast as I designed it with servo motors instead of steppers. I decided to just buy one and get on with the learning process.
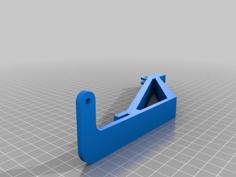
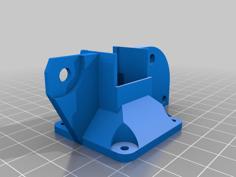
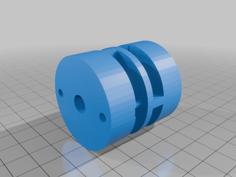
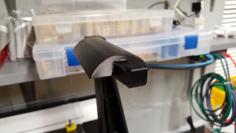
Out of the box my left Z-axis was pretty hard to move and the stepper sounded like it was banging pretty hard. I was able to get things lined up pretty well and both sides are about the same, less than 25 oz/in to move them, that's with the motor attached. I must admit I was worried about lost steps in the Z axis so I built a little indicator for the right Z axis to show if I'm getting out of alignment between both sides. It's easy to make and makes me feel better but I haven't noticed any change since I set it.
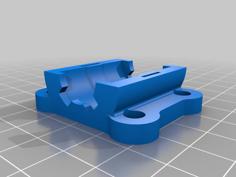
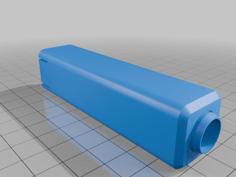
I built a torque gauge that clamps to the leadscrew to see if I was within the range the stepper motor could handle.
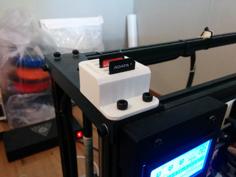
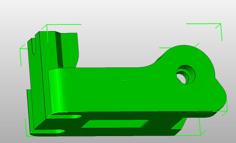
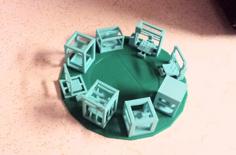
I have 3 items here, another mount for a .01 mm dial indicator, a Z-axis monitor and a torque gauge. The dial indicator was $10 purchased off of Amazon Prime. If I had seen the other dial indicator mounts I probably wouldn't have made this one, I didn't know what Thingiverse was last week. I could of saved some time not poking around the Lulzbot drawings for the stl of the mounting plate.
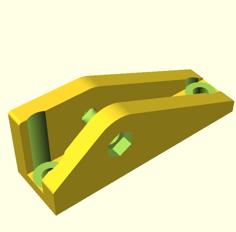
The dial indicator is mounted to put it close to the actual XY location of the single extruder. It also has a mount to mount the indicator horizontal to measure backlash in either X or Y direction.
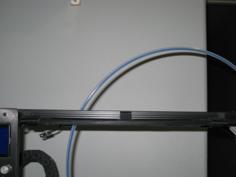
The little Z-axis monitor mounts on the right rail as show in the photo's. After you do a normal alignment of the Z axis, home the axis and then slide the unit up and down until the pointers are aligned together. Edit I added a Z alignment tool aid that has been in my other things but you might not be aware of.
The torque gauge is just a piece of 2mm music wire with a pointer calibrated to oz/in of torque.
https://www.youtube.com/watch?time_continue=809&v=Aj5SOrcw1rU
| ExtruderDialMountExtXY.stl | 132.4KB | |
| TorqueBack.stl | 1.2MB | |
| TorqueClampPivot.stl | 136.5KB | |
| TorqueDialWide.stl | 223.6KB | |
| TorqueFront.stl | 286.7KB | |
| Zmonitor8020.stl | 10.8KB | |
| ZmonitorMount.stl | 30.1KB | |
| ZmonitorPointer.stl | 28.6KB | |
| ZtoolHollow.stl | 999.7KB |