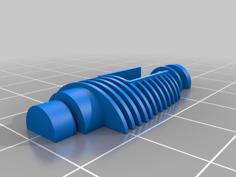
Updated 2/12/24: Knob was suppressed on the housing with no buttons. That is now fixed (file name no ends in 1, old version was deleted). If you printed the older version with no knob on the no button house, you can print 2 of copies of the file "Half Knob for Robert" and assemble them around the mushroom shaped protrusion on the housing.
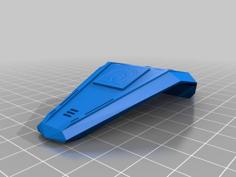
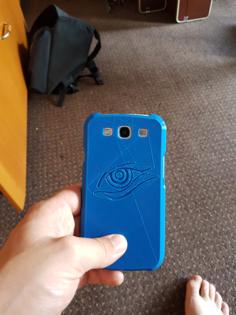
I wanted an in universe disguise for the voice amp I use with my mandalorian cosplay (and didn't want to poke holes in my nice leather pouch). The mandalorian builders group gave me a lot of great feedback and helped me tweak the design, so I wanted to share it. CAD files are public on Onshape if you want to customize it (search "Swarzy Voice Amp Cover" and this is V1.2 and V1.3).
Sizing:
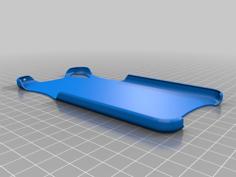
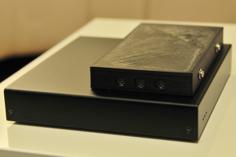
Measure the inner dimensions of this in your slicer. You'll probably have to scale it slightly for your specific amp. I ended up scaling it up 10% to fit mine with room for velcro (the dimensions on Amazon were a little small). The amp I designed this for has the controls on the top and a jack for a wired mic on the right side when you're looking at the speaker.
Fun features:
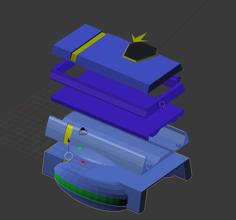
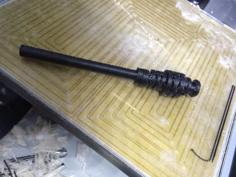
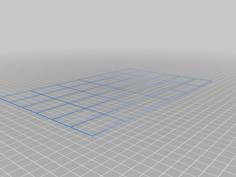
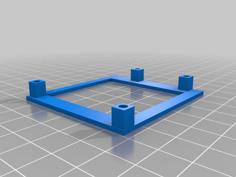
Print Orientation:
See last picture for a visual of how I oriented everything in the slicer.
Print Settings:
I printed mine on an elegoo neptune 3 plus in elegoo PLA+ rapid.
Settings were cura slicer defaults unless noted below:
| Half_knob_for_Robert.stl | 27.6KB | |
| Swarzy_Cosplay_Voice_Amp_Cover_10_Square_Buttons.stl | 289.7KB | |
| Swarzy_Cosplay_Voice_Amp_Cover_Antenna.stl | 1.5MB | |
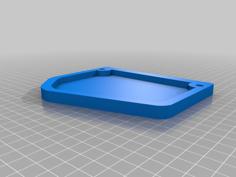
| Swarzy_Cosplay_Voice_Amp_Cover_Lid.stl | 2.2KB | |
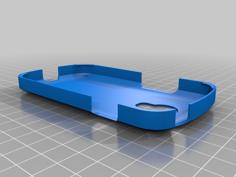
| Swarzy_Cosplay_Voice_Amp_Cover_Main_Housing_NO_Buttons1.stl | 475.9KB | |
| Swarzy_Cosplay_Voice_Amp_Cover_Main_Housing_w_Buttons.stl | 2.4MB | |
| Swarzy_Cosplay_Voice_Amp_Cover_Round_and_Rectangular_Buttons.stl | 57.5KB | |
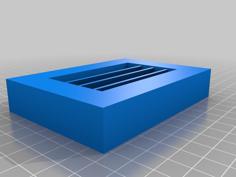
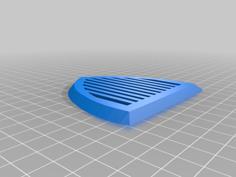
| Swarzy_Cosplay_Voice_Amp_Cover_Speaker_Grille.stl | 13.2KB |