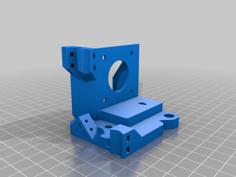
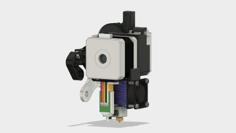
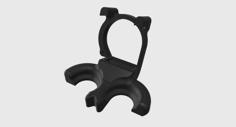
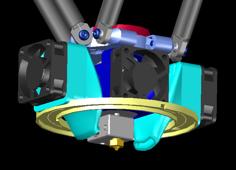
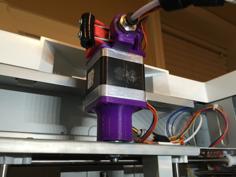
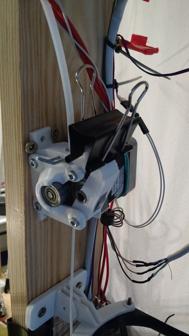
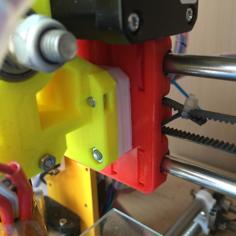
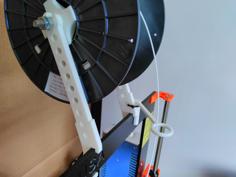
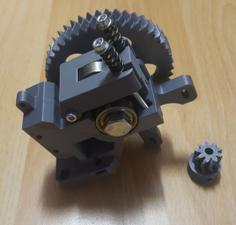
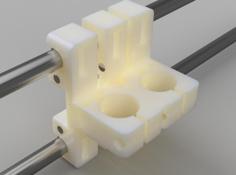
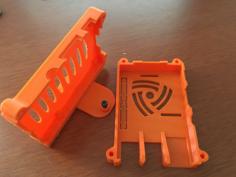
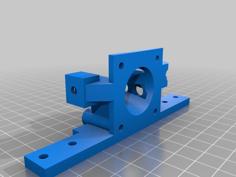
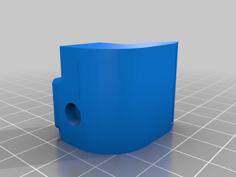
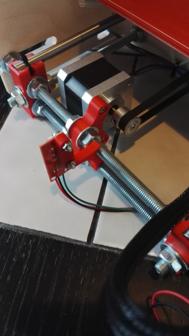
So here is the latest re-imagining of this mount!
Summary:
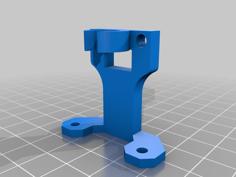
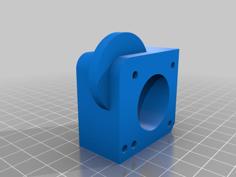
- "Superlite" design up to 30% lighter weight than my other mount at same settings! 48% less weight if both are printed at the settings recommended. (See images, weight of clamp alone)
- Slightly more work to print, needs lots of support, lots of round shapes and thin walls.
- Use 1.2mm walls and floors. .4mm nozzle and .2mm steps and 15% infill with PLA recommended.
- Includes mounting for dual 30mm (stock E3D) fans or single 60mm. Recommend 60x10mm fan for reduced weight and size with increased airflow.
- Superlite carriage now included along with the original one. Superlite carriage comes with another 25% weight savings over the old design!
- Using all Superlite parts you should come out 36 grams lighter!
- Looks great! I'm proud of the way this design came out.
- Get the chain here: https://www.thingiverse.com/thing:3179124
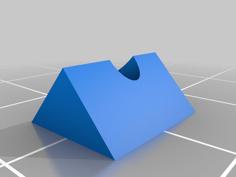
- Spacers.stl has BLTouch and cooling fan spacers in it.
- See "Post Printing" below for detailed install instructions!
- See https://www.thingiverse.com/thing:3199724 for a calibration!
See it and the fan adapter printed here: https://youtu.be/5FGoBxFewpc
This came about after some tweaks on the others and a reprint.
A lion mount clamp from https://www.thingiverse.com/thing:2901153 weighs 65.3 grams printed with 1.6mm walls, .4 nozzle, .2 steps, and 22.5% infill in Cura 15.04.6 using Amazon Basics black PLA with all support removed weighed on a cheap postal scale.
This part printed the same came out to 60.7 grams. NOT LIGHT ENOUGH!
So I redesigned it again... Now it weighs more like 50 grams.
You can see the savings compared to the regular head in the 4 CURA screenshots at the end. One set is "Lite" settings recommended for this head and the other is the old recommendation. Support is off in these so it's just showing the predicted weight of the part. PRINT WITH SUPPORT!
This is related to https://www.thingiverse.com/thing:2901153 but is meant to be a lighter slightly harder to print option.
This includes the tweak for adjustable height on the second extruder.
This is done by loosening the clamp with the head resting on a level platform. Adjust both to level each other and tighten the clamp!
PRINT WITH SUPPORT EVERYWHERE!
How to Setup!
See my Thing https://www.thingiverse.com/thing:2783450 For how to setup Marlin firmware!
See https://www.thingiverse.com/thing:2784817 for how to install RAMPS on your printer. Below is the config for this carriage:
This is for RAMPS boards, this is for the common ones like https://goo.gl/XW91zh [Amazon.com link] PLEASE pay attention and be sure to choose the correct code for your motherboards. See boards.h in the firmware for a list.
define MOTHERBOARD BOARD_RAMPS_14_EEB
Enable dual extruders:
define EXTRUDERS 2
Offsets for the extruders:
define HOTEND_OFFSET_X {0.0, -35.00}
define HOTEND_OFFSET_Y {0.0, 0.00}
For the probe it's :
define X_PROBE_OFFSET_FROM_EXTRUDER 17 // X offset: -left +right [of the nozzle]
define Y_PROBE_OFFSET_FROM_EXTRUDER -27 // Y offset: -front +behind [the nozzle]
define Z_PROBE_OFFSET_FROM_EXTRUDER -0.5 // Z offset: -below +above [the nozzle Set this to your machine. I used a .5mm thick print put between the bed and probe with the nozzle touching the bed to start.]
And the travel limits are:
// Travel limits after homing (units are in mm)
define X_MAX_POS 240
define X_MIN_POS -10
define Y_MAX_POS 230
define Y_MIN_POS -13
define Z_MAX_POS 230
define Z_MIN_POS 0
You also must set
// Set the boundaries for probing (where the probe can reach).
define LEFT_PROBE_BED_POSITION 20
define RIGHT_PROBE_BED_POSITION 200
define BACK_PROBE_BED_POSITION 190
define FRONT_PROBE_BED_POSITION 20
I have made a guide in PDF form available here https://goo.gl/1s8jSR for setting the offsets. You will need a serial connection to your printer and I found using Octoprint is really easy.
Enjoy! Like! Leave a comment! Thank you!
Update 10/17/18 Made it a little lighter yet and re-rendered it on the more powerful computer! PINK!
Update 10/18/18 OK i was disappointed with the first run weight savings so I went back and took out tons more. Now it should be about 40% lighter per CURA. Should also be very strong. Due to changing some of the sizes I made a custom superlite version of the 60mm fan adapter https://www.thingiverse.com/thing:3017123 just for use with this head. Printing it now! Also going to send this of for professional SLA build or Carbon, waiting on the quote.
Update 10/19/18 Printed! And yeah, 18 grams lighter! Woo! That's just the clamp, the back carriage really is as light as I am comfortable making it. Guide, files and pictures all updated.
Update 10/20/18 I gave the carriage the Superlite treatment to shave off a few more grams. Time for assembly!
Went back and added a loop to the top left of the carriage to hit the endstop switch, oops.
Update 11/3/18 Made the band in the second extruder more narrow to add 0.5mm up and down travel for height adjustment. Added the spacers file I completely forgot about. Added post printing install instructions as I put mine together.

