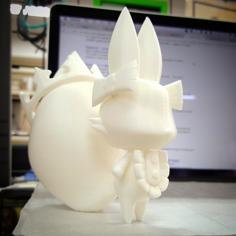
Add these components to your stop-motion armature. The design centres around stop-motion components available from Cinespark and the Rebecca Head scaled to 70%. Refer to Rebecca, a shorter 1/3 scale BJD (Ball Joint Doll) by noiseguy.
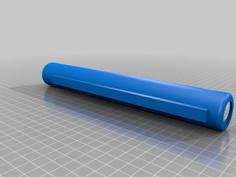
Printing: For best results, print the components using a resin printer. Use supports whilst avoiding supports inside components. When auto-generating supports, use the “floor” option (or equivalent). I printed the body and limbs in PLA and the head components in resin. Print at 100% scale, however change the length of the limbs to suit your puppet armature.
Head print: For the head, I initially stared with PLA with infill, which caused quite a bit of hair rooting needle breakage. I then reprinted in resin, which lessened hair rooting needle breakage. As an alternative, you could try printing in PLA with 100% infill.
Hair: Drill 1.3mm diameter holes into the head cap using one of the included templates for hole spacing and an 0.8mm pivot (use a hair-rooting needle). For my puppets, I used a hole spacing of about 4.5mm to 5.0mm - resulting in about 100 to 150 holes. After drilling, apply undercoat and then topcoat skin colour. To insert the hair, use 0.8mm diameter hair-rooting needles. I found that I needed to tightly pack the hair to help it stay in place. Style the hair as required.
Head modification: I used a rotary tool to flatten the inner raised portion around the neck hole - this makes attachment to the neck a bit easier.
Painting: Clean up the prints, sand, prime and paint.
Eyes: Paint the outer surface of the eye and then the iris - allow to dry. Retain the eyes inside the head using the eye retainer. Check that the eyes can be rotated. To attach the eye retainer, I used clear UV resin and cured the joint using UV light.
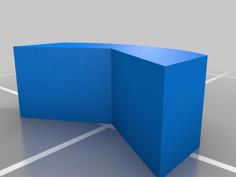
Assembly: Paint all pieces before assembly. Assemble the puppet guided by Cinespark instructions. Place a threaded cube inside the torso and hips - attach with an M3 countersunk screw. If required, trim the arm and leg openings. Use a brass hex inside the neck and attach the head using an M3 screw, a rubber spacer and washers. I found that the head cap stays in place without fasteners.
Note: There is a small hole in the chest and in front of the hips. Use these pilot holes if you need to attach the cube blocks from an alternate direction. Drill out these holes using a 3mm drill bit. Use a bit of filler/glue if you don't need a hole as printed.
Finishing: Add hands and clothing to your stop-motion puppet.
| Arm_Upper.stl | 463.5KB | |
| Chest_F_A.stl | 1.6MB | |
| Chest_F_B.stl | 1.7MB | |
| Chest_M.stl | 1.2MB | |
| Eye.stl | 1.0MB | |
| Eye_Retainer.stl | 863.8KB | |
| head.stl | 23.7MB | |
| Head_cap.stl | 18.6MB | |
| Hips.stl | 980.6KB | |
| Leg_Lower.stl | 433.9KB | |
| Leg_Upper.stl | 454.4KB | |
| Template_Drill_Hair_4-0mm.stl | 61.0KB | |
| Template_Drill_Hair_4-5mm.stl | 61.2KB | |
| Template_Drill_Hair_4-7mm.stl | 61.2KB | |
| Template_Drill_Hair_5-0mm.stl | 61.2KB | |
| Template_Drill_Hair_5-5mm.stl | 61.2KB |