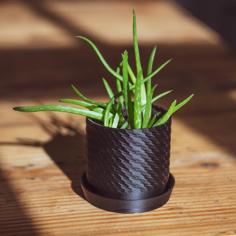
UPDATED to Version 2:
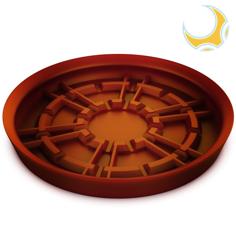
What's new: Drainage-holes have been added to all planter pods, draining into the center-hole. The center-hole has new vertical drainage-channels which allow the pods to drain even if you place a rod down the center of the planter. The pods have a raised and angled floor designed to promote drainage. I would recommend placing a small amount of coffee filter or something like that to keep soil from draining out.
More than two years in the making, I can finally reveal my original concept for a stacking, nesting modular herb-garden planter!
After the success of my self-watering planter design, I began thinking about a way to build this kind of vertical stacking planter. Inspired by the structure of a pinecone, I expect this to be the first in a series of stackables in the same vein.
At the time, my CAD skills were not up to the task of creating this, and I struggled with how to generate the perfectly-nesting curves required for this concept to work. But now I have that figured out at last after working on other problems, and was able to successfully produce this excellent design.
I hope you are as excited about this idea as I am; I can easily see people building herb-gardens in their kitchen windows, mounting these on lazy-susans that let them rotate the whole garden and choose which herbs get the most sun, or even take advantage of the center-hole to mount them on a pole or hang them from the roof.
These nesting herb pods let you grow any number of garden herbs or flowers, and mix or match them as desired.
The size is roughly 7.5" diameter, which is probably a bit larger than it needs to be. Let me know if you guys are interested in a smaller or larger design. The individual pods aren't much more than 4" in any one direction, and should be printable by most 3D printers. As for the height, it's only limited by how many you want to print, though very tall versions should consider using a stick or wire-rope down the center to keep it from toppling over. I would not be surprised if it turns out to be very stable though.
The slot-and-tongues used to hold the pods together have fairly loose tolerances, about .020" extra space overall, so that even if your printer isn't great at holding good tolerances it should work decently fine. They may prove to be too loose in fact; if so let me know. You can always stuff those holes with a bit of toilet-paper if they prove too lose, to tighten them up again.
Another feature is a .190" hole in the back through to the center-hole, this is designed to accept a short #10 screw, the idea being that you can insert a wooden-rod or plastic dowel down the half-inch hole either for extra support to hold it all together or to mount it in some unusual spot rather than placing it on a table or something.
It might also be possible to run water-tubes in through these holes and rig-up some kind of automatic watering drip system. I can produce a version with a larger center-hole if anyone feels the need.
And, as always, my designs are completely open-source, public-domain dedicated. Feel free to alter in any way you like, even to commercialize them immediately. In fact, if I don't see these for sale in Home Depot by the end of the year, I will be disappointed :P
Some additional thoughts:
The wall-thickness modeled is .100".
The walls need to be water tight. It may help to use some secondary process to make the pods water-tight if your print fails to produce a water-tight product. Hot-wax perhaps? Or pitch?
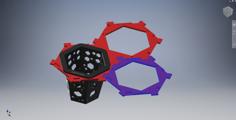
In the images of the assembly, I've colored one of the pods blue so it is easy to see how an individual pod is part of the larger whole.
The footer parts and the top parts were made from the same stacking-pod model as the pods themselves, modified for that position. They are optional to use. So the entire assembly is constructed from three-separate model variants of one pod.
- It could be made into a hanging-planter by passing a wire or string through the center of a piece of wood dowel and tying off a knot, then screwing each pod into the dowel with a short #10 screw from the inside of the pod (about .500" length or so should be enough).

