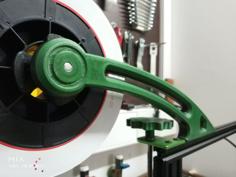
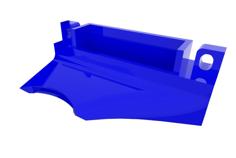
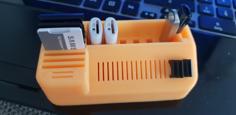
Spool Holder 3D Printer Model
The file 'Spool Holder 3D Printer Model' is (stl) file type, size is 452.7KB.
The file 'Spool Holder 3D Printer Model' is (stl) file type, size is 452.7KB.
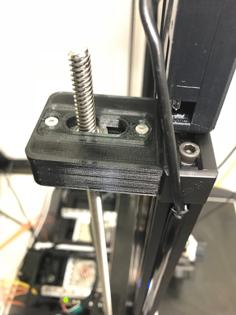
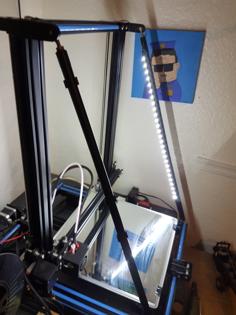
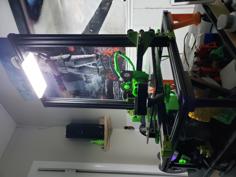
Printer: CR10S pro V2
I printed everything with a brim, just follow good practice for your printer.
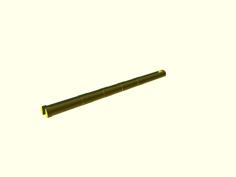
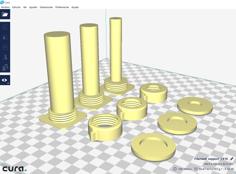
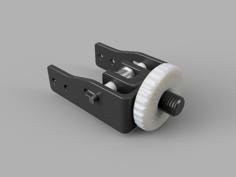
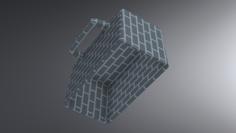
30mm centering cones are recommended for 1kg spools, 40mm for 2.3kg spools. The distance stands for the thread length. I recommend printing them with the threads facing up, they shouldn't need support there but possibly a bit in the center where the bearing sits.
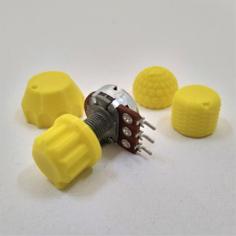
I used:
You could use different hardware but it might require some modification of hole depths and diameters for different thread inserts.
| Bearing_adapter.stl | 20.4KB | |
| CenteringCone_female_30mm.stl | 226.9KB | |
| CenteringCone_female_40mm.stl | 327.0KB | |
| CenteringCone_male_30mm.stl | 255.6KB | |
| CenteringCone_male_40mm.stl | 254.4KB | |
| Securement.stl | 55.2KB | |
| Stands_connector.stl | 6.5KB | |
| Stand_connection.stl | 5.9KB | |
| Stand_frame.stl | 21.2KB | |
| Tension_nut.stl | 30.7KB |