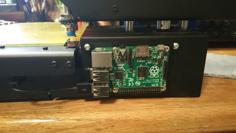
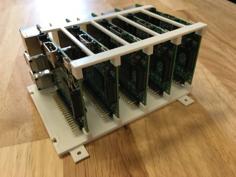
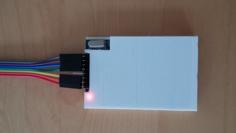
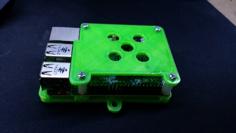
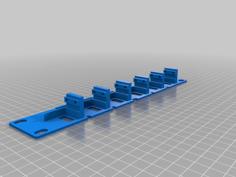
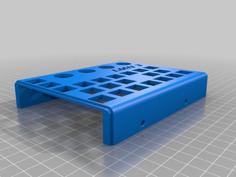
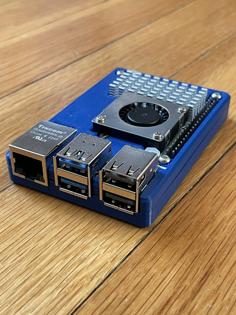
A bracket to mount the Raspberry Pi 4 or 5 in a standard 19-inch server rack. This will fit 12 RPi 4/5 units using Power Over Ethernet (PoE) in a 2U space for a very simple and tidy cluster solution. I use the official PoE hat with the RPi 4 put out by the Raspberry Pi Foundation that normally sells for $20. I am still waiting to test the official PoE hat for the RPi 5 bit the fit of the board itself is great.
This is based heavily on:
but is created from scratch using OpenSCAD. This design is optimized for the Raspberry Pi 4/5 with a PoE hat. I also tweaked several other aspects of the original design.
Update: I have made a 1U variant of this that uses the same basic design but fits 6 units horizontally. The tray is exactly the same, so you can move units between racks easily. Personally I prefer the 2U design, but if you only need up to 6 units you can save some space and have a nice upgrade path:
Here are all of the parts you will need for a complete 12-Pi cluster:
To print:
Other hardware:
The remaining hardware (spacers and screws) comes with the PoE hat. You will have 4 extra screws from each PoE hat kit that you replace with the M2.5 x 12 screws listed above.
Finally, a PoE switch and a suitable Ethernet cable for each Pi.
Update: I can't get the customizer to work, so I've consolidated everything into one project. The STL files should suffice for most people, but if you want to customize the design you can use the SCAD files, which should be fairly easy to tweak.
The most common things you might want to tweak using the OpenSCAD files are:
Changing the size to fit 12 (default), 13 (still works with PoE), or 14 (does NOT fit PoE hats) Pi units in a single 2U rack.
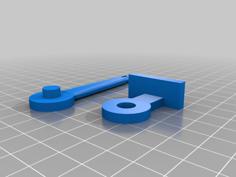
Changing the size of the threaded rods that hold it all together, or changing the size of the bolts used to mount it to a standard 19-inch rack.
Note that the pictures and the video show a rack with 13 boards, but the default size is now 12. If you want 13 you will need to download the OpenSCAD files and change the setting.
| raspberry-pi-rack-ears-no-notch.stl | 1.3MB | |
| raspberry-pi-rack-ears.scad | 7.7KB | |
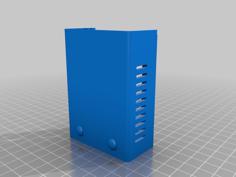
| raspberry-pi-rack-ears.stl | 1.3MB | |
| raspberry-pi-rack-frame-no-notch.stl | 949.0KB | |
| raspberry-pi-rack-frame.scad | 8.9KB | |
| raspberry-pi-rack-frame.stl | 952.2KB | |
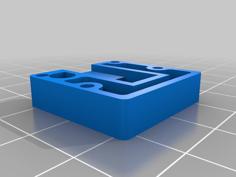
| raspberry-pi-rack-tray.scad | 6.7KB | |
| raspberry-pi-rack-tray.stl | 3.4MB |