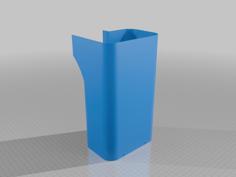
QIDI X-Plus 3, Change Backplate Mounting 3D Printer Model
The file 'QIDI X-Plus 3, Change Backplate Mounting 3D Printer Model' is (stl) file type, size is 8.3KB.
The file 'QIDI X-Plus 3, Change Backplate Mounting 3D Printer Model' is (stl) file type, size is 8.3KB.
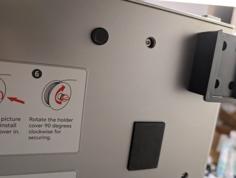
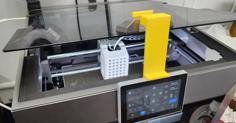
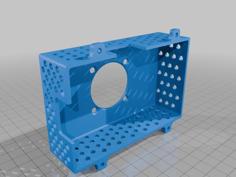
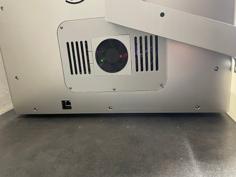
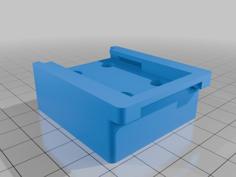
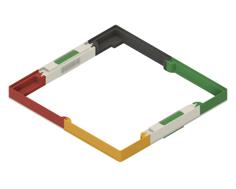
Tools:The printed alignment tool, you don’t really need. 😉A 2mm Allen key.M4 and M5 drillsAn M4 hand tap 1st gear.A deburring tool for the holes. 2K glue with a long hardening time. Material:Knurled knobs M4 (height is 8mm, standard)Hex grub screws M4 x 8mmThe mounting of the QIDI’s X-Plus 3 backplate is not very nice.To mount, screws directly into the plastic. Boo.The second time I unmounted the backplate, two of the threads were gone.The plastic wall is about 2.5mm thick, and a melt insert wouldn’t last very long.So, I decided to use allen grub screws with knurled knobs. M4 x 8mm for the screws is enough. It’s a bit fiddly, but at the end it’s working. First, I cut the threads into the plastic with the first gear of a 3-gear hand tap.Then I enlarged all holes in the backplate to 4mm first. Next, I screwed/glued all grub screws into the plastic wall with 2K-epoxy-glue. Use a toothpick and put a tiny bit of glue only inside the hole.Try to set a 90° angle. I know this can be hard.5mm are enough to mount the plate and the knobs.Don’t use a glue with a short hardening time!! Don’t use superglue!!My 2-K glue was a bit older, so I had plenty of time for the next steps.Align-Step 1: Try to align the backplate over the grub screws and bend them slightly to fit intothe holes. It’s tricky, I know. Align-step 2: Enlarge all holes of the plate, except of the upper middle one, to M5. Don’t forget to deburr the drill holes.Repeat Align step1. If you worked exactly, all grub-screws should fit. I drilled two more holes, so don’t wonder.When the glue is hardened, you can mount the backplate.Gently tighten the knobs - the backplate has nothing to hold, it’s a cover only.Have fun.
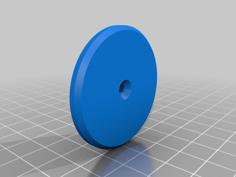
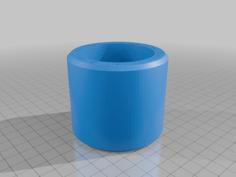
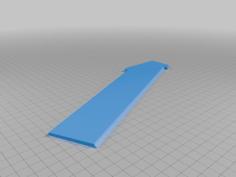
| Alignment-Tool.stl | 33.4KB |