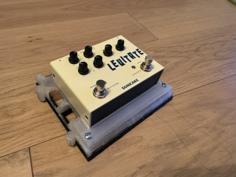
Ongoing development - feedback welcome!
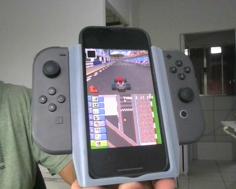
Throttle/pedal analog trigger input for the Playstation Access controller (also compatible with Xbox adaptive controller).
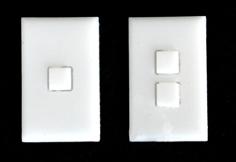
Part of a collection of button caps and external switches for the Playstation Access controller:
https://www.thingiverse.com/harakan/collections/41421121/things
For each throttle, you will need:
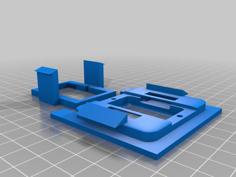
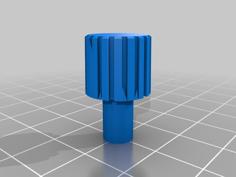
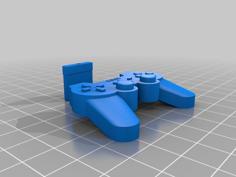
Parts can be printed together or separately. The two gears and tensioner should be printed flat, with 5 or more walls for strength.
Assembly instructions
Wire the connector to the potentiometer as follows (for details see https://www.playstation.com/en-gb/support/hardware/access-specifications/):
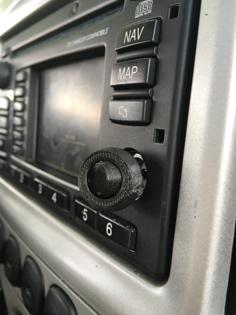
Test the potentiometer by connecting it to the Access controller and configuring a profile to set the external port as L2 or R2. Start the "Astro Playroom" game on the PS5 and select "Controller Demo". Rotating the potentiometer clockwise should press the trigger, rotating back should release the trigger.
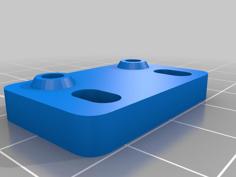
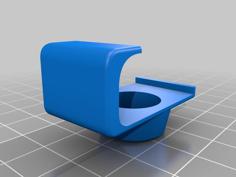
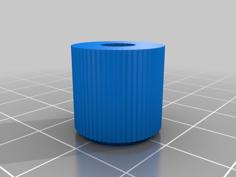
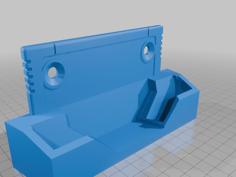
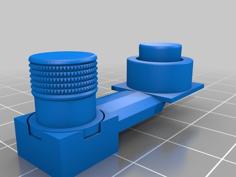
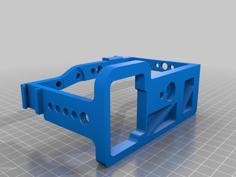
Fit the potentiometer to the base. Align with the pins downwards so that the key fits into the notch, and secure using the washer and nut included with the potentiometer. Press the cable into the cable guide. Fit the pinion gear to the potentiometer spindle.
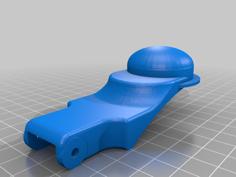
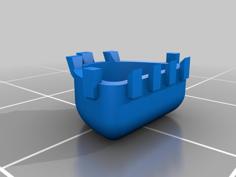
Attach the driving gear to the top, inserting it into the slot gear side first so that it curves toward the hinge.
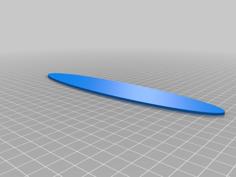
Attach the tensioner to the base, inserting it into the slot so that it curves towards the hinge.
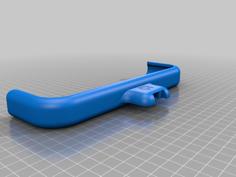
Attach the top to the base using the M4 bolt and nut, with a washer on each side. Do not overtighten as this will make the hinge less smooth.
Insert the compression springs into the holes in the base and into the top.
Rotate the potentiometer fully anticlockwise. Then press down on the throttle to engage the gear and push it past the tensioner. The throttle should go fully down, and releasing it should spring back up until it is stopped by the tensioner. If the throttle does not spring back fully or requires too much force, add/remove springs or try different springs (multiple springs can be put together using the same hole if needed). If releasing the throttle causes the top to detach, try the alternative tensioners in the "Tensioners" ZIP file.
Retest in "Astro Playroom" to check that the trigger has the full range of motion.
Recent changes
Version 1.1 (08-Mar-2024)
Version 1.2 (09-Mar-2024)
| PSAccess-Throttle-v1.2-FreeCAD.zip | 1.4MB | |
| PSAccess-Throttle-v1.2-STEP.zip | 213.7KB | |
| PSAccess-Throttle-v1.2-Tensioners.zip | 41.4KB | |
| Readme.txt | 4.0KB | |
| Throttle_v1.0_Base.stl | 345.4KB | |
| Throttle_v1.0_DriveGear.stl | 56.2KB | |
| Throttle_v1.0_PinionGear.stl | 167.1KB | |
| Throttle_v1.0_Tensioner.stl | 28.8KB | |
| Throttle_v1.1_Top.stl | 1.1MB |