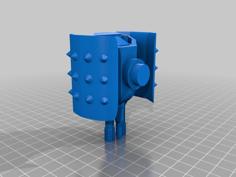
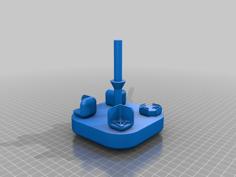
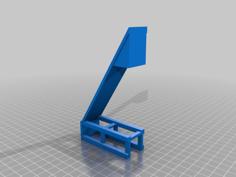
This is a holder for the PROXXON micromot 50, to attach it to the Mendel90 x-carriage instead of the extruder. This way you can convert your Mendel90 into a CNC drilling and milling machine. I'm using this for drilling PCBs.
What I'm still missing is something to mount the PCB reliable. My provisorily test succeeded, though ;-)
Howto: Unlike 3d-printing I don't use the endstops. I manually drive the drill to a reference point using pronterface. Then I set the origin using "G92 X0 Y0 Z3", Z3, because Z0 is the max drill depth. The program in the video was hand crafted for testing, but this can also be generated using Eagle and the pcb-gcode plugin.
Video: https://www.youtube.com/watch?v=TKDHV7M1ohw
My test program:
G90 ; position absoluteG1 Z10 F250; start positionG1 X5.8 Y35.6 F2000 ; start positionG1 Z0 F100; first drillG1 Z5 F250; retractG1 X9.61 F2000 ; next posG1 Z0 F100; drillG1 Z5 F250; retractG1 X13.42 F2000 ; next posG1 Z0 F100; drillG1 Z5 F250; retractG1 X17.23 F2000 ; next posG1 Z0 F100; drillG1 Z5 F250; retractG1 X21.04 F2000 ; next posG1 Z0 F100; drillG1 Z5 F250; retractG1 Z30 F250; end posThis test was done using an old garbage PCB, that's why the PCB looks so ugly ;-)
Tips:
Have a look on my blog http://gergap.de/gcode-simulator.html for more information on etching PCBs using Eagle and pcb-gcode.
| micromot_assembly.scad | 188.0B | |
| micromot_assembly.stl | 192.1KB |