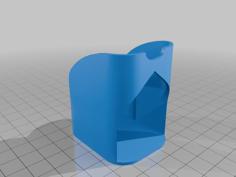
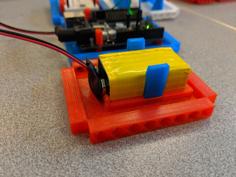
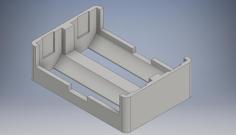
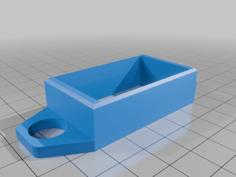
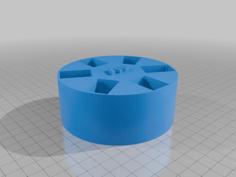
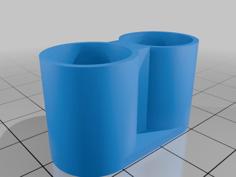
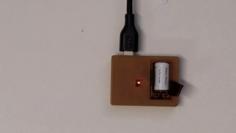
This is a holder/adapter that fits P.I.T. OnePower batteries. Can be used as a cover to protect the contacts from metal things in a bag, mounted on a wall for storage, or used to power various DIY things from power tool batteries, like portable soldering irons, lamps, DC-AC invertors, etc. Can also be used to adapt P.I.T batteries to other tool brands.
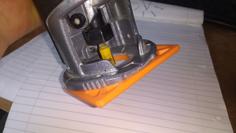
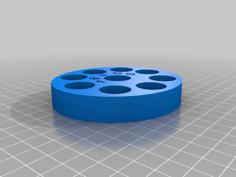
Modeled after the socket of a cordless drill - all measurements are done by hand, so some inaccuracy is inevitable, but with a decently accurate printer the holder clicks in place with a snug fit with little to no play. It should still be easy to put a battery in it and to take it out.
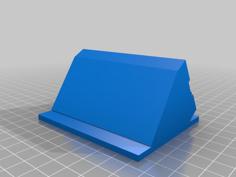
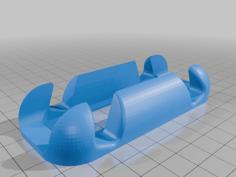
Printing: 0.2mm layers, any rigid filament of your choice (PETG works great), 15-20% grid infill or any other sturdy pattern, NEEDS SUPPORTS (shown on screenshot, use organic for easy removal). If the printed model has a very tight fit try adding a bit of slilcon grease, or re-print with a 100.5% scale
Post printing: snap off the supports and clean up their connection points with a knife if needed.
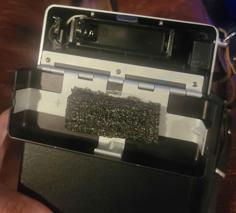
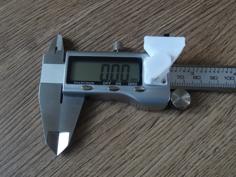
Making contacts: original contacts are 0.8mm thick, use any sheet metal that is 0.5-0.8mm thick. I've used 0.5mm galvanized steel and it works fine. Use metal cutting scissors to cut strips of sheet metal 13-14mm wide and push them in all the way. Solder the wires and epoxy/hot glue everything in place. Check that they aligh with the battery contacts.
Это держатель/переходник для аккумуляторов P.I.T. OnePower. Может использоваться как защитная крышка, настенный держатель, или как переходник для питания самоделок от инструментальных аккумуляторов - портативных паяльников, всяких ламп, маломощных инверторов и т.д. Можно использовать для создания переходника на инструмент других брендов.
Моделировался на основе ручных измерений, идеальная точность не гарантируется, но при печати на более-менее точном принтере деталь плотно но без усилия нащёлкивается на аккумулятор, после защёлкивания никакого люфта не должно быть.
Печать: слои 0.2мм соплом 0.4мм, любой твёрдый филамент (я делал из PETG), 15-20% заполнения сеткой или другим типом на ваше усмотрение, НУЖНЫ ПОДДЕРЖКИ (показаны на скриншоте, можно нарисовать вручную или функцией авто в слайсере, лучше органические чтобы проще удалять было). Если модель налезает слишком плотно то добавьте чуток силиконовой смазки или перепечатайте в масштабе 100.5%
Пост-обработка: удалить поддержки, при необходимости зачистить ножом места где они были
Изготовление контактов: в оригинале контакты толщиной 0.8мм, нужно вырезать из листового металла толщиной 0.5-0.8мм полоски шириной 13-14мм и вставить их до упора. Оцинковка 0.5мм подходит хорошо. Паяем провода и фиксируем эпоксидкой/клеевым пистолетом. Проследите чтобы пластины не встали наперекос и ровно соотносились с контактами батареи.
| pit_battery_latest.step | 217.0KB | |
| pit_battery_latest.stl | 1.1MB |