This is my first design for a Bluetooth speaker that uses 4 inch speaker drivers. Every part is designed to be printed without supports. All the electronics and extras I used are listed below. I had to scale the parts up by 2540% in the slicer.
2x Boss 4" Speaker Driver -
https://www.amazon.com/BOSS-Audio-BRS40-Replacement-individually/dp/B001RNNX8K/ref=sr_1_2?dchild=1&keywords=Boss+speaker+driver+4+inch&qid=1630603955&sr=8-2
Jovno 24v 5a Power Supply-
https://www.amazon.com/JOVNO-100-240V-Transformer-Converter-5-5x2-5mm/dp/B0875ZSKGR/ref=sr_1_3?dchild=1&keywords=power+supply+24+v+jovno&qid=1630604028&sr=8-3
Number 4 1/2" Screws-
https://www.amazon.com/Stainless-Phillips-Screw-Bolt-Dropper/dp/B079Y9DT1K/ref=sr_1_3?dchild=1&keywords=%234+1%2F2+inch+screws&qid=1630604096&sr=8-3
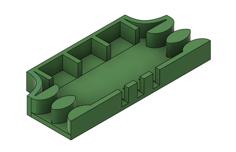
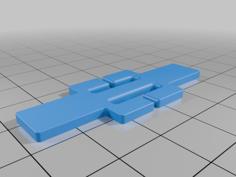
The assembly is very simple, and all you will need is screws, some glue and a screwdriver. The Middle piece slides into the Left and Right speaker parts. Make sure the orientation is correct with the front of the middle part having the two holes for the knob and aux port. Once it is slid in place just us some glue to hold it in place.
Next put the speaker drivers into their designated holes and use 4 screws for each driver.
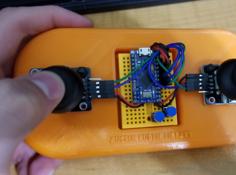
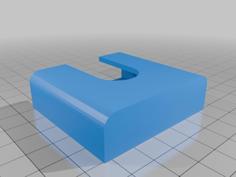
Now slide the bluetooth amplifier board into its spot in the within the middle piece. After that is in you can connect the wires from the speakers to the amplifier. Once the wires are connected you should test to make sure every thing works properly. If everything is working you can now glue on the left and right top caps. I used some e6000 adhesive but any super glue should work as well.
Once the left and right caps are glued into place you can now screw down the top plate to hide the internals. Just line up the plate as close to the middle as possible and screw it down. The screws should self tap themselves into the speaker.
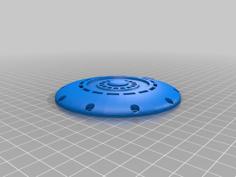
After that you can screw the front speaker grills on if you like. I decided to keep them off of mine because I like the look a little better, but if you need a little more protection then use the grills.
Now you have a completed the DIY bluetooth speaker.
If you enjoy this design feel free to leave a like or follow.
| NH1_Grill_v3.stl | 98.1KB | |
| NH1_Left_Cap_v1.stl | 1.4KB | |
| NH1_Right_Cap_v3.stl | 1.4KB | |
| NH1_Speaker_Left_v2.stl | 188.1KB | |
| NH1_Speaker_Middle_v4.stl | 89.9KB | |
| NH1_Speaker_Right_v2.stl | 188.1KB | |
| NH1_Top_Cap_v1.stl | 80.4KB |