Nerdy Gurdy Fancy Handle And Knob 3D Printer Model
The file 'Nerdy Gurdy Fancy Handle And Knob 3D Printer Model' is (stl) file type, size is 6.2MB.
The file 'Nerdy Gurdy Fancy Handle And Knob 3D Printer Model' is (stl) file type, size is 6.2MB.
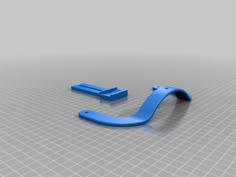
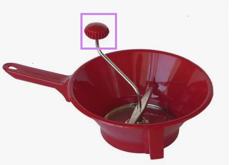
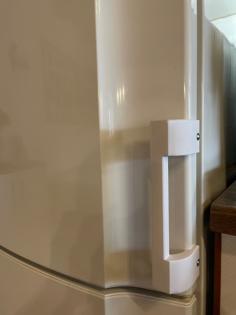
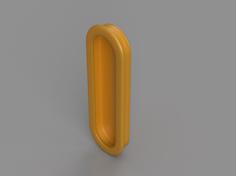
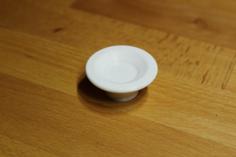
Fancy handle and slim knob for Nerdy Gurdy. This was made for the 6.3 but I believe the handle is the same for all Nergy Gurdy models.
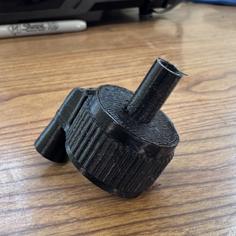
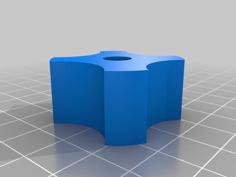
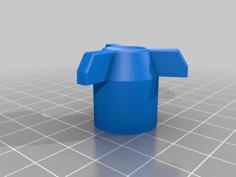
I made two versions of the knob, 1-piece and 2-piece. The 2-piece is stronger due to thicker walls but you have to deal with a seam line in the middle of the knob. It shouldn’t be a big deal if you plan to paint the knob.
To build the 1-piece version:
1) Clean any oil off the OD of the bearings with solvent.
2) Put some superglue on a cotton swab and smear it around the inside bore of the knob where the inner bearing seats. Then insert the bearing and using the M5 cap screw head first as a pusher ram it down tight into the superglue.
3) Swab some more superglue on the knob inside bore in front of the bearing, being careful not to touch the bearing. Then insert the bearing retaining ring with the beveled end toward the bearing and push it down until it seats flush against the bearing. Again you can use the M5 cap screw as a pusher, hold it tight against the inner bore edge and push the ring down in multiple places.
4) Once the superglue is dry, install the M5 cap screw, outer bearing, and M5 washer. Add a temporary M5 nut and tighten it all together. Put a drop of superglue into the seam between the outer bearing and the knob in 4-6 places around the circumference of the bearing.
5) Once the superglue is dry, you can remove the M5 nut and then install the knob.
To build the 2-piece version:
1) Clean any oil off the OD of the bearings with solvent.
2) Put some superglue on the areas where the bearing OD will contact and install the bearings. You may not need glue at all if the bearings fit tight in the 3d printed part.
3) Glue the two halves of the knob together, being careful to line up the halves at the seam line.
No supports should be used on any of the printed parts.
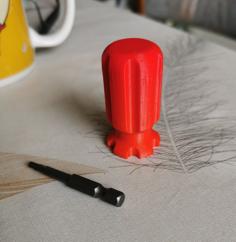
Print the Knob 1 with the skinny end down on the build plate, and use a brim on the inside. For the 2-piece knob put the large flat sections down on the build plate.
Print the handle with the flat side down.
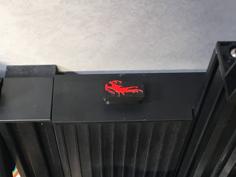
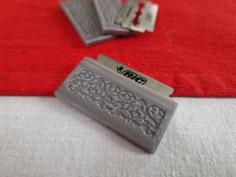
Print the handle cap with the text side facing the build plate.
Print the spacer and the retaining ring with the long axis perpendicular to the build plate (standing up). For the spacer you should use a brim.
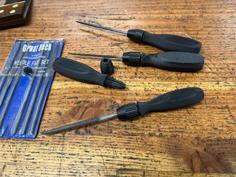
Parts you need:
M5-0.8 x 55mm or 60mm socket head cap screw (definitely 60mm if you are using a hex nut to hold the knob to the handle)
M5 flat washer
M8 hex nut
M5 x 10mm long heat set insert OR an M5 nut
5mm x 16mm x 5mm bearings, qty 2
3d printed items:
Knob 1 (or Knob 2a and Knob 2b if you want to do the 2-piece knob)
Bearing spacer
Retaining ring (not needed with 2-piece knob)
Handle (two versions, one for heat set insert and one for M5 nut
Handle cap
| Bearing_ring.stl | 604.0KB | |
| Bearing_Spacer.stl | 924.9KB | |
| Handle_cap_Blank_042024.stl | 515.2KB | |
| Handle_cap_Celtic.stl | 1.2MB | |
| Handle_cap_Celtic_042024.stl | 1.4MB | |
| Handle_cap_NG.stl | 1.2MB | |
| Handle_cap_NG_042024.stl | 1.0MB | |
| Handle_for_insert.stl | 1.7MB | |
| Handle_for_Nut.stl | 3.1MB | |
| Knob_1.stl | 19.8MB | |
| Knob_2a.stl | 16.0MB | |
| Knob_2b.stl | 12.9MB |