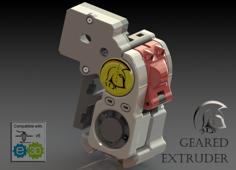
NEMA17 & Bowden Geared Extruder For The SmartrapCore, V 0.99 3D Printer Model
The file 'NEMA17 & Bowden Geared Extruder For The SmartrapCore, V 0.99 3D Printer Model' is (zip,stl) file type, size is 11.1MB.
The file 'NEMA17 & Bowden Geared Extruder For The SmartrapCore, V 0.99 3D Printer Model' is (zip,stl) file type, size is 11.1MB.
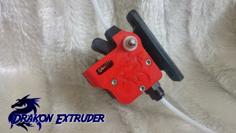
Yet another geared extruder… ;)
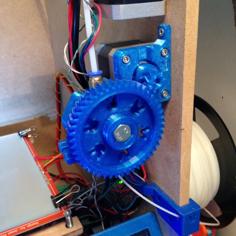
This is actually the new version I made of my previous extruder (http://www.thingiverse.com/thing:678833), after many little changes and improvements.
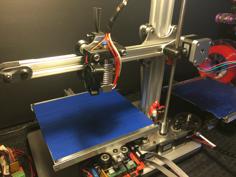
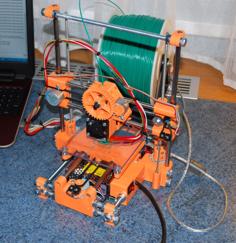
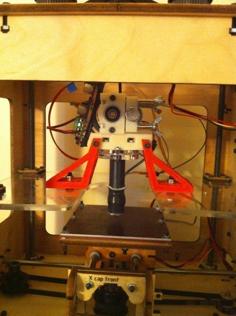
It's specially designed for my SmartrapCore printer, but it can certainly be adapted for other machines, and although I still use a wooden box SmartrapCore, it's intended to be fully compatible with the aluminium profiles model.
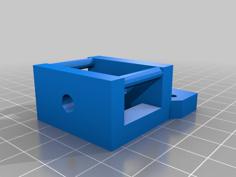
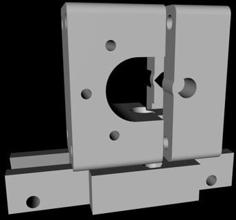
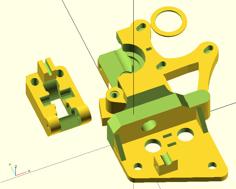
I made its body in 3 parts that you have to stack together, so it can be printed without using material support. It's really easy to assemble, though, and it allows for a convenient way to attach it to the printer's wall (or aluminium profiles).
Improvements since old version :
You will need :
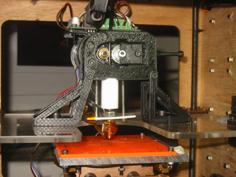
Look at the "assembled" STL file, it's here to show you how it should look like when fully assembled (hence the name ;))…
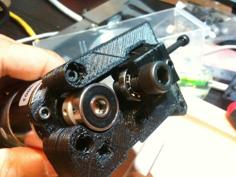
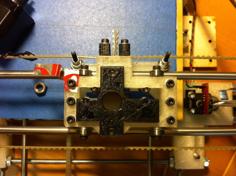
Assemble the 3 parts of the extruder body with 2 M3x25 bolts and their nuts, then the latch with the 2 other M3 bolts and nuts, and one of the bearings.
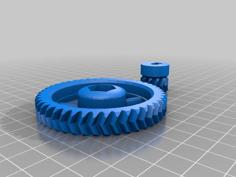
Install the hobbed bolt with the big gear through the assembled body with a bearing and a washer at each side, and tighten it with the 2 M8 nuts.
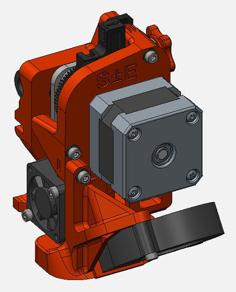
Put the little gear on the motor with an M3 nut and the headless screw (don't tighten it too much, it's fragile). Install the motor on the body with the 4 M3x10 bolts. You can then tighten the little gear at the right height (there's an opening in the body front to make it easy for you).
Insert an M3 nut in each of the holes that are on the path of the long bolts meant to tighten the latch. Put the knobs on the 50mm hex-headed M3 bolts, then the washers and springs, and insert these to tighten the latch. Don't tighten it yet, you'll do that in the end when the filament is on its way.
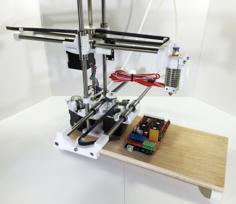
Then you can install your assembled extruder in the SmartrapCore where it suits you, with the 2 screws for the wood box model or M4 bolts for the aluminium one, and plug the motor wires in.
I recommend you use it with the cables holder and filament guide I also designed (http://www.thingiverse.com/thing:755862) for the SmartrapCore, they really well complete each other. :)
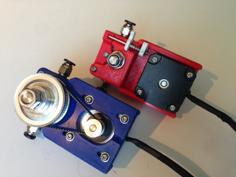
Suggestion : print the knobs with a different color from the extruder itself, it'll be more fun. ;)
VERY IMPORTANT! You must set the following variables in the Configuration.h of your Marlin firmware and recompile/upload it, otherwise your new extruder won't work, and will only make scary noises without extruding anything :
define INVERT_E0_DIR false
define DEFAULT_AXIS_STEPS_PER_UNIT {80, 80, 80, 790}
define DEFAULT_MAX_FEEDRATE {500, 500, 70, 70}
Enjoy! :)
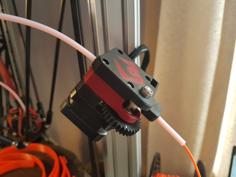
Update (V. 0.98, oct. 2nd 2016) : re-made a body center part with more accurately threaded holes so that pneufits can be precisely and reliably screwed in place. :)
Update (V. 0.99, apr 21st 2017) : made very small adjustments to the front body part, to make sure it can be installed properly on newer SmartAlu printer (it still can be installed on other SmartrapCore as well), and tightened a little bit the nut cavities on one of the latch parts.
| geared_extruder_byBB_V096.blend.zip | 5.9MB | |
| geared_extruder_byBB_V096_assembled.stl | 16.9MB | |
| geared_extruder_byBB_V096_biggear.stl | 511.1KB | |
| geared_extruder_byBB_V096_body-back.stl | 52.4KB | |
| geared_extruder_byBB_V096_knobs.stl | 335.2KB | |
| geared_extruder_byBB_V096_smallgear.stl | 110.7KB | |
| geared_extruder_byBB_V098_threaded_body-center.stl | 266.2KB | |
| geared_extruder_byBB_V099_body-front.stl | 165.3KB | |
| geared_extruder_byBB_V099_latch.stl | 123.0KB |