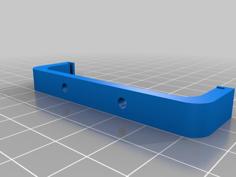
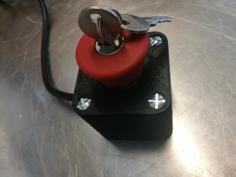
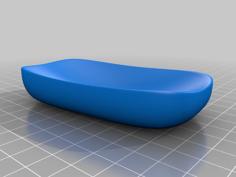
Design files for the control panel on my RAMPS 1.4-based MP CNC.
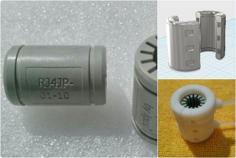
The thing was designed for the following components:
https://www.gira.de/gebaeudetechnik/produkte/steckdosen/steckdosen-wgap.html
http://www.ebay.de/itm/251299028015?_trksid=p2060353.m2749.l2649&ssPageName=STRK%3AMEBIDX%3AIT
http://www.ebay.de/itm/121671542188?_trksid=p2060353.m2749.l2649&ssPageName=STRK%3AMEBIDX%3AIT
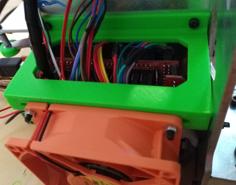
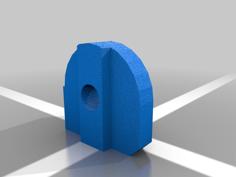
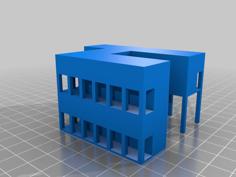
After printing I realized that it's a good idea to mount the setup on spacers and "hide" all the previous chaotic wiring underneath the panel.
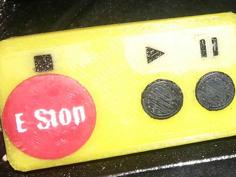
The control panel features a "mode switch" which lets the user select between 3D printing, laser engraving and milling mode conveniently. That way fewer re-wiring is necessary if one wants to use the machine for different things. It's a multitool after all ;) A picture of a hand-drawn wiring diagram was also uploaded.
In 3D printing mode you simply have D10 on RAMPS 1.4 routed through to the hot end terminals pre-mounted in the Z axis and D9 is routed through to thee plastic cooling fan.
In Laser mode the same 2 wires used for the hotend are swithed over to the D9 MOSFET to use a laser as described here: http://jtechphotonics.com/?page_id=1503
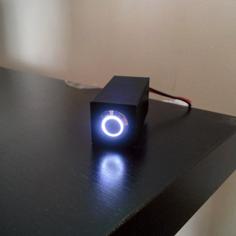
In milling mode the D9 MOSFET is routed through to a 12V relay to switch a mains outlet box on and off using M106 S255 (on) and M107 S0 (off). Don't forget the back EMF diode or else the MOSFET will die! An LED with current limiting resistor would be a nice addition to indicate the spindle status.
| console_spacer.SLDPRT | 131.5KB | |
| console_spacer.STL | 14.9KB | |
| MPCNC_switch_console.SLDPRT | 207.0KB | |
| MPCNC_switch_console.STL | 41.5KB |