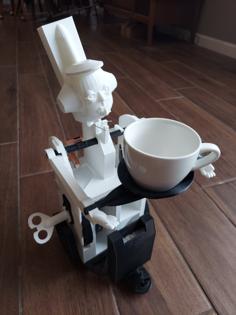
This is a very simplified but still functional Monoculight. I exhibited this "Maker Faire Edition" at the Troy Mini Maker Faire on Aug. 27, 2016. Attendees were encouraged to visit my table and build these models to take with them. This is a potentially valuable project for a STEM educational workshop.
The constituent parts are very cheap:
Holder.stl)Also for the assembly process you'll need:
Tube-Roller_OD*.stl)Fresnel-lens-card.stl)Graphically illustrated assembly directions may be printed from the file: Monoculight-Makerfaire-Instructions.pdf. Also an optional figure of an eye with inverted imaging is provided in Drawing-of-eye-with-Makey-imaged.png
Print out tube-cut-patterns-1.pdf and/or tube-cut-patterns-3.pdfonto paper cardstock. The -1 version is plain white and the -3 version includes the assembly directions (this way the instruction sheet becomes part of the project materials -- preferably make the model with the directions facing in so the outfacing side will be white).
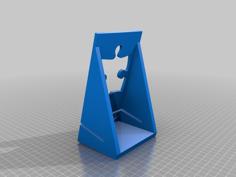
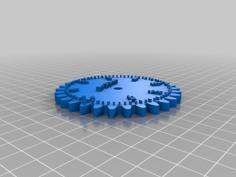
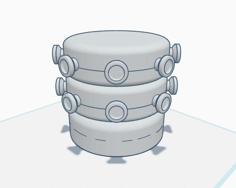
There are two tubular forming tool STLs provided (Tube-Roller_OD*.stl). Choose the best one based on the thickness of the cardstock that you have. To determine which to use you can 3D print just a small section of each and wrap a sample card around it. Whichever tube yields a cylinder that snugly fits into the holder should be used.
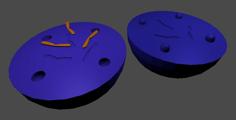
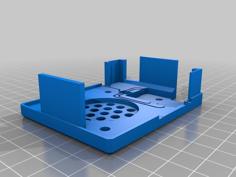
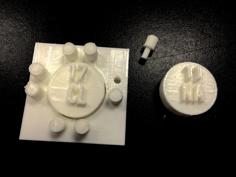
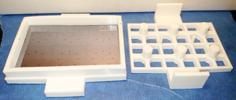
3D print Fresnel-lens-card.stl. A plastic Fresnel lens card should snap fit within. Place the lens card in with the ridged prisms side toward the 1" hole in the template. Trace the circular hole using the marker through the template onto the lens. Also trace the long line adjacent to the circle onto the lens. Take the lens out of the template and use the scissors to cut the lens in two pieces along the line you drew.
Place the lens in the hole punch so the circle is well aligned with the cutting edges and punch out the lens disk. Also use the hole punch to punch out a diffuser screen disk (retina screen).
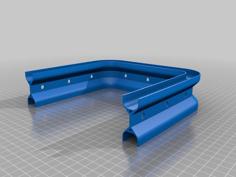
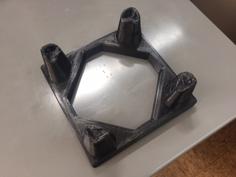
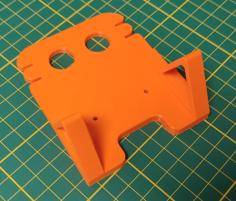
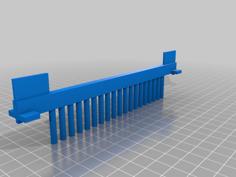
3D print two parts per model of Holder.stl.
You now have the materials necessary to follow the instructions provided in Monoculight-Makerfaire-Instructions.pdf. The lens side of the completed model can be pointed at objects of varying distance away and the tubes focussed to create a sharp inverted image on the retina screen. WARNING: the lens should never be pointed directly at the sun.
NOTE: Many people try to use the model like a telescope and put their eyes right up next to the screen. This doesn't work very well. It's much better if you view the screen by holding the model out at arm's length.
| Fresnel-lens-card.stl | 1.2MB | |
| Holder.stl | 468.1KB | |
| Monoculight-Makerfaire-Instructions.pdf | 84.1KB | |
| tube-cut-patterns-1.pdf | 1.1KB | |
| tube-cut-patterns-3.pdf | 359.9KB | |
| Tube-Roller_OD24.6mm.stl | 492.3KB | |
| Tube-Roller_OD24mm.stl | 492.3KB |