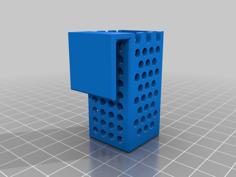
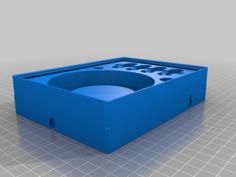
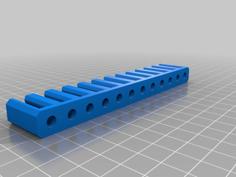
For full functionality, you will need five neodymium magnets and a hot glue gun or a similar adhesive to secure the magnets in their positions.
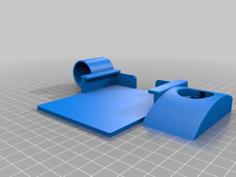
After printing, simply insert the magnets into the slot on the side and seal it with glue.
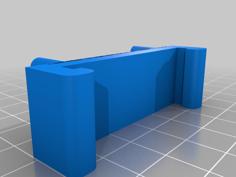
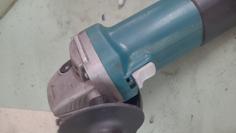
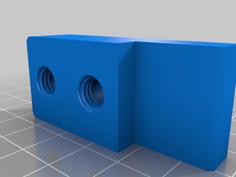
I advise you to use a washer when you screw the holder to your Makita. Also, check that your screw is not too long.
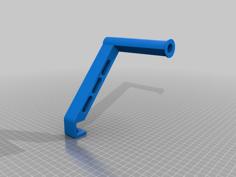
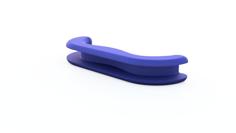
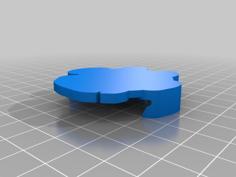
I took the geometry designed to fit the Makita Screwdriver from Freelax and modified the holder to suit my preferences.
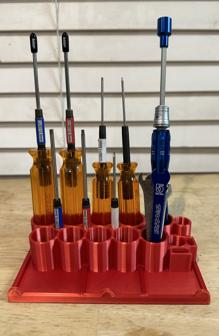
It's very handy, especially for larger projects where you need to work with different screws. Additionally, you can store anywhere from 2 to 25 screws on the magnetic side, depending on the size of the screws.
| bitholder_v4.stl | 269.4KB | |
| bitholder_v4_left.stl | 267.9KB |