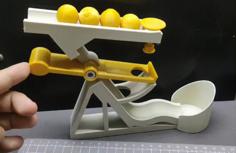
This is a remix of this model: https://www.printables.com/model/277626-magneto
I've re-created it from the scratch for 6x2.7mm magnets and improved a few things.
Changes:
You will need 2 ball bearings (608 type: outer diameter -- 22mm, inner diameter -- 8mm, width -- 7mm) and 16 magnets (6x2.7mm, 6x3mm or 6x3.5mm).
Calibrate your printer (dimentions should be accurate as printed parts have to accomodate the ball bearings and each other).
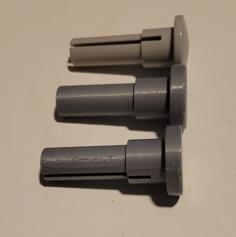
Print gears (one of each, they are different), 1 axis, 1 spacer, 2 caps and 17 pins (having a spare pin simplifes assembly).
I recomment to print gears first (silk PLA looks awesome), then print one pin and check if it fits into the gears (it should be tight). If it cannot or it is loose -- scale pin in slicer, check again and then print all of them.
Then print spacer and axis. Check if they fit.
Finally, print one cap. Check if it fits onto axis (it should be tight). If it cannot or it is loose, scale it in slicer (or use X-Y hole compensation option provided by Orca Slicer).
Assembling:
| Axes_x1.stl | 17.2KB | |
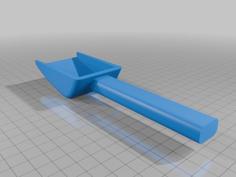
| Cup_x2.stl | 123.7KB | |
| Gear_External_x1.stl | 302.6KB | |
| Gear_Internal_x1.stl | 302.6KB | |
| Magnetic_Fidget_Spinner_v40.step | 798.2KB | |
| Pin_x16.stl | 32.2KB | |
| Spacer_x1.stl | 38.8KB |