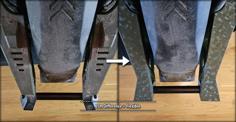
2024-08-10: Small redesign of the front bumpers, they are now a bit thinner at the top and leave more room for riders knees so less risk of hitting the bumpers/handle with your knees.
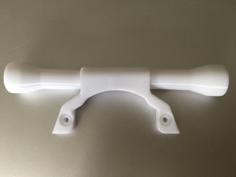
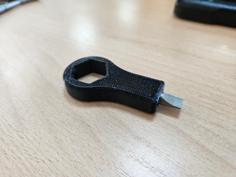
2024-06-09: Refinement of the original front and rear handle bumpers. Front Handle Bumper: Sleeker design and small design changes, better print-bed alignment, less material and print time. Rear Handle Bumper: Sleeker design, visual design changes, better print-bed alignment, less material and print time.
2024-03-07: Uploaded "plain" versions of the front and rear handle bumpers for those who prefer a more simple look, those files end with _Plain.stl
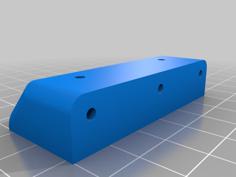
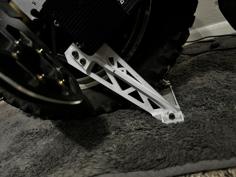
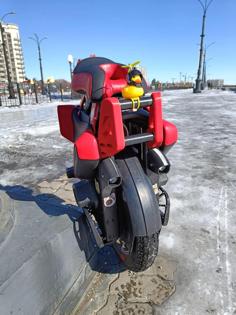
A bumper system for the LeaperKim Lynx.
These are TPU bumpers that you install over existing stock parts, the purpose is to protect the stock parts from small damage and to add a cosmetic flair.
The bumpers are designed in such a way that you don't have to take them off when working on the wheel.
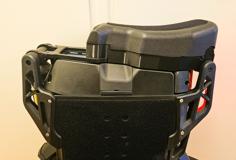
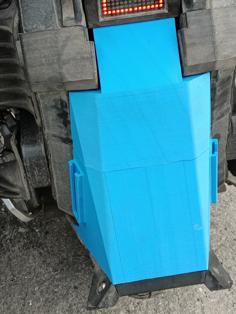
Compatible with the popular BD seat (pictured).
Printing:
Due to design constraint to use zip-ties supports can be finicky to get out in certain areas, you need long tools to poke and prod with and pliers to pull them out but the end result is great for installation.
Print with TPU95A as oriented by the STL's.
My print settings:
Nozzle Size: 0.6mm
Layer Height: 0.3mm
Layer Width: 0.62mm
Walls: 2 (2x0.62 = 1.24mm)
Bottom Layers: 2 (0.3x2 = 0.6mm)
Top Layers: 3 (0.3x3 = 0.9mm)
Infill: 12% Gyroid
Important: Use tree supports on the pieces that uses zip-ties for easy removal, tree supports also use less material and improves print times.
Installation:
Install instructions in photos, installation is much easier if you unscrew the parts from the wheel, don't have to unscrew them all at the same time instead take part by part it will take 10-15 minutes max for everything.
All but the lower front pieces are installed using zip-ties, you can use up to 5mm wide zip-ties, the ones I used are 3,5mm x 150mm.
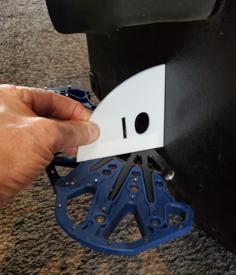
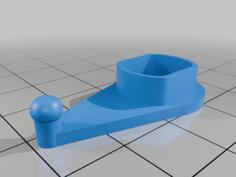
The kickstand piece also uses a small piece of double sided tape (see photo) to help keep it in place and safely away from the foot.
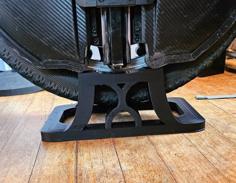
The front lower piece is installed using double sided tape only.
I provide all my 3D designs for free but if you want to contribute send me a tip. 😊
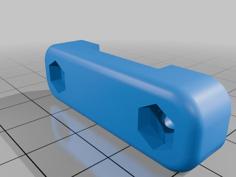
| Lynx_Front_Handle_Bumper_Left.stl | 1.6MB | |
| Lynx_Front_Handle_Bumper_Left_Plain.stl | 1.3MB | |
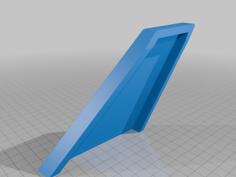
| Lynx_Front_Lower_Bumper_Left.stl | 1.3MB | |
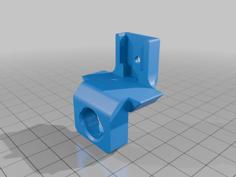
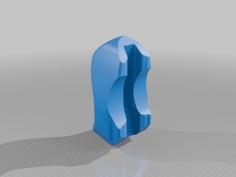
| Lynx_Kickstand_Bumper_Left.stl | 809.7KB | |
| Lynx_Rear_Handle_Bumper_Left.stl | 1.0MB | |
| Lynx_Rear_Handle_Bumper_Left_Plain.stl | 1.1MB |