REQUIRED ABS PRINT.I know I'll be extending so much. So don't keep reading if you aren't in the process of setting up a Lewihe Play3D or fine tunning it up. You've been warned... Sorry 8>)
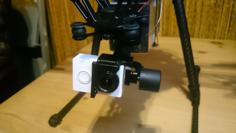
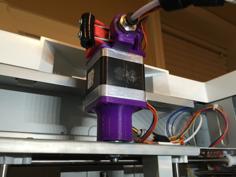
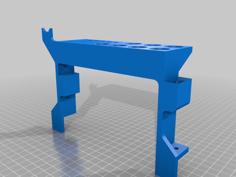
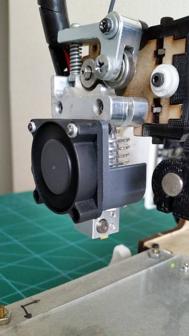
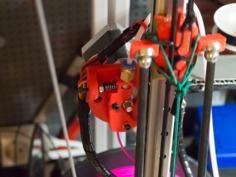
This is a new X-Carriage base (or adapter) for the Lewihe Play3D to be used with the awesome E3DV6 1.75mm Bowden hotend. As this is a higher hotend in the end you loose 15mm of Z-height in the overall printing area using the complete solution. But you get all the goods of the new nozzle (or even a Volcano ;-). I opted for modifying the Xcarriage to minimize that height loss, but if you want to keep you original parts without dismantling the CoreXY system to add the new XCarriage, you can skip the use of the new XCarriage and use the adapter part at the expense of increasing the M4 bolts used and the consequent printing area height loss (7mm less). So you can choose to change the X-Carriage base or not (if using the adapter). Thus, two solutions provided:
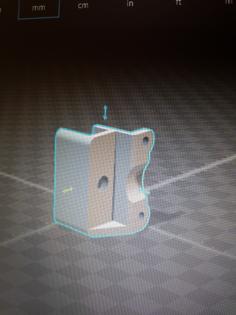
QUICK modular solution (Z-loss of 22mm aprox. Recommended if you have yet a working system) Clip1, Clip2 and Adapter, plus longer M4 bolts, NO dismantling of the CoreXY system / belts required. Dont requires the time consuming printing of the XCarriage Once printed you can install your assembled E3DV6 in a couple minutes. I know you are smiling... ;-)
The second solution is preferred if you want to keep low the Z-loss. But the first solution is damn QUICK!!. You choose.
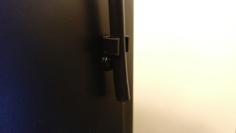
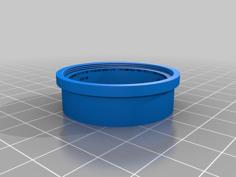
The rest of your original parts doesn't change. Use your original M4x30mm bolts to fix the thing (or longer ones if using solution #1) and you will need a M3x40mm bolt/nut to fix the small clip. Anyway this part is optional (Clip2), the main clip part (Clip1) provides enough grip for the hotend, but I had to make it, you know... You'll also need a new longer PTFE 4mm tube due to the extra length of the hotend.
This is the first part of my project to build a direct drive extruder for this printer. I am tired of bowden filament systems, retraction issues, uneven filament pressure, filament grindings, oozing, etc. Direct driven extruders are much better (geared or not). Did this as the first part of my project to convert this printer into a true direct drive system with a good all metal hotend. Next step is to finish my mini direct driven NEMA14 flex extruder, an evolution of my still WIP Nema14 extruder here: http://www.thingiverse.com/thing:1402145. Not sure if I will design a geared/belted/direct direct extruder or will adapt some of the great designs available out there. We'll see... Leave comments if you have any idea or suggestion.
So, stay tuned!! In the meantime you can go ahead installing this because this parts will remain the same, and at this moment (JUL-2016) is the only way I know to mount a E3DV6 on this printer.
Note: I used an awesome E3DV6 .stl for modelling this, but I couldn't remember from where I got it. Sorry for any inconvenience.
Enjoy.
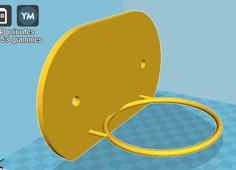
TO DO: As said the direct extruder (will take some weeks). An addon adapter for a layer fan duct is also needed. Meanwhile a variety of layer fan adapters for E3DV6 hotends are available out there, and easy quick adapters coul be made. Noticed that... even when I don't ever try to choose colors in any way, this time the rendered pic looks a bit spanish heheh...
UPDATE (07-JUL-2016): Noticed that a quick solution is possible making an adapter to avoid dismantling the CoreXY system to install the new XCarriage. Anyway, although this solution implies a higher Z-loss of 22mm in the printing area, I am sure it'll be the preferred solution to most of you because of its ease and quickness. Sources and STLs updated/added. First part of the main project finished. No changes/updates expected.
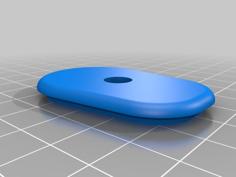
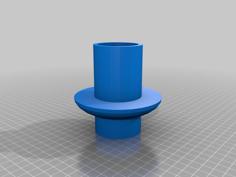
| Adapter.stl | 125.1KB | |
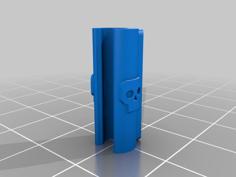
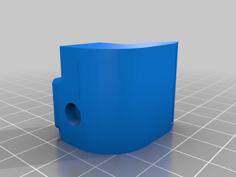
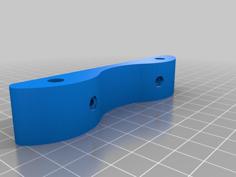
| Clip1E3DV6.stl | 88.0KB | |
| Clip2E3DV6.stl | 42.1KB | |
| XCarriageE3DV6.stl | 94.0KB |