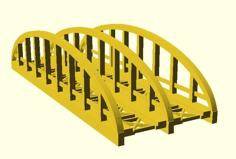
This kit, when all parts are printed, assembles to build a landscape block form. Once assembled and sprayed with oil (mineral oil, cooking oil, etc. as is standard practice with concrete forms) and is then filled with a cement or concrete mixture, left to dry, and disassembled results in a finished and smooth, standard four-inch thick landscape block.
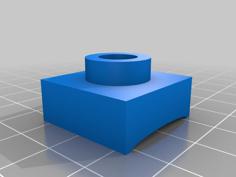
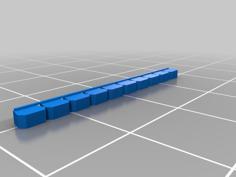
The parts are composed of multiple printed PLA wall and center forms with TPU printed gaskets between each layer to keep in moisture and reduce the possibility of the concrete mixture leaking between the layers.
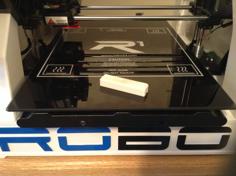
All PLA parts are printed at 50% infill with other generally standard settings while TPU gaskets are printed at 100% infill. I have printed mine with low-res settings as the parts seem to fit best this way and the time to print each part is reduced. I have even printed this form with a larger than standard hot-end-nozzle with no changes to part fitment.
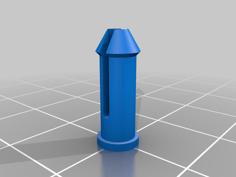
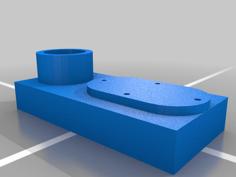
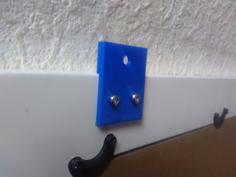
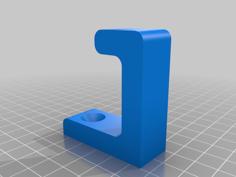
The kit is assembled using 10-24 flange-head machine screws and 1/4" 10-24 couplers which are easily found at your local hardware stores (in the USA anyway). I have no doubt that there are other similar hardware components that will work just as well to build the form. See pictures for more information on fastener sizes, etc. Assembly is fairly self-explanatory from the pictures but do feel free to comment if you are confused at all about the assembly procedures and I would be happy to add additional assembly instructions.
While the time to print each part may be slightly high, this form kit is reusable indefinitely (so far) and the more blocks you make, the more value you get from the kit.
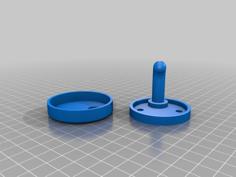
This block form is designed with a center element resulting in a 2/3rds hollow block to save on cement/concrete material and to facilitate a lower cost product.
As the price of concrete and cement blocks have gone up exponentially, while the cost of cement has remained relatively stable, I found it to be more cost-effective to make blocks rather than to buy them.
Be sure to clean all parts between blocks so as to keep the resulting blocks uniform in shape and to maintain the usability of the form kit. NOTE: Be sure that you do not leave the form sitting in water in the sun or the base will warp, trust me I know; - I forgot one in about a 1/4" of water in the sun for about 3 weeks and sure enough the base warped just slightly but enough to result in not-quite flat-topped block. Note that I have been successful in straightening-out a warped base by placing the block you've made with the form on the form-inverted (up-side-down) for a few days (OK, weeks :).
NOTE: I have not yet done the full calculations of material to block for this form but do intend to add this information in the future.
NOTE ALSO: I have also created a non-standard concrete building block and a non-hollow landscape block form kit that I will be uploading in the future so keep an eye on this design for future additions and amendments.
| LSBH_Base.STL | 711.6KB | |
| LSBH_CenterCap.STL | 215.4KB | |
| LSBH_CenterGasket.STL | 91.5KB | |
| LSBH_WallCap.STL | 563.2KB | |
| LSBH_WallCoupler.STL | 1.1MB | |
| LSBH_WallGasket.STL | 168.8KB | |
| LSBH_WallSpacer.STL | 982.6KB |