V4 update uploaded @ Jan07/2024
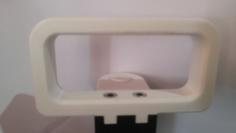
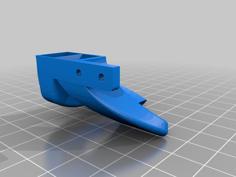
Head cover was reworked from scratch remix of thing, duct was designed using CFD from scratch for better bridging performance
Update V4 introDUCTion
CFD Analysis

Flow direction

Outbound difference is less than 15%

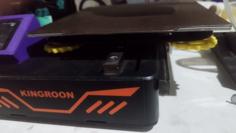
Finally, that's how bridges are now look like using that

List of key changes
- Better direction of airflow from duct means better bridges
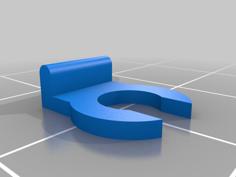
- Pre-supported overhangs for improved printability
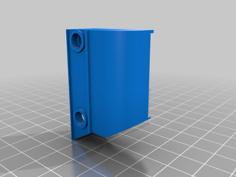
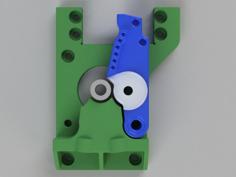
- Fan alignment is now symmetric (original was moved left due to duct installation)
- Left wall is extended down symmetrically with vent holes
- Added a chamber before round on walls, so it can be printed without 90deg overhang
- Holes for heatinserts are now longer so stock screws can be used without washers
- Also chance of penetrating wall through are significantly decreased while installing them
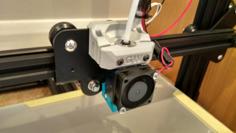
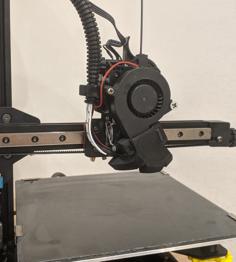
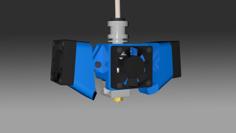
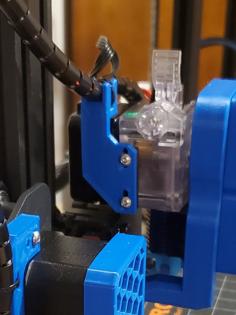
Installation
- 4xM3 heatinserts (2>l<5mm)
- All stock screws
- Set all four heatinserts on their places
- Install duct, but do not tighten screws (duct should be able to move up and down)
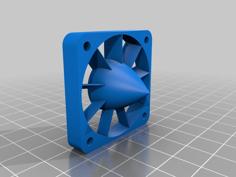
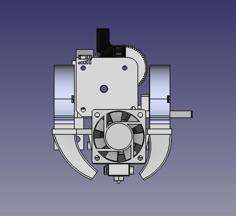
- Install 5015 fan, and connect it to the duct
- Adjust the height of duct depending on your nozzle length and tight the screws
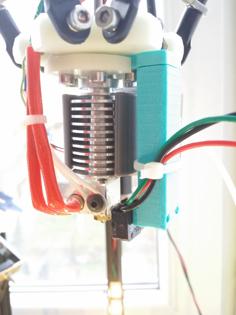
Overall info
I've printed duct using composite ABS glass fibred 10% and in my case duct hasn't melted down. Also I recommend to use silicon sock on heatblock, so even if it melt, it wouldn't stick to aluminum block