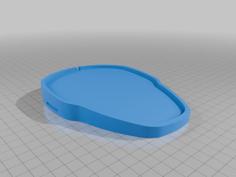
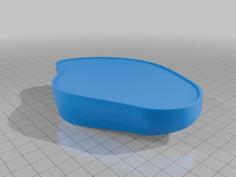
I used the dimensions of "gdalya" ( https://www.thingiverse.com/gdalya ) posted model, which were spot on, to redraw everything in Tinkercad.
Many thank you's for the post. For me a 9 degree angle worked well, but it really works in conjunction with the wrist-pad elevation.
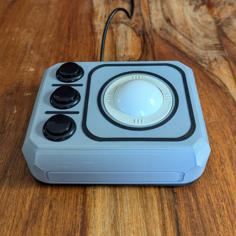
I love this trackball concept, bought a month or so ago. I am left handed so my choice was very limited. The top Kensington model solved this dreadful design angle ,but it is not available in my country.
Hope this stand works as well for someone else as it does for me .
----------- UPDATE V3 ----------------
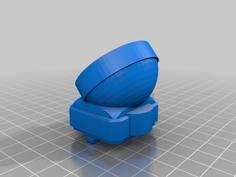
This version has three differences. The angle was increased to 12degrees, still got some wrist stress so this makes the hand alignment much better. No idea why Kingston has this angled, unpractical, for me.
Second difference is you now have access to the battery compartment and selector switches without removing the stand. I printed and then used some non permanent glue to join my stand and trackball. Suppose double sided tape will also work, but its optional choice, not necessary if unlike me, you don't move the trackball around to different locations.
Thirdly, the print size was reduced to minimize print time.
----------- UPDATE V2 ----------------
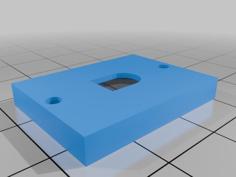
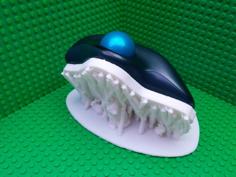
The second STL file (PINNED) locates the trackball on the stand via two locating screws in stead of the printed pins that break off too easy, as well as two pillars that fit in the two front holes under the rubber feet. The screws are optional as the pillars are much stronger due to their size.
It is a secure alternative if the rubber feet come off.
How I got there....
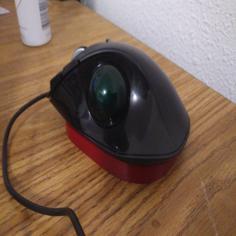
My trackball managed to have a great big fall on a hard tile floor.
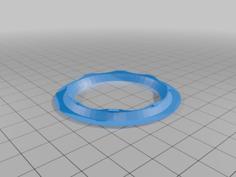
Nothing worked, scroll ring came off completely. Thank you Kensington for a great product, because I managed to open it up and put it all back together. Nothing broke, everything just came apart. All good and working like a charm again.
A few hints/notes. To open it up you need to peel off the four rubber feet, remove the four screws under them. Two more screws topside if the scroll ring assembly has to come out.
Note to other repair persons: There are 5 minute (1mm diameter, about) white plastic balls, acting as bearings and locators on the scroll ring. I almost lost two of them permanently. Be very careful when disassembling not to loose them.
So now the rubber feet are not sticking so well and they were the locators on the stand. (The two small upright pins break off easily.)
The options are to reglue the rubbers or to locate the trackball on the stand by other means. I chose to use two M3x8mm screws to replace the locating pins. Just screw them in all the way from below and "Bob's your uncle". (If your screws are longer, ust dont screw them thru all the way.)
I chose to also use two small pillars to fit in the deep holes under two rubbers left, just as a backup. The system works excellent with my trackball fitting quite tight on the stand now, very secure.
Hopefully this helps someone else.
| TrackBall_Stand.stl | 220.7KB | |
| TrackBall_Stand_Mk2_-_Pinned.stl | 333.8KB | |
| TrackBall_Stand_Mk3.stl | 426.6KB |