Hypercube 300 Reworked Z Axis 3D Printer Model
The file 'Hypercube 300 Reworked Z Axis 3D Printer Model' is (stl) file type, size is 1.8MB.
The file 'Hypercube 300 Reworked Z Axis 3D Printer Model' is (stl) file type, size is 1.8MB.
In order to keep the original build height on my horizontal X axis conversion I had several options.
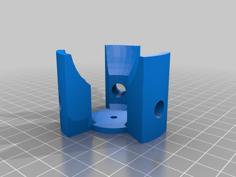
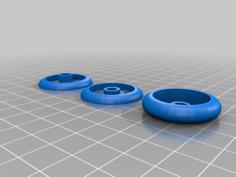
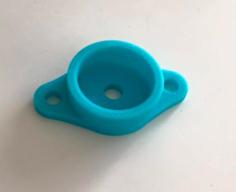
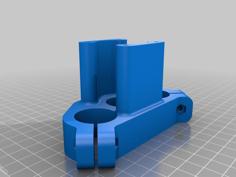
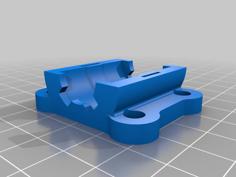
The last option has no downsides and allowed me to redesign this part to my liking to fit LM8LUU bearings with the clearances I want. Why I was at it I also wanted to reinforce both top and bottom shaft clamps for added rigidity. While this is probably overkill since the bed has almost no lateral forces applied to it, it doesn't hurt to improve. Also, the clamps are compatible with the default HC300 ones so it's not necessary to print these.
Another added benefit is that the top shaft clamp can be more easily adjusted because the screw holes aren't blocked by the Z shaft. I didn't want to do this for the bottom one since it will waste a lot of filament to print those wider just for that.
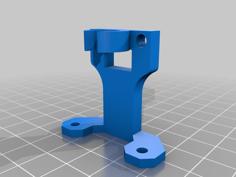
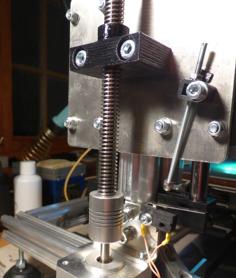
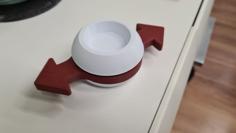
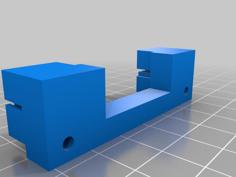
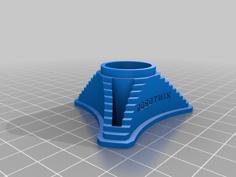
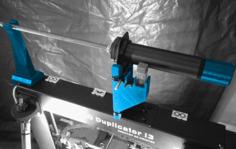
I've included two tools which you can use to align the front shaft clamps to the frame, just hold the tool around the front vertical extrusion and align the clamps to touch the tool. This will align Y=0 with the minimum Y position of the nozzle. The longest tool is for the bottom clamp and the shortest is for the top clamp. Make sure to install the bottom clamp with the clamp opening facing the back or the alignment tool wont work. I've also included a 10mm fixed spacer for use with a bed probe, this gets rid of the springs and makes sure the bed is rigid.
| Bearing_Holder_Cap_V1.stl | 702.8KB | |
| Bearing_Holder_V1.stl | 280.3KB | |
| Bed_Spacer_10mm_V1.stl | 179.4KB | |
| Bottom_Clamp_V1.stl | 207.9KB | |
| Front_Alignment_Tool_Bottom_V1.stl | 129.5KB | |
| Front_Alignment_Tool_Top_V1.stl | 131.7KB | |
| Top_Bearing_Block_V1.stl | 1.4MB | |
| Top_Clamp_V1.stl | 547.5KB | |
| Top_Clamp_V2.stl | 1.1MB | |
| Z_Motor_Mount_V1.stl | 880.1KB | |
| Z_Nut_Mount_V1.stl | 371.9KB |