Hinge For Technics SL Series Turntables 3D Printer Model
The file 'Hinge For Technics SL Series Turntables 3D Printer Model' is (stl) file type, size is 51.8KB.
The file 'Hinge For Technics SL Series Turntables 3D Printer Model' is (stl) file type, size is 51.8KB.
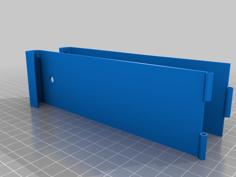
Update: I made the slanted area that the spring touches a little thicker, meaning there is a little more force applied to the spring and this makes the dust cover less likely to droop down when in the open position. Use version 2 of the design.
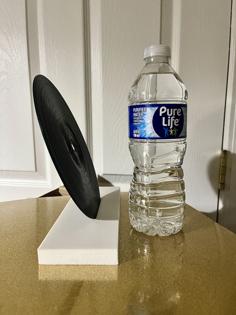
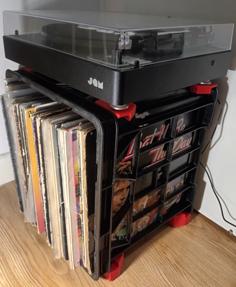
This a replacement hinge that fits into the original spring mechanism used on some Technics turntables. It functions exactly like an original hinge and there is no need to drill holes in your dust cover or plinth.
Print at 0.2mm layer height, 4 top and bottom layers, 4 perimeters, 100% infill and a 2mm brim. The brim is needed for the tiny piece in the middle (or glue stick might work, have not tested). Since this will be under constant pressure from the very stiff spring, I would not go lower than this.
I printed mine in PLA but most materials should work.
MATERIALS NEEDED
x1 M3x16mm or longer screw
x2 M3 nuts
TOOLS NEEDED
Drill/drill press and appropriate size drill bit
Small flathead screwdriver
Dremel/rotary tool with cutting wheel
INSTRUCTIONS
| Technics_hinge.stl | 114.7KB | |
| Technics_hinge_v2.stl | 115.2KB |