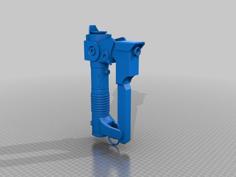
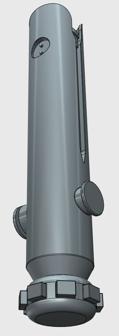
Hanging Lightsaber Stand 3D Printer Model
The file 'Hanging Lightsaber Stand 3D Printer Model' is (blend,stl) file type, size is 807.9KB.
The file 'Hanging Lightsaber Stand 3D Printer Model' is (blend,stl) file type, size is 807.9KB.
I printed this on a Bambu, utilizing the AMS to use multiple filaments in the same print. You can accomplish most of this other ways by swapping filament part of the way through the print.
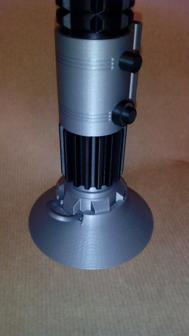
I printed the grate in Silk Silver PLA with Protopasta Steel Filled PLA on the top 4 layers.
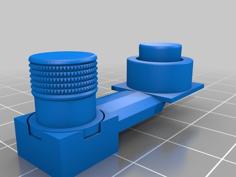
The clip was printed in Hatchbox Black PLA. The body was printed in the same, but also using Overture clear PETG for the support interface to make easy to remove supports.
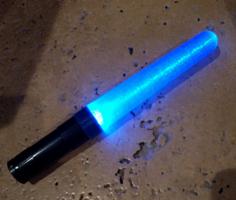
The seed pixels (the LEDs) have three wires. One is marked, that is voltage. that gets soldered to the 5v hole on the ESP. Next one is is signal. I solder that to D4. Final wire is ground, that gets soldered to G.
The wire can just be cut, I recommend going no longer than 30 leds on an ESP board. (you need around 11-12 for this build).
Next you install WLED on the board. You need to have installed the driver. Then go to https://install.wled.me/, plug it in and follow the instructions.
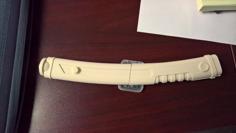
I sanded the grate with each of the listed sandpaper grits to get a good real looking metallic shine, and used thin strips of the mounting tape to stick the LEDs inside, as well as to hold on the ESP on the back. You want to position it such that the right angle USB cable can seat reasonably. Use a soldering iron to sink in the threads, and attach the clip to the front side of the grate. Cut the diffusion paper to size and sandwich that between the base and the grate, Attach the grate with the screws.
| lightsaber_rack.blend | 3.0MB | |
| lightsaber_rack.clip.stl | 168.5KB | |
| lightsaber_rack.frame.stl | 67.9KB | |
| lightsaber_rack.grate.stl | 583.5KB |