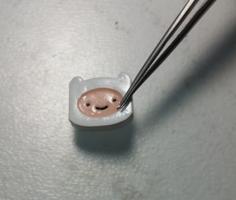
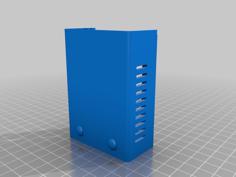
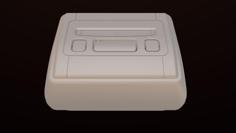
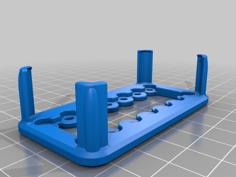
GTA V Launch Button 3D Printer Model
The file 'GTA V Launch Button 3D Printer Model' is (stl,zip) file type, size is 857.8KB.
The file 'GTA V Launch Button 3D Printer Model' is (stl,zip) file type, size is 857.8KB.
You will need:
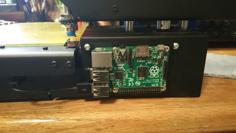
Connect Raspberry Pi Pico to your computer while holding down the little white Bootsel button on the Pi
A folder should open. Copy the adafruit-circuitpython-raspberry_pi_pico-en_US-8.2.9.uf2 to that folder.
The window should close and reopen with new stuff inside.
The name of the now opened folder is CIRCUITPY
Remove the code.py you see in the CIRCUITPY folder
Copy the code.py (with leds) or code.py (original) to the CIRCUITPY folder
Rename the newly copied file to exactly code.py without anything in the end
Copy boot.py to the CIRCUITPY folder
Open the lib folder in CIRCUITPY folder
Copy the adafruit_hid folder to the lib folder
If you use code.py (Original):
Solder one of the button contacts to GP18 and a second one on the same side of the button to GND
If you use code.py (with 2 LEDs):
Solder one of the button contacts to GP18 and a second one on the same side of the button to GND
Solder the shorter pin of each LED to GND pins of the Pi (use some wire to reach if necessary)
Solder the resistor to the longer pin of each LED
Solder the other end of the resistor of the blue LED to GP20 (use some wire to reach if necessary)
Solder the other end of the resistor of the red LED to GP19 (use some wire to reach if necessary)
If you use code.py (with 4 LEDs):
Solder one of the button contacts to GP18 and a second one on the same side of the button to GND
Solder the shorter pin of each LED to GND pins of the Pi (use some wire to reach if necessary)
Solder the resistor to the longer pin of each LED
Solder the other end of the resistor of a blue LED to GP20 (use some wire to reach if necessary)
Solder the other end of the resistor of a red LED to GP19 (use some wire to reach if necessary)
Solder the other end of the resistor of a blue LED to GP21 (use some wire to reach if necessary)
Solder the other end of the resistor of a red LED to GP22 (use some wire to reach if necessary)
Launch GTA V Button.exe and press the button. Enjoy! :)
NB! If you want to access the Raspberry after you put the boot.py to the root folder, connect GP2 to GND
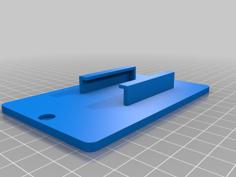
| bottom.stl | 200.8KB | |
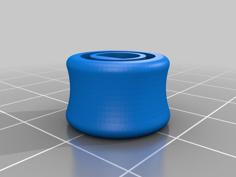
| button.stl | 533.1KB | |
| GTAVButton.zip | 669.3KB |