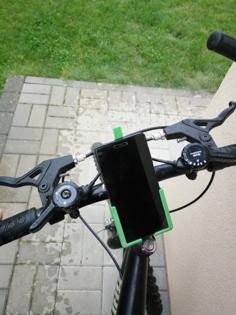
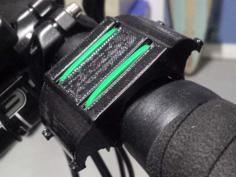
Generic system to mount those old style 2xAAA battery bicycle lights to your bike, in a way that you can easily put it on and off by the power of magnets :)
You need:
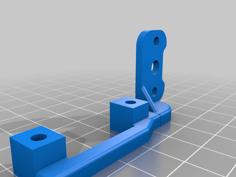
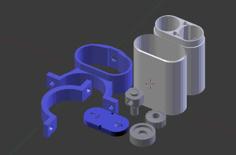
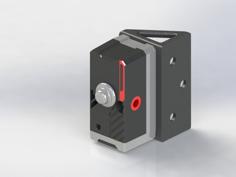
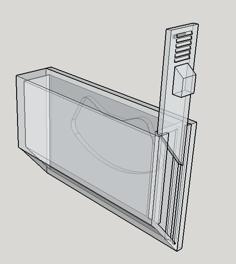
The magnets are embedded in the print, meaning you should pause the printer (preferable automatic) on the right layer to put in the magnets. It can be a bit tricky to get both magnets in without them flying towards each other. I applied a bit of glue stick glue in the hole to make them stick a bit. It was enough to keep them there during the next layers.
Important: Choose the right orentation when you put in the magnets. I chose to match the orientation of the two magnets in the same part. It keeps everything simpler.
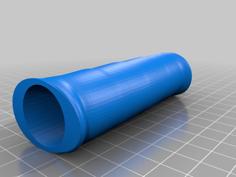
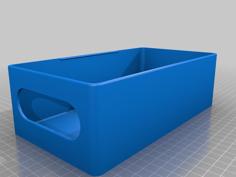
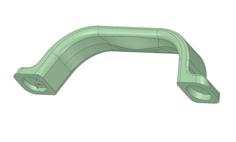
The lights get glued to part A. I used epoxy glue. Make sure to sand it well before gluing. Some of these lights have a easily removable mount, leaving a flat surface. For others you need to brake it loose and sand it a bit flat.
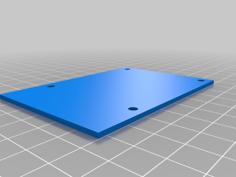
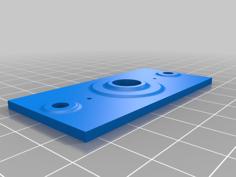
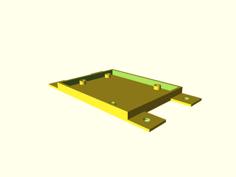
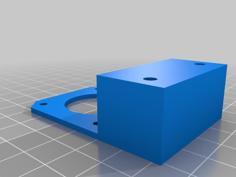
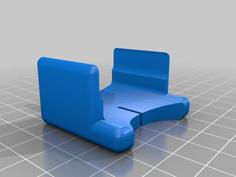
Some holes in part B are covered with a 0.25mm layer, in order to make sure the bridging goes right. Otherwise it would be printing a circle mid air. Afterwards you need to drill the thin layer away with a 3.2 or 3.5mm drill
As a bonus you can now put your lights on your fridge!
Designed using FreeCad. File is included.
| magnetic_mount.FCStd | 200.6KB | |
| magneto_adaptor_2-part_A.stl | 51.1KB | |
| magneto_adaptor_2-part_B.stl | 310.6KB | |
| magneto_adaptor_2-part_C.stl | 14.3KB | |
| magneto_adaptor_2-part_D.stl | 100.7KB |