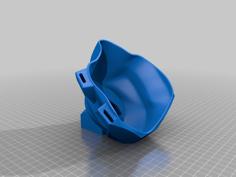
Front Panel Mesh (with Filter Frame) For Lanberg ATX 450/10 Rack Chassis 3D Printer Model
The file 'Front Panel Mesh (with Filter Frame) For Lanberg ATX 450/10 Rack Chassis 3D Printer Model' is (stl) file type, size is 372.9KB.
The file 'Front Panel Mesh (with Filter Frame) For Lanberg ATX 450/10 Rack Chassis 3D Printer Model' is (stl) file type, size is 372.9KB.
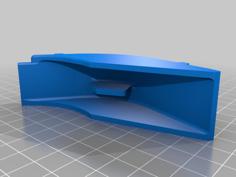
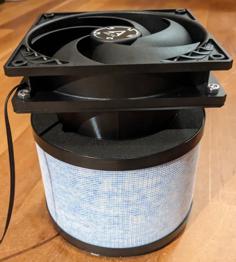
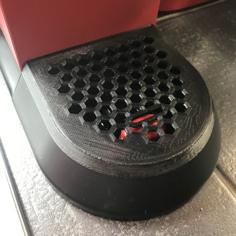
This replacement is designed to enable a secondary air intake through the front panel, typically covered with plexiglass. It enhances compatibility with 360mm radiators in the Lanberg chassis.
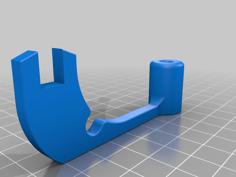
Custom Mounting Brackets for 360mm AIO Coolers are available here.
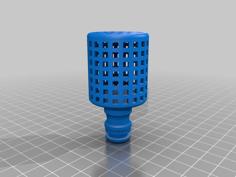
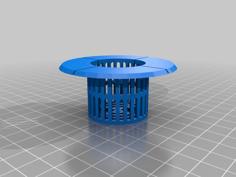
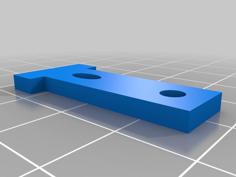
You can also print a filter frame and an adapter. Sheer socks serve adequately as a cost-effective filtering medium. To utilize them effectively, insert the frame into the sock, trim any excess material approximately 1cm away from the frame, and then seal the opening. This can be achieved using either a soldering iron (requires precise temperature control, easy-to-destroy-things method) or a soldering heat gun along with a broad knife (or just large, flat-bladed kitchen knife). Secure the excess material with the knife to prevent heat from interfering with the frame, then apply heat from the gun to melt the surplus material. Once melted, using the same knife firmly press down on the material to ensure a proper, clean seal.
Following the assembly of the filtering set, insert the entire set into the front aperture. Begin by guiding the right side with a sliding motion, then proceed to push the left side simultaneously forward and to the right.
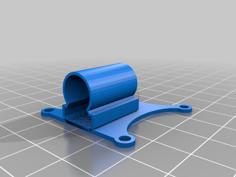
| Lanberg_450_10_Filter_Adapter.stl | 12.6KB | |
| Lanberg_450_10_Filter_frame.stl | 5.4KB | |
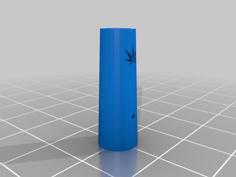
| Lanberg_450_10_Label.stl | 49.6KB | |
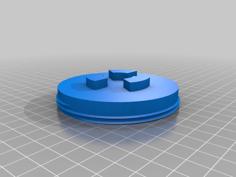
| Lanberg_450_10_Mesh_Logobase.stl | 888.4KB | |
| Lanberg_450_10_Mesh_Plain.stl | 838.9KB |