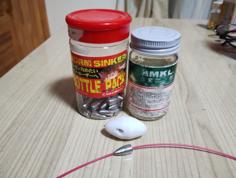
Requires extra materials
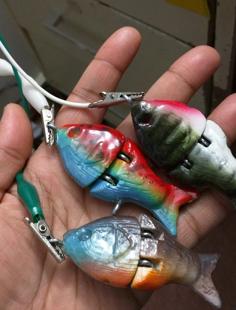
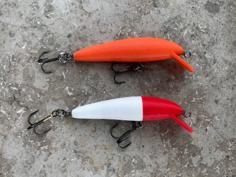
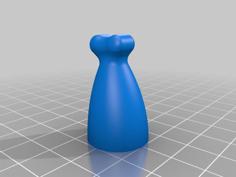
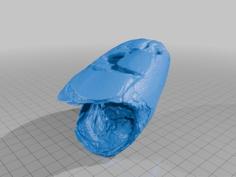
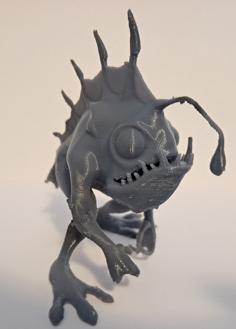
Made and tailored for my dad but he wanted me to share it. Took some of his lures and chose to model it off a bluegill. It sinks and I added bb cavity.
He said it works and has caught some fish on it. Added BB's 1 or 2 tiny ones make a lot of noise for the size.
Update: Played around and discovered if I added a hole between the eyes the fish dive a bit deeper and wiggle more before going back up. Added picture.
Materials
Glue - I use weldon 4, superglue will work too
Steel Rod cutter, dremel ,etc
Steel Rod 1/8 diameter, M3 20mm zinc screw and lob off the head
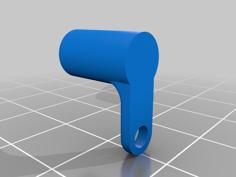
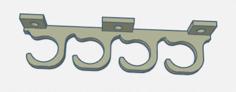
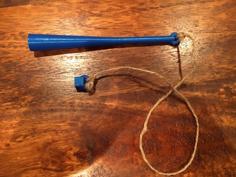
Screw eyes #216 I use the top picture for the V joint. It allows a lot of flip flop action
Epoxy, acetone, and patience. I use 5 min epoxy. Epoxy the head in the morning and tail in the evening. And put my brush in nail polish remover to save my brush.
I paint all parts separately, glue the head together, add all the screws -- epoxy. Assemble with the tail then epoxy the tail.
Assembly
Head - Do not glue eye screws yet
1.Glue it together
2.Add the eye screws inside the V. Twist it in until the thread doesn't show anymore. Make sure its horizontal. Don't glue eye screws, don't be me do it right the first time
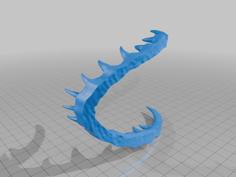
Tail
| dive_deeper_head.stl | 3.4MB | |
| full_fish_.stl | 3.9MB | |
| full_fish_bb.stl | 5.1MB | |
| head.stl | 10.7MB | |
| tail.stl | 9.9MB | |
| tail_bb.stl | 10.6MB |