FDM 3D Printer Flow Manager (1 Nanometer Sensitivity) 3D Printer Model
The file 'FDM 3D Printer Flow Manager (1 Nanometer Sensitivity) 3D Printer Model' is (stl,mqo) file type, size is 575.8KB.
The file 'FDM 3D Printer Flow Manager (1 Nanometer Sensitivity) 3D Printer Model' is (stl,mqo) file type, size is 575.8KB.
https://github.com/TimIsabella/FDM_3D_Printer_FlowManager
(see GitHub for Arduino code used in this project)
FDM 3D Printer Flow Manager (1 nanometer sensitivity):
Possibly the biggest issue in FDM 3D printing is flow control, and the reasons for this are as follows:
Any one of these can cause bad prints or failed prints, which is both costly in material and time.
Flow Manager is an attempt to control all three of these critical parameters, and in addition will yield consistent layers which means better looking and better performing prints.
How?
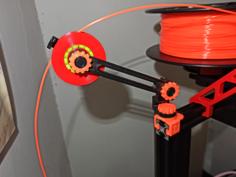
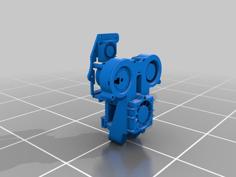
By measuring the filament diameter as it is fed, an exact flow rate can be calculated to ensure a consistent flow. Flow Manager measures this filament diameter by two points offset around the circumference of the filament (offset as a triangle), and averaging those points with a precision of up to 6 digits beyond the decimal, which results in a measurement sensitivity as low as 0.000001mm (1 nanometer), and a filament diameter as small as 1mm.
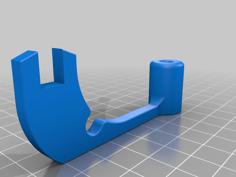
This measurement is achieved by amplifying the minute movements by way of dual single levers set with high fulcrum points, and small magnets inlaid at their ends. These magnets are positioned over highly sensitive linear hall effect sensors which measure distance by magnetic Gauss intensity. The length of the levers dictate the precision (longer = more precise), while canting the lever wheels at opposing angles ensures accuracy by simultaneously measuring at two separate points, which also negates the oval circumference shape which is common with filament.
In addition to diameter measurement, a digital encoder wheel can be placed as a third point of contact separate from the lever wheels, to precisely measure overall filament movement, including retracts, priming, skipping, jamming, and run-out.
This measurement is then sent by serial to the ESP8266 module that contains a small webserver that wirelessly transmits g-code commands to any WiFi enabled 3D printer, continuously adjusting the flow rate live.
Theoretically, with the precise inclusion of the encoder wheel combined with diameter measurements, the exact length to the nozzle tip can be offset with near perfect extrusion precision, making literally any FDM 3D printer capable of detailed prints previously unheard of while also eliminating failures.
Current Development:
Development for this project ceased in early 2020. Although the diameter measurement function performed far better than I ever anticipated, I ran into difficulty with proprietary communication methods for different printer manufacturers, therefore this project would probably be best suited on a Raspberry PI board and connected to the OctoPrint platform, but would limit its use to only higher end printers.
Moreover, it may be possible to source a linear hall effect sensor that runs on 3v which can be connected directly to the two I/O ports of the ESP8266, and the board flashed with all code necessary using MicroPython, which would eliminate the need for the Nano board alltogether and vastly simplify the entire unit.
There are also many other boards in the ESP family with more functionality, more I/O pins, and possibly that run at 5v, therefore the IC that can be used in this project is completely interchangeable.
Parts List:
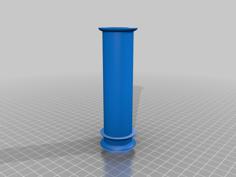
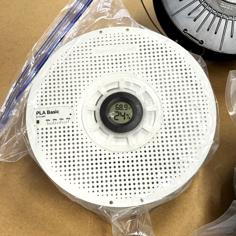
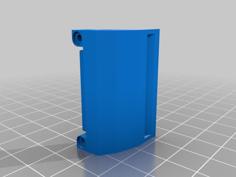
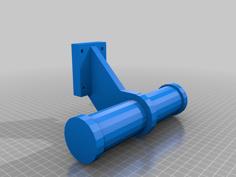
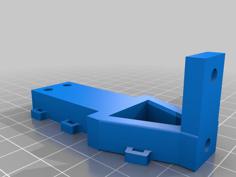
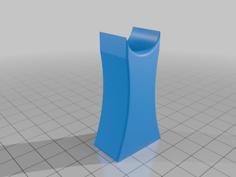
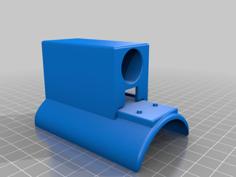
Printed model (see repo .STL files, or .MQO for Metasequoia), 0.4mm nozzle or smaller, shell is best printed upright.
OPTIONAL:
| FlowManager_-_Bearing_Rod.stl | 21.9KB | |
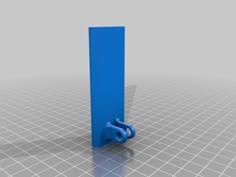
| FlowManager_-_Left_Lever.stl | 92.2KB | |
| FlowManager_-_Right_Lever.stl | 94.0KB | |
| FlowManager_-_Shell.stl | 489.0KB | |
| FlowManager_-_Version_11_Metasequoia.mqo | 2.4MB |