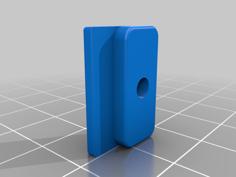
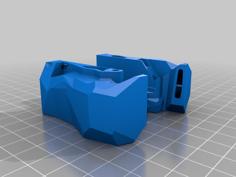
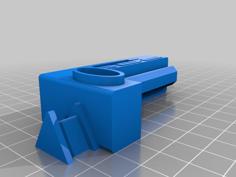
Falcon2 Laser Mounting Lightburn Cam 3D Printer Model
The file 'Falcon2 Laser Mounting Lightburn Cam 3D Printer Model' is (stl) file type, size is 126.6KB.
The file 'Falcon2 Laser Mounting Lightburn Cam 3D Printer Model' is (stl) file type, size is 126.6KB.
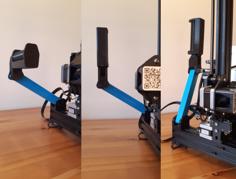
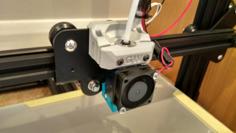
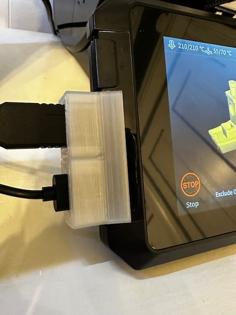
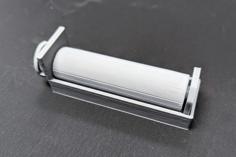
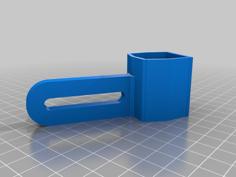
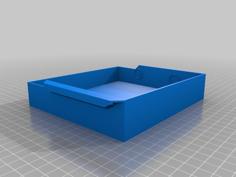
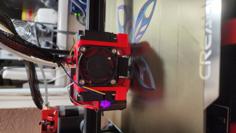
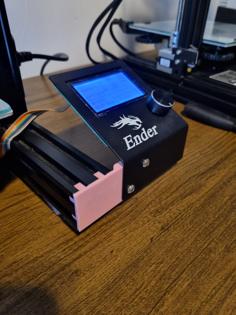
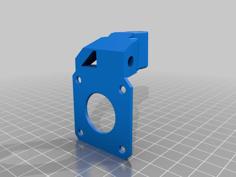
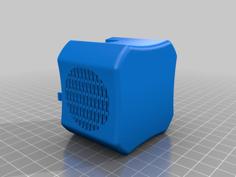
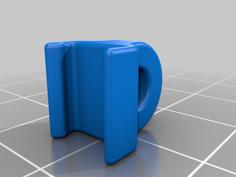
So, my new Falcon2 with 22W has its final place in the storage room. Receive. Everything is now mounted on a screen printing plate that I have provided with threaded inserts to fix the feet and the honeycomb table. The feet are screwed to the plate using a screw. In order to compensate for slight tolerances and inaccuracies, I decided to use an elongated hole in the 3D printed parts. This means that the alignment of the honeycomb table and the laser to each other is fixed. The flap lies on a rubber mat on the work surface. For the Lightburn camera I designed a holder that is attached to the back of the laser. The whole thing consists of 3cm aluminum square profiles. For fastening I use knurled nuts and melting threads. Extraction is still coming, at the moment I'm still using a self-made device for extracting solder fumes with an activated carbon filter.
I had used this 5MP cam https://amzn.to/3RsvKif (Part #: elp-usb500w02M-af100)
Screws https://amzn.to/46JZtra
Melt nuts https://amzn.to/3NfxhFT
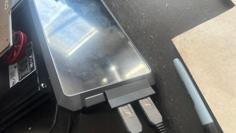
USB extension https://amzn.to/3Tak3xO
-- Update---------------------------------------------------------------------
I use now this cam: https://amzn.to/4eVUMA1
Pixel size in Overlay is now 0,25 mm (before it was 0.89mm)
Marke: ELP
Sensor IMX298 with 1/2.8inch, 110°, 16MP, up to 4656*3496
| CamHalter022.stl | 57.2KB | |
| CamHalter030.stl | 52.9KB | |
| CamHalterHoehel002.stl | 14.6KB | |
| CamHalterOben003.stl | 65.6KB | |
| CamHalterOben030.stl | 33.2KB | |
| CamHalterWinkel001.stl | 17.9KB | |
| LaserSockel02.stl | 119.3KB | |
| LaserSockel12.stl | 63.0KB | |
| LaserUSBdurchfuehrungl02.stl | 60.6KB |