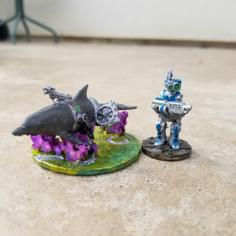
Extremely Simple Robotic Arm | 28BYJ-48 3D Printer Model
The file 'Extremely Simple Robotic Arm | 28BYJ-48 3D Printer Model' is (skp,stl,zip) file type, size is 88.2KB.
The file 'Extremely Simple Robotic Arm | 28BYJ-48 3D Printer Model' is (skp,stl,zip) file type, size is 88.2KB.
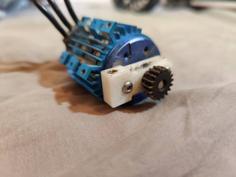
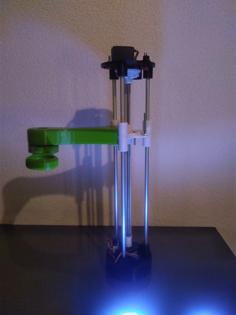
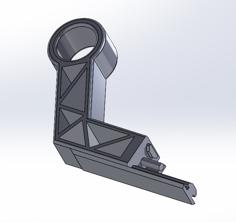
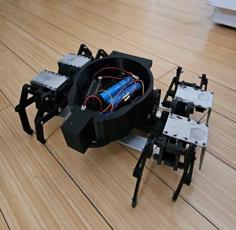
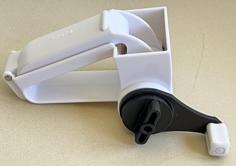
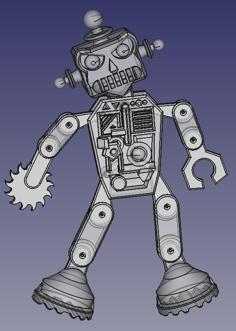
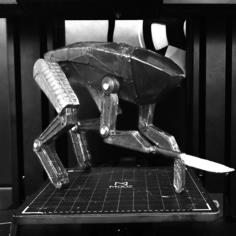
Here is a very simple design for a robotic arm that uses three 28BYJ-48 motors. It can be hooked up to essentially any microcontroller, although I would highly recommend using some sort of an Arduino as I have already written a sketch for this method. I have also written a sketch in Processing to send controls over USB from the NumPad. Setting it up is as easy as connecting the motor to the board in a proper order, and running the sketches.
Getting Started
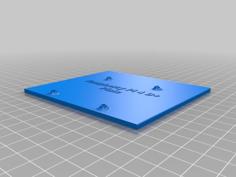
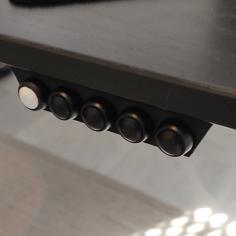
Physical Layout on the Board
In my setup I used PWM pins 13-2 on an Elegoo Mega2560 R3 (A spinoff of the Arduino Mega). You can use any pin layout you want. Just define the pins on lines 18-20 of the code. In the code I have the motors set at 85-70 RPMs. If you'd like a little more strength you can go slower than this by changing lines 53-55, but it's not necessary. The values I used work well with the corresponding weights the motors bare.
Controls
The left side of the numpad (Keys 7, 4, 1) is for independent motor controls, along with the right side for the opposite movement. Keys 8 and 2 move both the arms together. I haven't quite figured out how to send multiple keys through processing, and until then, keys 8 and 2 will be used for the simultaneous control of the motors.
Video: https://youtu.be/xse3xQ_XR8U
| Arm.skp | 149.1KB | |
| Base.stl | 106.3KB | |
| Bottom_Joint.stl | 124.8KB | |
| Robotic_Arm_Sketches.zip | 1.9KB | |
| Stick_One.stl | 31.1KB | |
| Stick_Two.stl | 19.8KB | |
| Top_Joint.stl | 112.2KB |