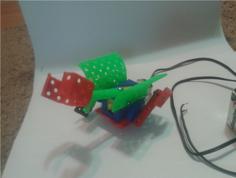
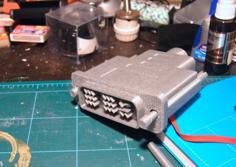
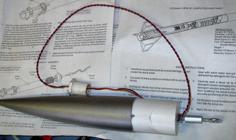
I recently purchased a couple of vintage flashlights. This is a 1925 Eveready Model 2602 flashlight. I replaced the bulb with a high powered LED and LED driver, installed a rechargeable lithium ion battery, and 3D printed a couple of brackets to hold everything together.
The flashlight now has 3 modes (low - mid - high), and it should last for several hours before the battery needs to be removed and recharged.
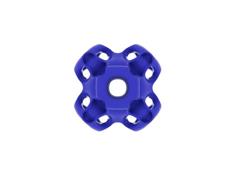
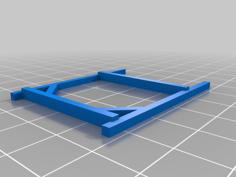
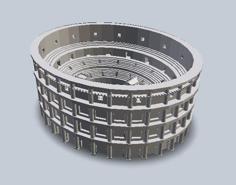
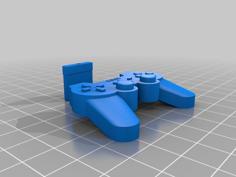
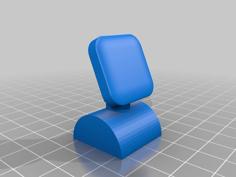
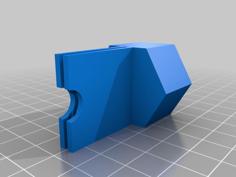
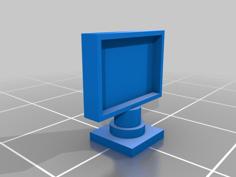
The various 'coin' parts are meant to be superglued into their respective 'frames'. I split them up so I could optimize print orientations. 'Coins' were printed at 0.1mm, all other parts printed at 0.2mm.
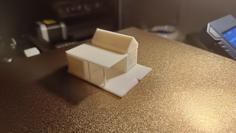
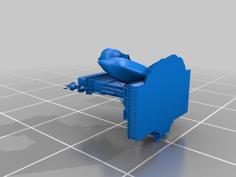
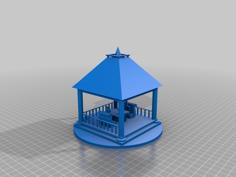
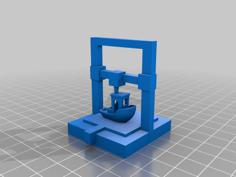
In included a model of the assembly to give a better idea of how it was all put together. Take a look at the hackaday.io project page for a complete parts list.
More details here: https://hackaday.io/project/12183-1925-eveready-model-2602-upgrade
| Aft_Chassis_-_AFT_Coin.stl | 139.8KB | |
| Aft_Chassis_-_Frame.stl | 1.7MB | |
| Aft_Chassis_-_FWD_Coin.stl | 87.3KB | |
| Assembly.stl | 4.0MB | |
| Forward_Chassis_-_Coin.stl | 71.3KB | |
| Forward_Chassis_-_Frame.stl | 490.3KB |