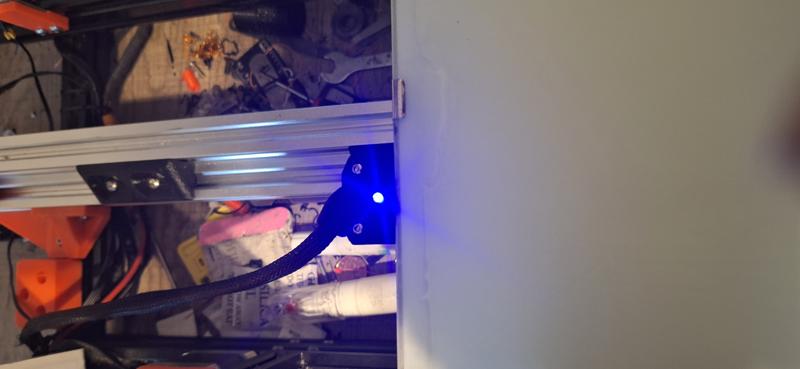
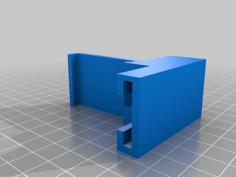
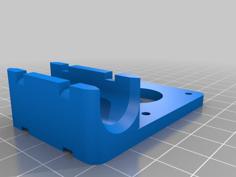
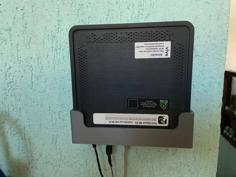
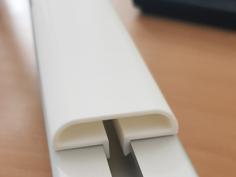
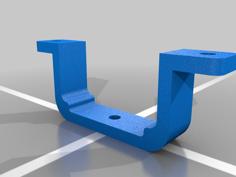
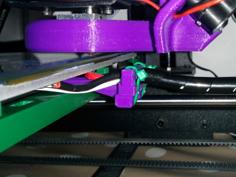
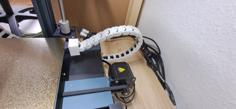
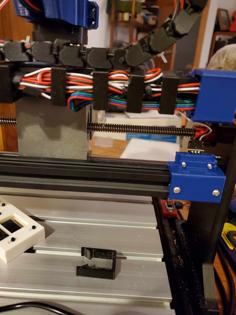
this is a hot bed strain relief that is tapped into a plain hot plate that has no heating elements in the way, this is a nice strain relief for ender extender project, there is a lid version for a led so you can see at a glance when power is going to your bed.
hardware needed
x2 m3x10/12mm hex bolts
x2 m3 nyloc nuts
x2 m3x8mm hex bolts (length may vary depending on the thickness of your plate, if they come through the other side you can just grind them flat)
2.4mm drill bit
3mm tap
options
3mm led
if you want a led, download the led stl and you need a 3mm led rated to your heating specs, solder the + and - direct to the + - on your heat bed cables so when power is put down to the bed the led will come on giving you a visual of power.
installing
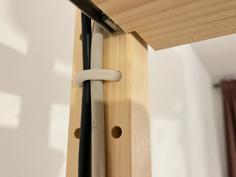
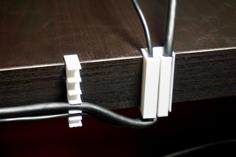
it is possible to fit this strain relief in place with out taking the bed off, but you will need to do it all upside down and have good clearance from underneath but i would recommend taking your bed off the printer! turn the plate upside down on a firm surface then place place the base where you would like it to be, on a ender extender using stock heat plate, i recommend placing 50mm from the side edge, mark the x2 holes. with a 2.4mm drill bit, drill through your plate, then take your 3mm tap and cut the threads in the holes, using a file file any burs on the other side so your build plate will lay flat over the holes, take the m3 nyloc nuts and insert in the bottom of the printed base (holes furthest away from the plate), place the base from the underside of the plate and install the screws through into the plate, fed the cables from underneath through the base hole and pull tight, feed in cables in outlet mouth and then place the top making sure you dont pinch the cables, install the m3 10mm bolts from the top and tighten up. thats it all fitted.
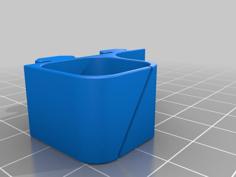
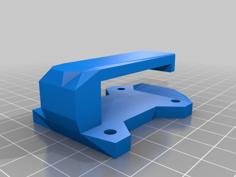
| hot_bed_strain_relief_base.stl | 234.7KB | |
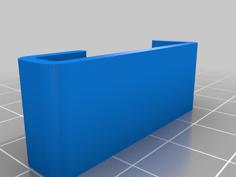
| hot_bed_strain_relief_top.stl | 123.1KB | |
| hot_bed_strain_relief_top_with_LED.stl | 159.7KB |