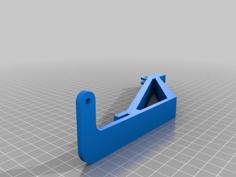
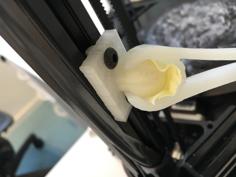
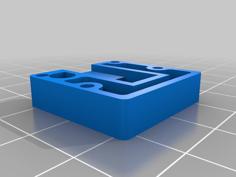
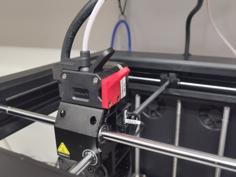
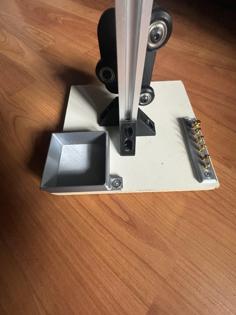
Edit: My Pi 3A+ (basically a 3B+) which comes with a heatsink was doing fine under around 45C, but I killed it accidentally (shorted 5V and GND). I replaced it with a 3B which doesn't have a heatsink, and that did overheat and needs a heatsink or a fan (if you don't have one )
I'm learning CAD (fusion 360 and seeing the advantages over Blender, I eventually will update the design, probably start from scratch, as there is a lot of potential for improvement.
Ready for everyone to print!
I made a few changes after my first print, I have a functional one even though the new version is better, but can't justify printing another for now. So this should be good!
It can definitely be improved a lot more, but functional as is for myself, so for now it will stay as is until I decide to revisit the project.
- Being exactly 220mm wide, in your slicer you might need to increase the built plate to 225x225mm (I used Cura at the time and set it that way to print it)
The side brackets I now realize after printing are not needed, so start with just the main platform, and if you see sagging or just want it more secure then print one, two side arms are totally overkill, but technically possible.
Heavily inspired by scaryPug remix, but completely rebuilt from scratch (but matched dimensions and screw holes), and heavily extended.
I had issues with screw holes, I don't know if it's just my machine (I already had trouble with the original motherboard plate)
So please let me know if it works out for you, or if changes are needed. easy fix is using a soldering iron at low temperature (I have a fast heating one, so I turn it on for 5-10seconds and it's hot enough to melt PLA.)
This is meant to be used with the original drawer untouched, you'll notice that the drawer holder is not flush with the bottom, this takes that into account.
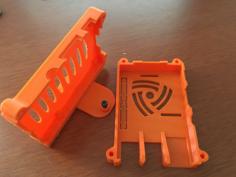
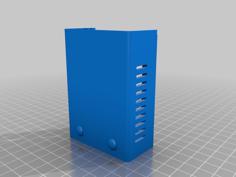
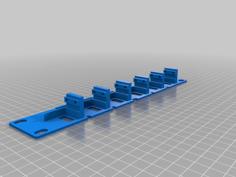
the rail with the six holes is there for cable routing or for zipties
- Noctua NF-R8 redux-1200, very silent at full 12v here
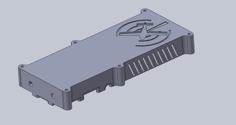
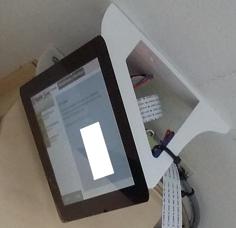
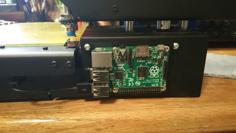
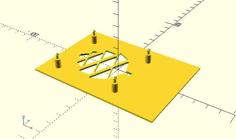
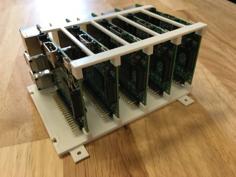
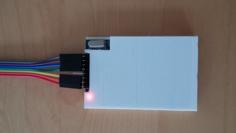
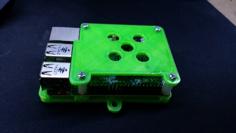
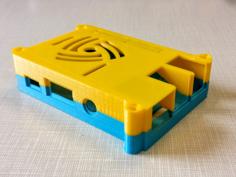
- pi 3/4 (pictured is a Pi 3 A+, baby brother of the Pi 3 B+, but with only 512Mb gf ram, on the 3D render is a Pi 4) - I accidentally killed my 3A+ adding a badly soldered sensor that shorted 5v and gnd pins, now running a Pi 3B, wired on ethernet, which is much better for video stream.
- Buck for powering pi from powersupply with usb out, just slide it in at an angle, and it will be secure - here it should have more than enough amp to power a pi 4 and should run at 5.2volts, sadly has not mounting holes.
- Buck for powering fans set to 12v, up to 3amp so it can run multiple fans (if I end up putting a 12v fan on the hotend later) - here
- ethernet out (using RJ45 keystone), and just cut an ethernet cable, but route the cable before connecting it to the keystone, as the vent/cable holes may be too tight to fit an ethernet plug through, test your extension before closing, after I swapped my Pi 3A+ to a 3B and finally connected the ethernet, two of my cables didn't made full contact in the RJ45 jack.
- slots to pass the pi cam cable on all 4 sides
- slot to pass pi data cable to the front ( check your usb cable to make sure it has data wires in it before closing up) you can also connect the Pi data cable on the motherboard directly (instruction can be found at 4740829)
To make my life easier I swapped some of the screws, the one on top was originally an m3x8, I put an m3x4 instead. The two screw on the bottom near the edge were originally m3x4, but was a lot easier to put m3x8.
Regarding risers, check out the ones I made, 38mm is enough, you'll get about 10mm clearance, but if you want more, then use the 45mm feet for approximately 17mm clearance
4721832
no print support needed, print flat
Added a version with no mounting point, so you can add them however you want them.
This was built in blender, blend file included, but word of warning, everything is still a live boolean cut or unity, to edit things easily, but slows down things a lot.
If you like what I do, feel free to support me, any tip will help buy filament to test prints or spend more time on improving models- thank you

